691 words ~ 3 min read
Creating AI Agents: A step-by-step guide
In this chapter, we’ll walk you through creating an AI Agent with Jotform, step by step. You’ll find the process is simple and intuitive.
How to create a Jotform AI Agent
- Go to the Jotform AI Agents homepage and select Create Your Agent.
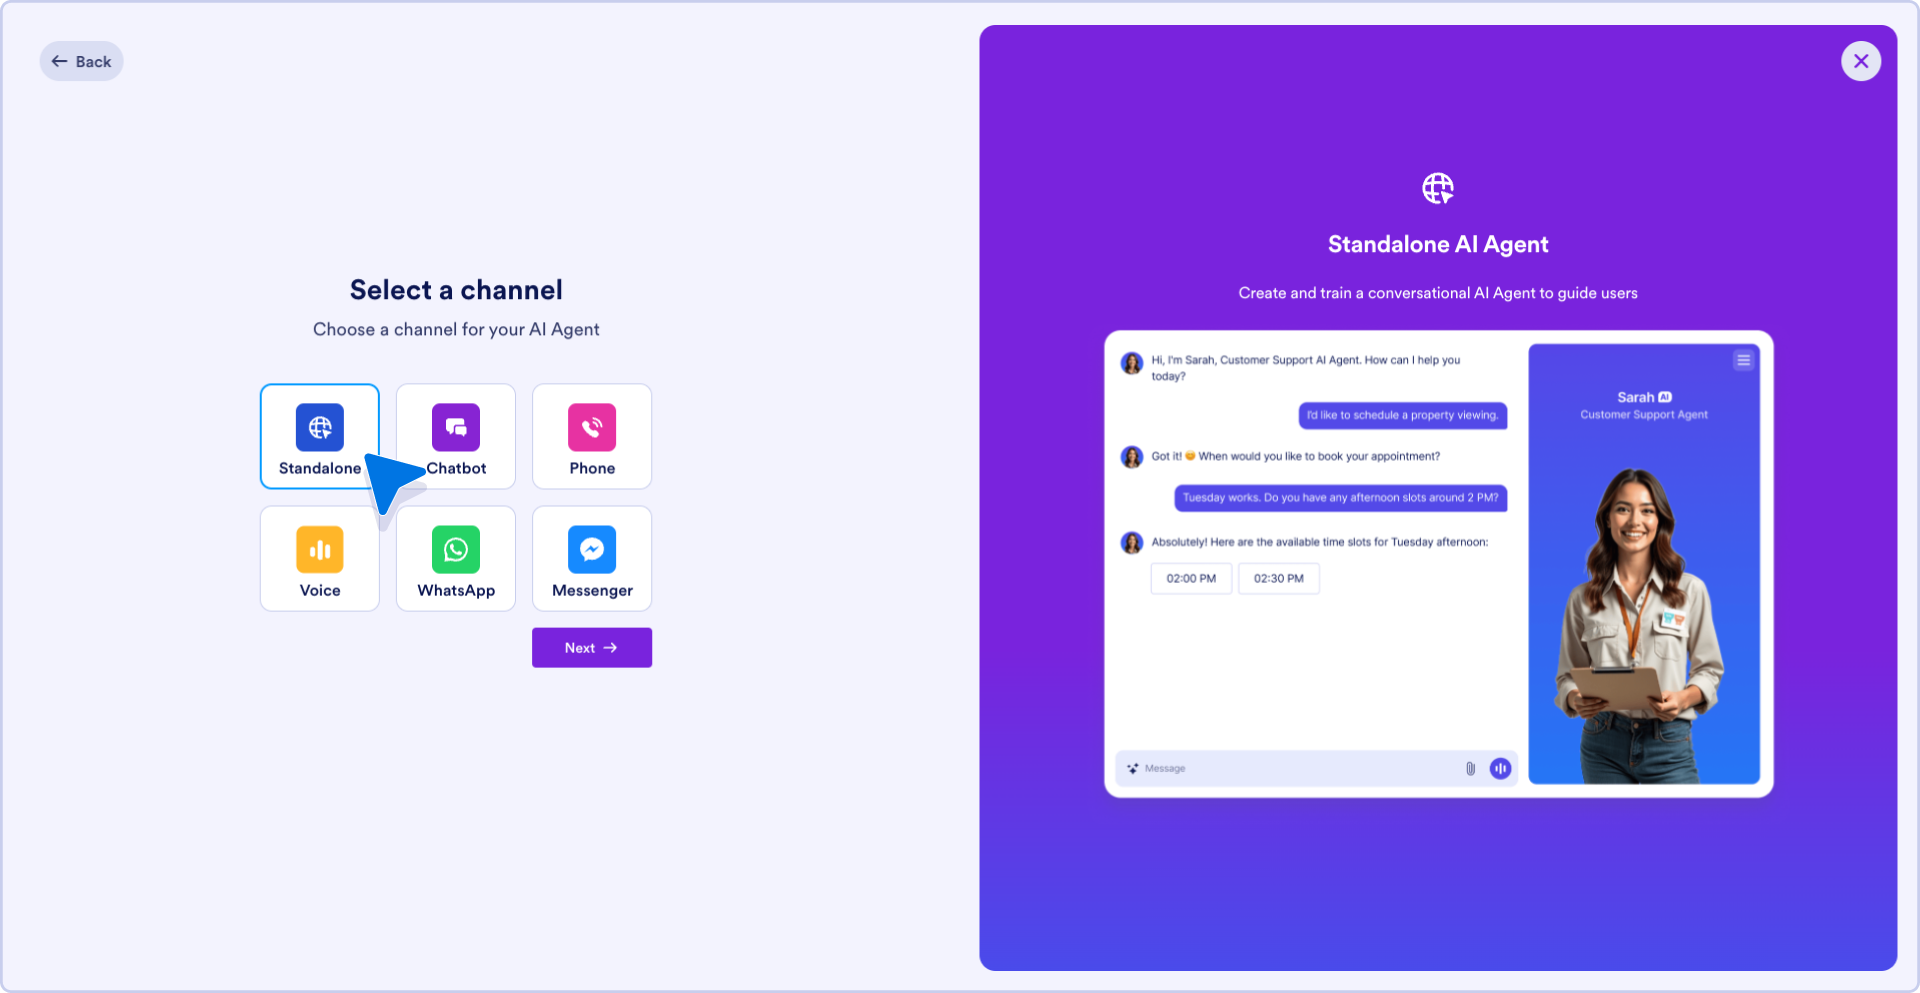
- Choose your agent’s primary channel. Options include phone, WhatsApp, chat, and more. For now, let’s select Standalone. Note that although you select only one option here, your agent can work across multiple channels at the same time, and you can customize your agent across various channels in the AI Agent Builder.
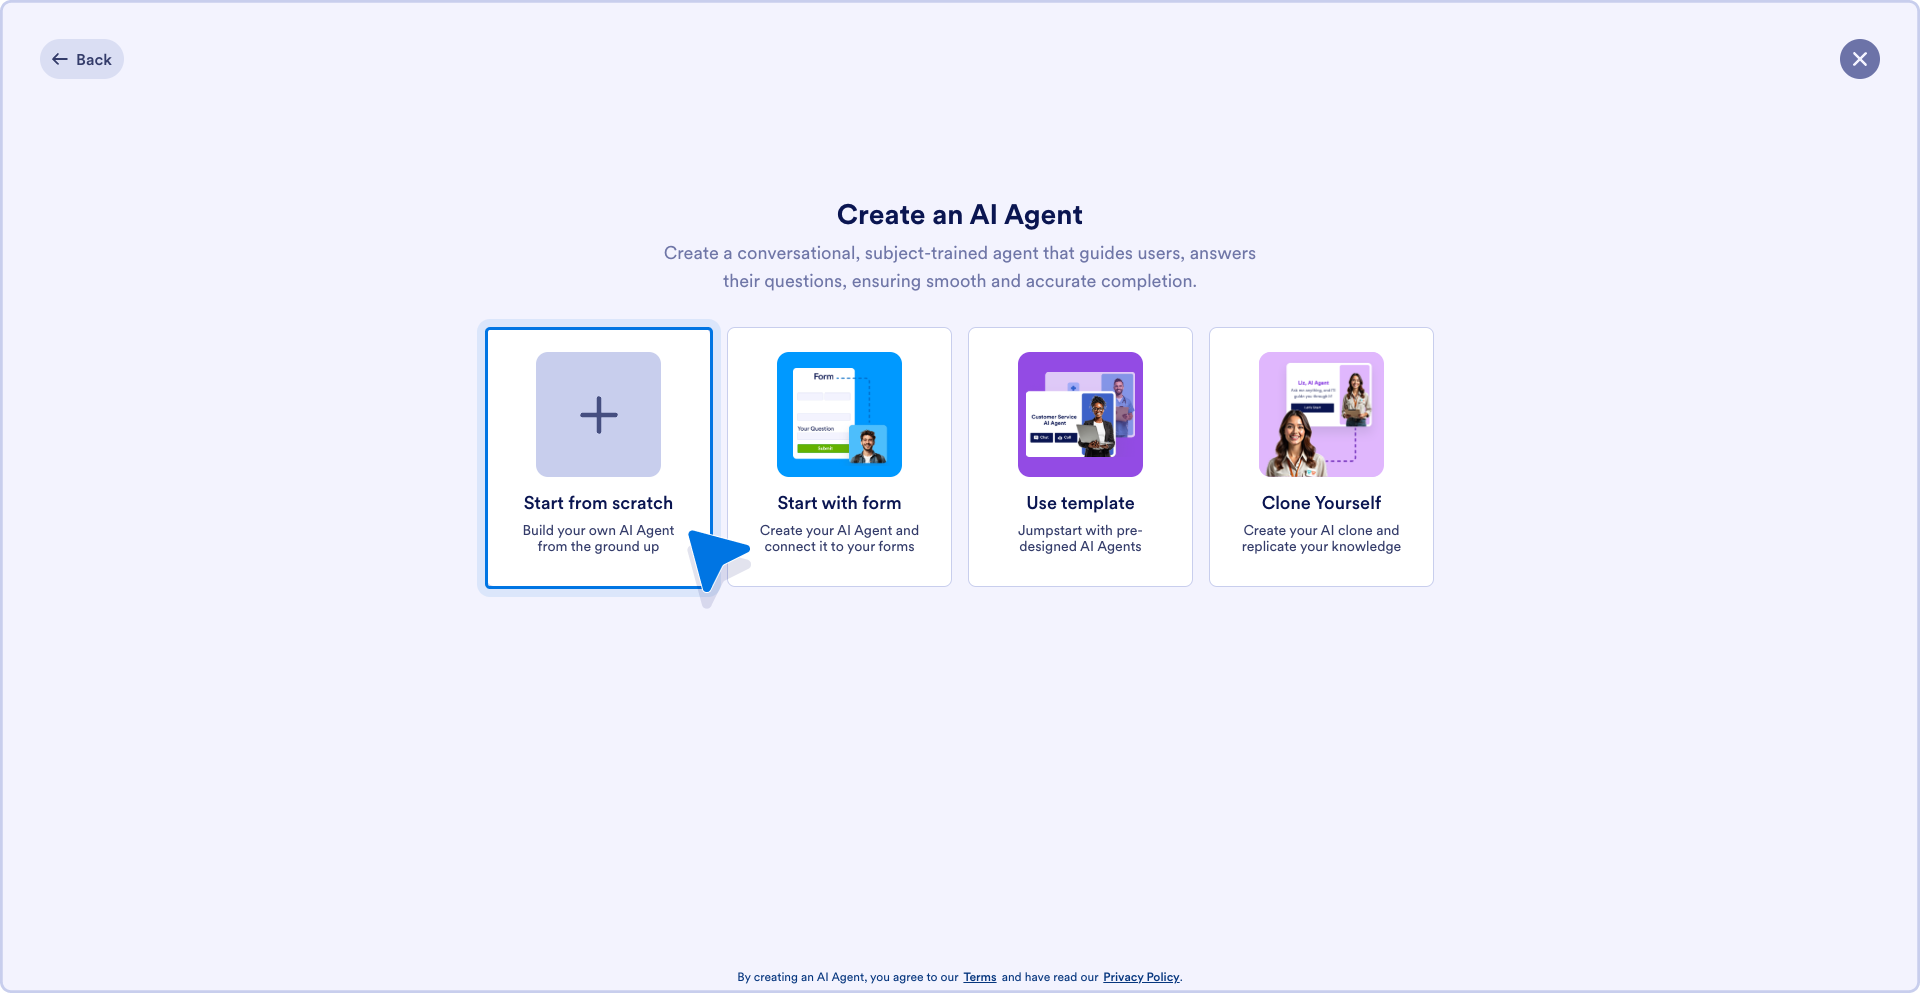
- Now you’ll choose whether to build an agent from scratch, adapt a form into an agent, customize an agent template, or even turn your own likeness into an agent. For now, select Start from scratch.
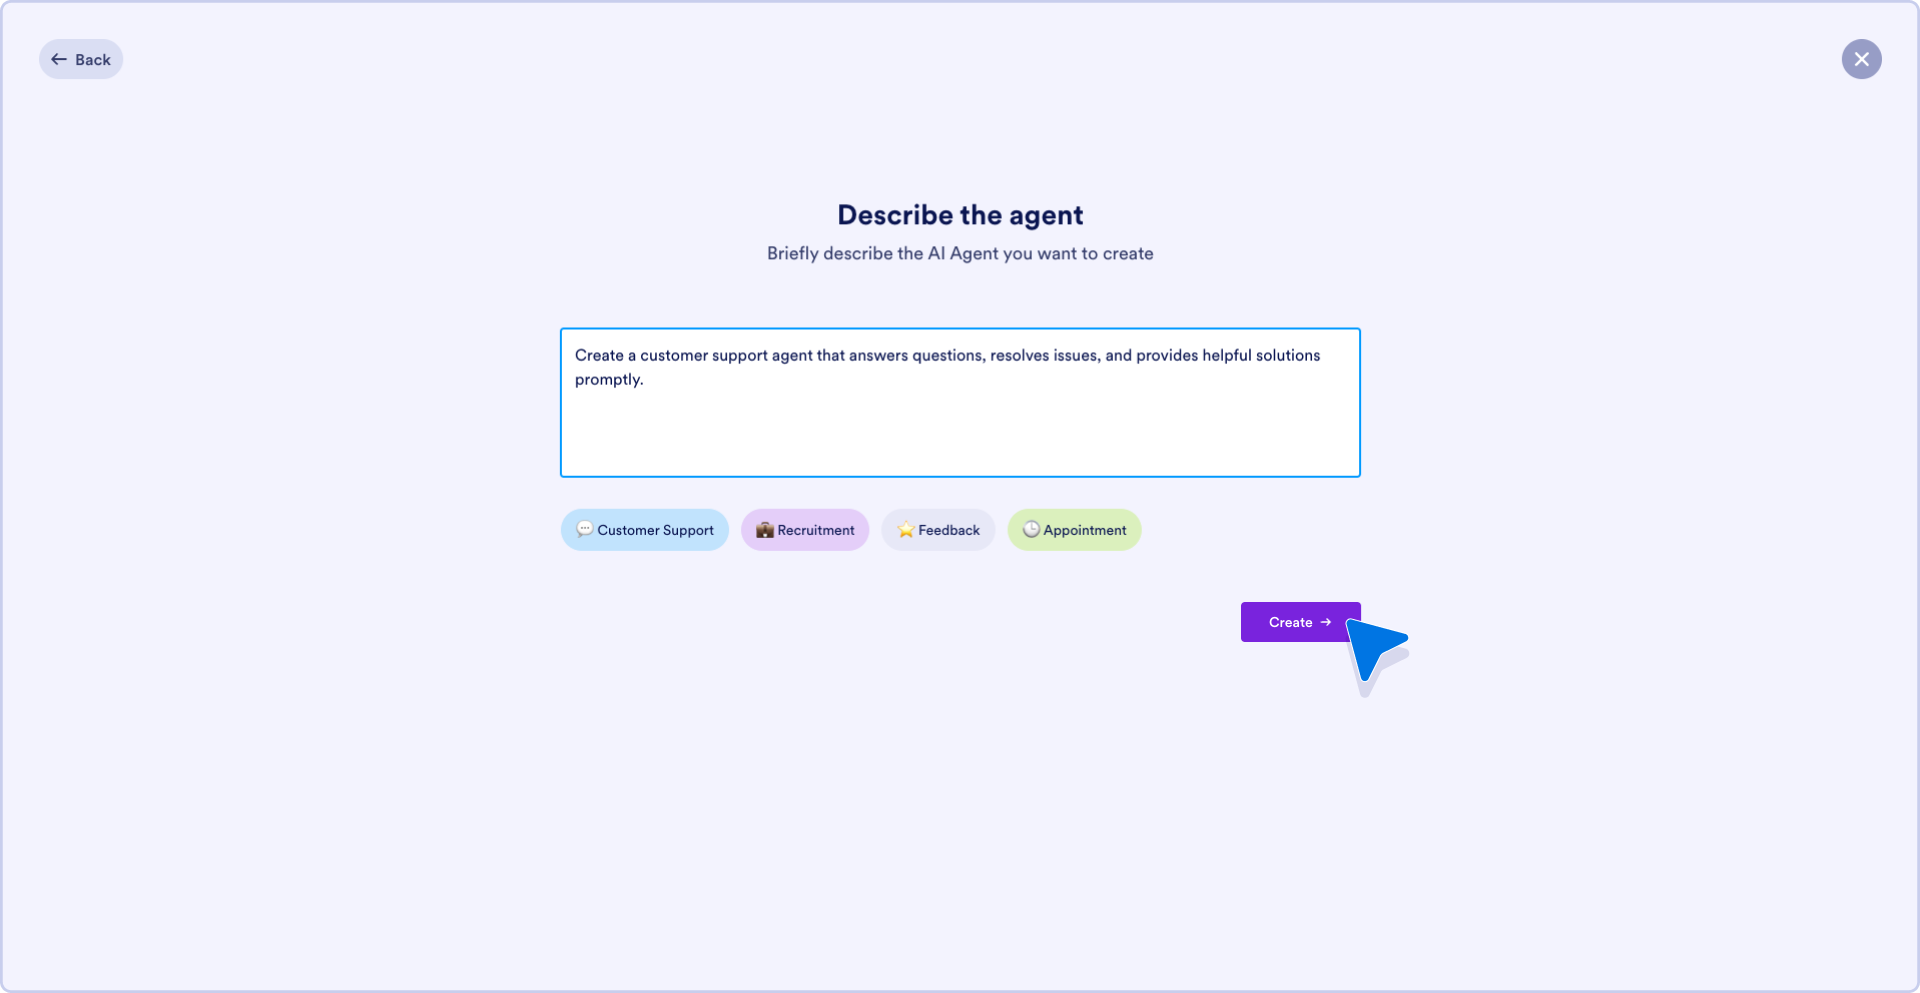
- Enter a description of your agent in the text box or select one of the button suggestions for an easy start. When you’re ready, select Create.
- Now the real fun begins! The Build page of the AI Agent Builder will open. You’ll see the default agent interface, ready to be customized. Click the paint roller icon to open the Designer window. The Avatar section of the Designer window lets you choose an avatar from the Avatar Gallery (including friendly animated characters), generate your own avatar, or upload an image.
In this example, I’m building an agent to walk prospective customers through a photography session booking process.
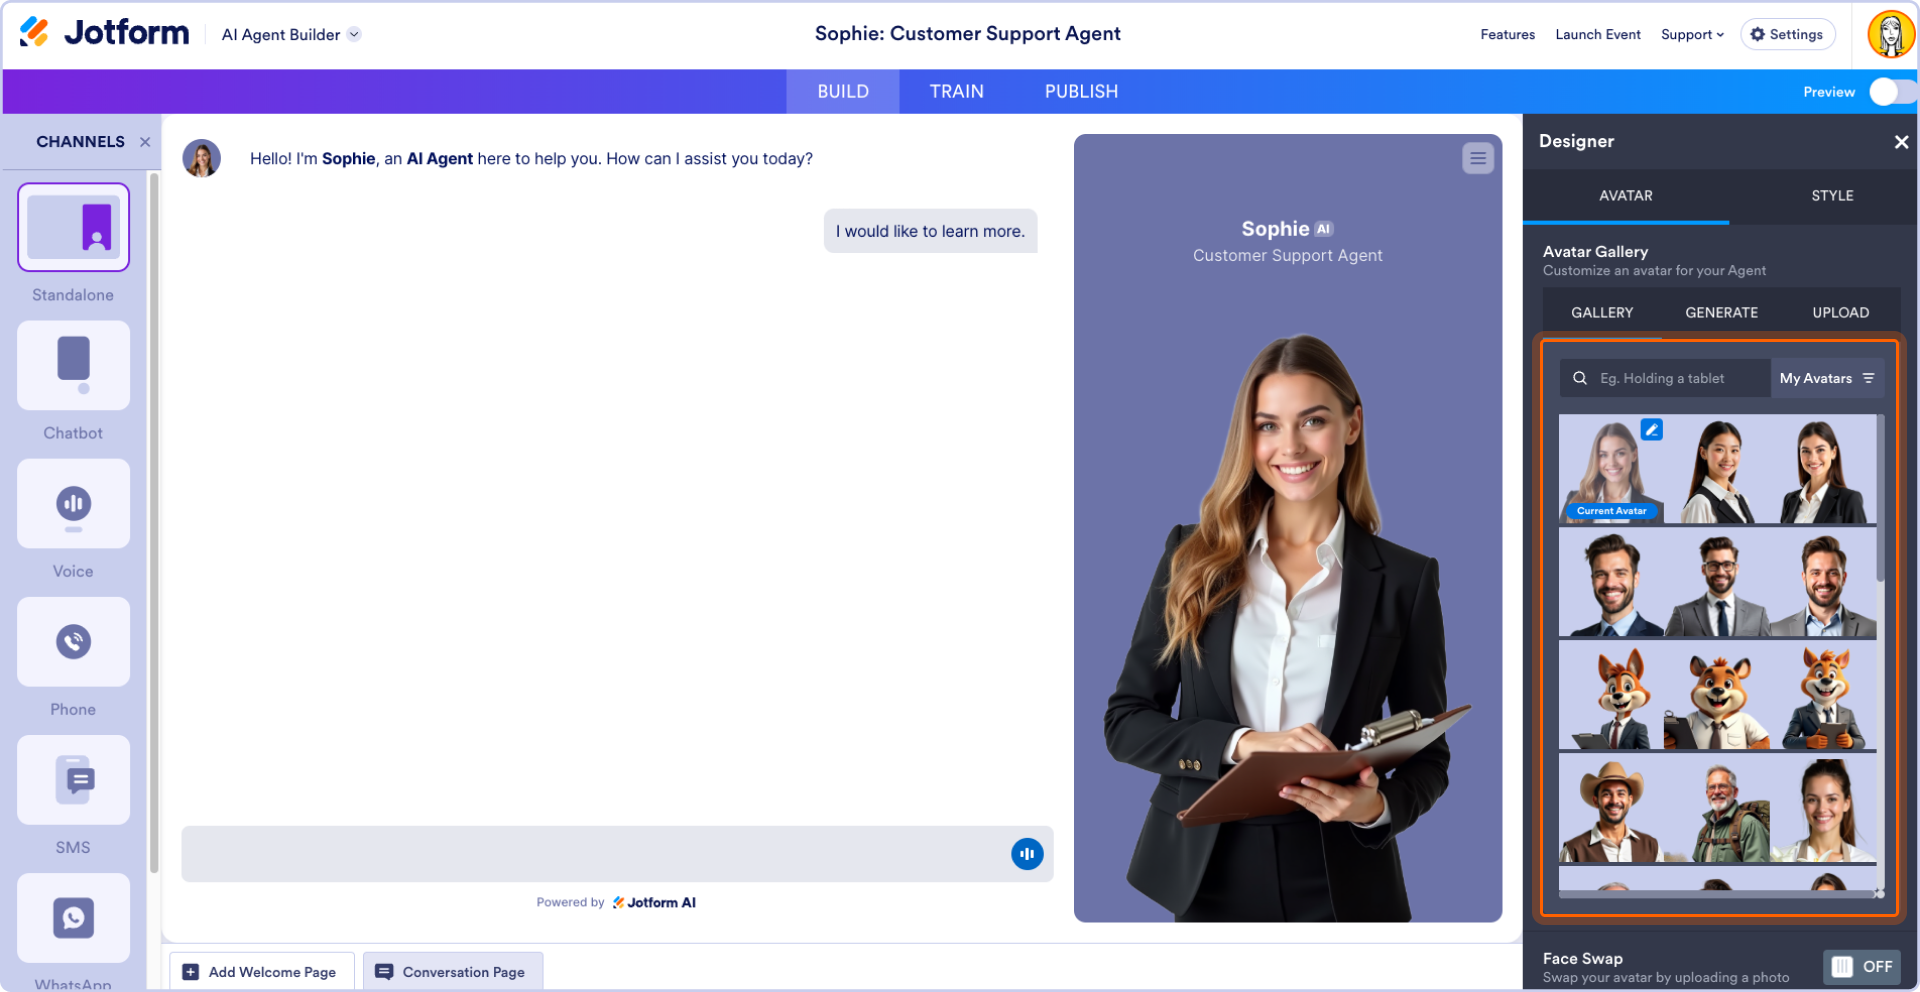
If you’re feeling bold you can do a face swap so you become the agent (a cool bit of personal branding) — just toggle Face Swap and upload a photo.
I customized my avatar’s appearance a little more by selecting Generate and editing the description in the text box. You’ll notice that now the avatar is a different person, with somewhat similar features but no longer holding a pad and pen.
- Now let’s move to the agent’s background environment. Select Style in the Designer window. Here, you can customize the background and color scheme and upload or generate background images.
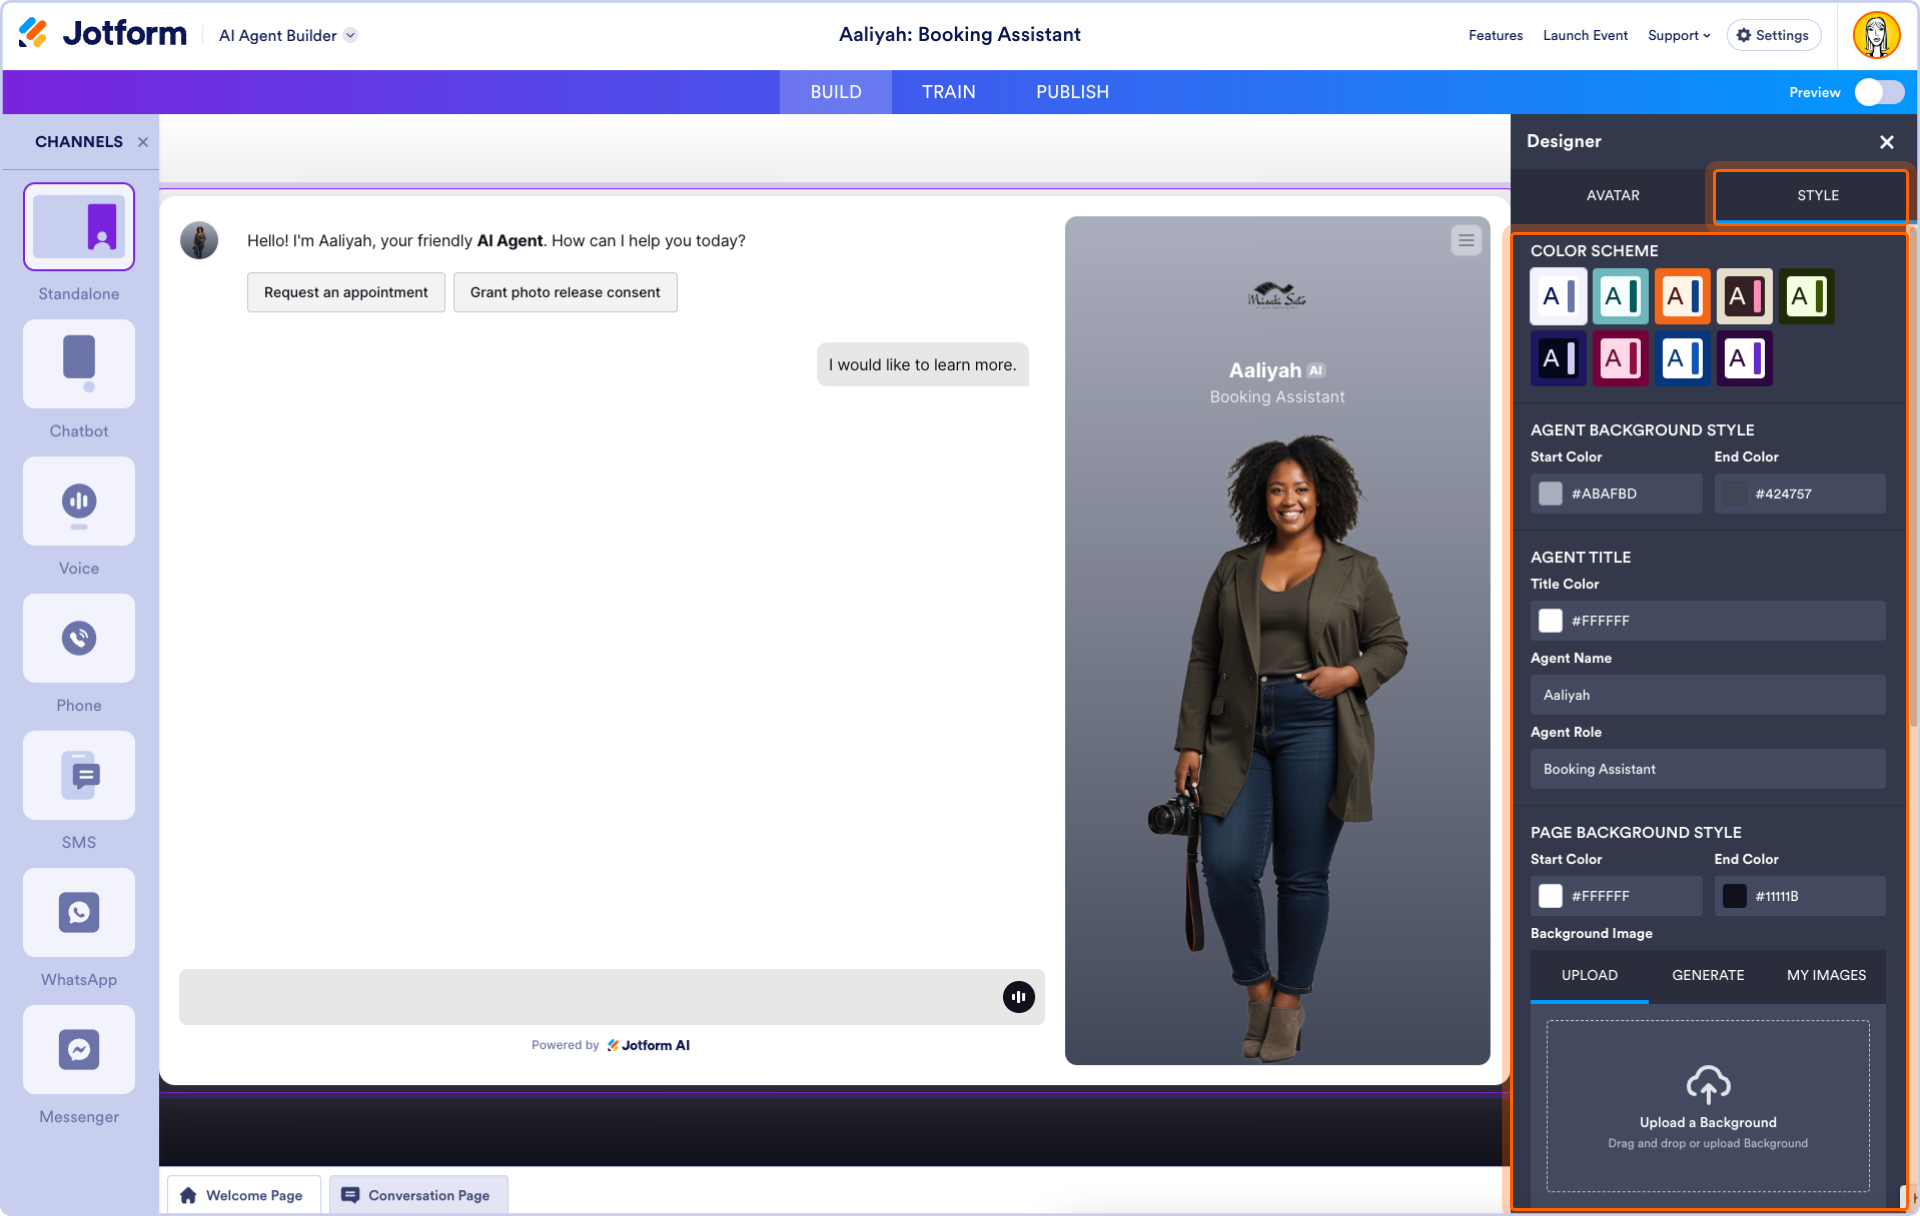
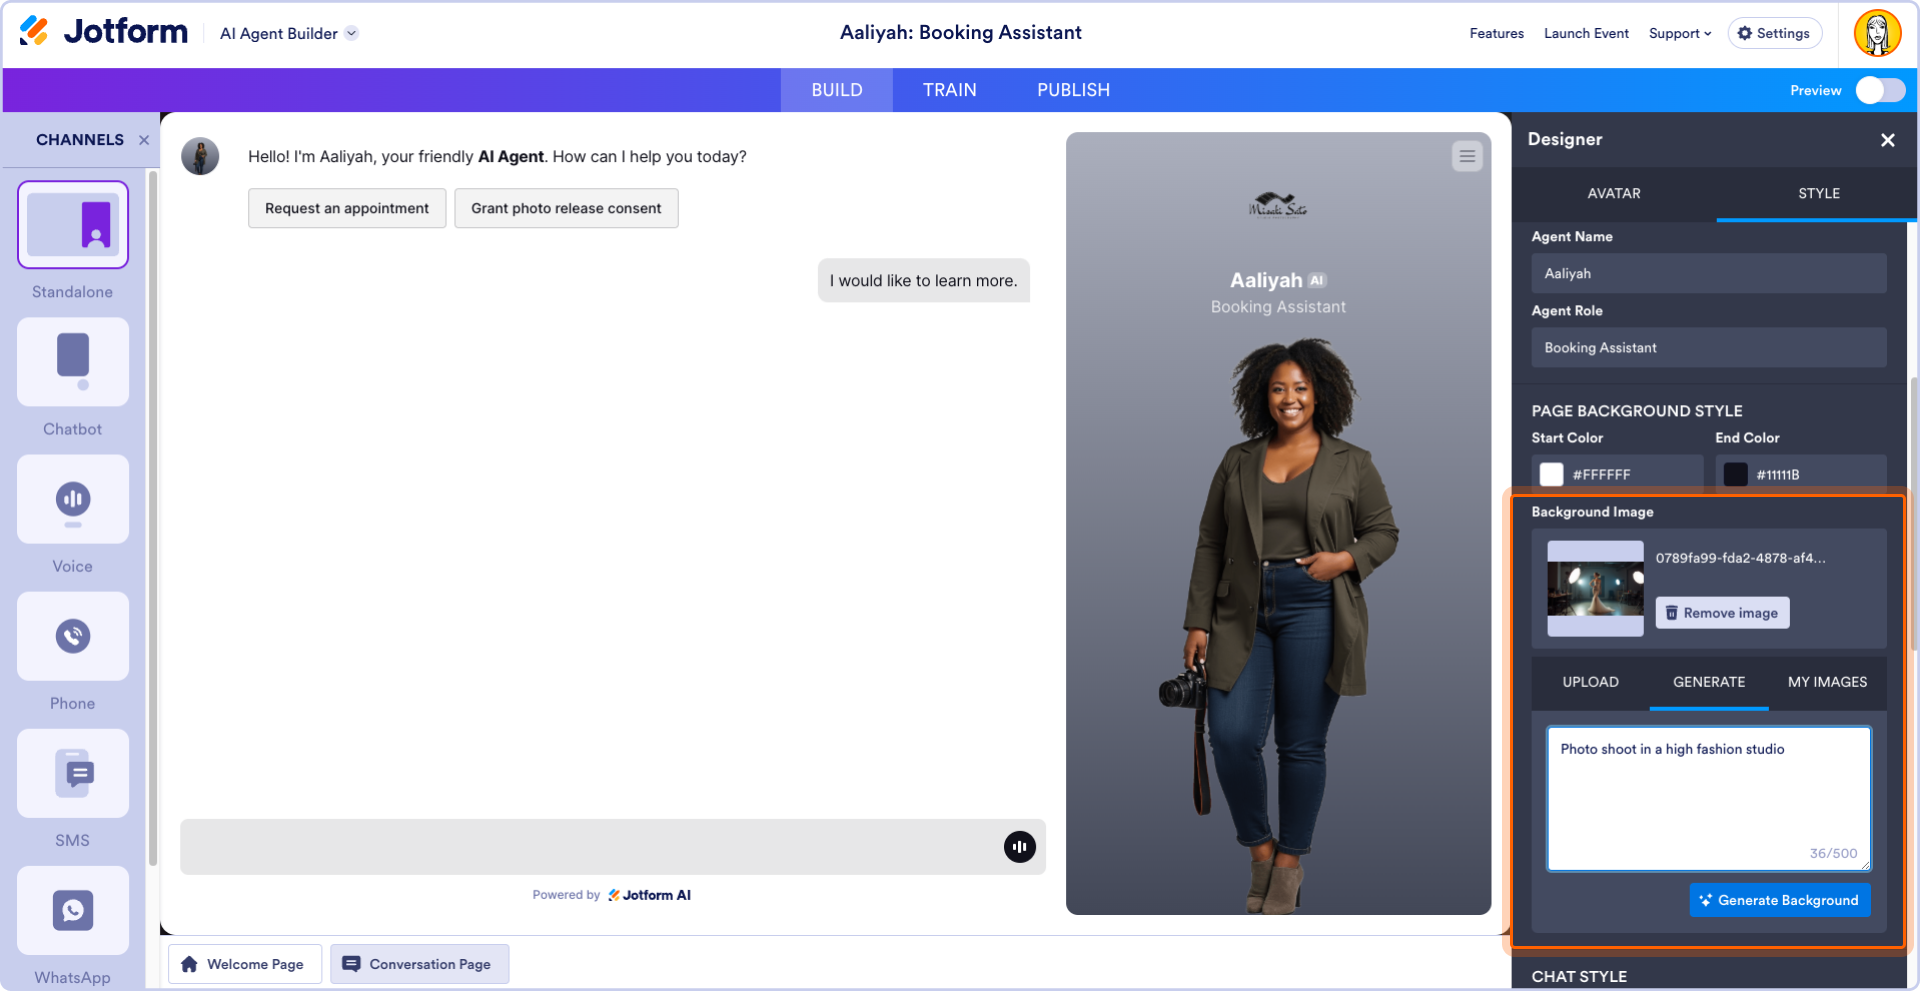
I used the Generate option to create a custom background image that better fits the style and theme of my agent.
- Within the Style section you can also customize the color, font, and appearance of your agent’s chat bubbles and which side of the screen your agent appears on.
To reassure your customers that they’re dealing with your brand, you can also upload your organization’s logo; it will appear above your agent’s avatar.
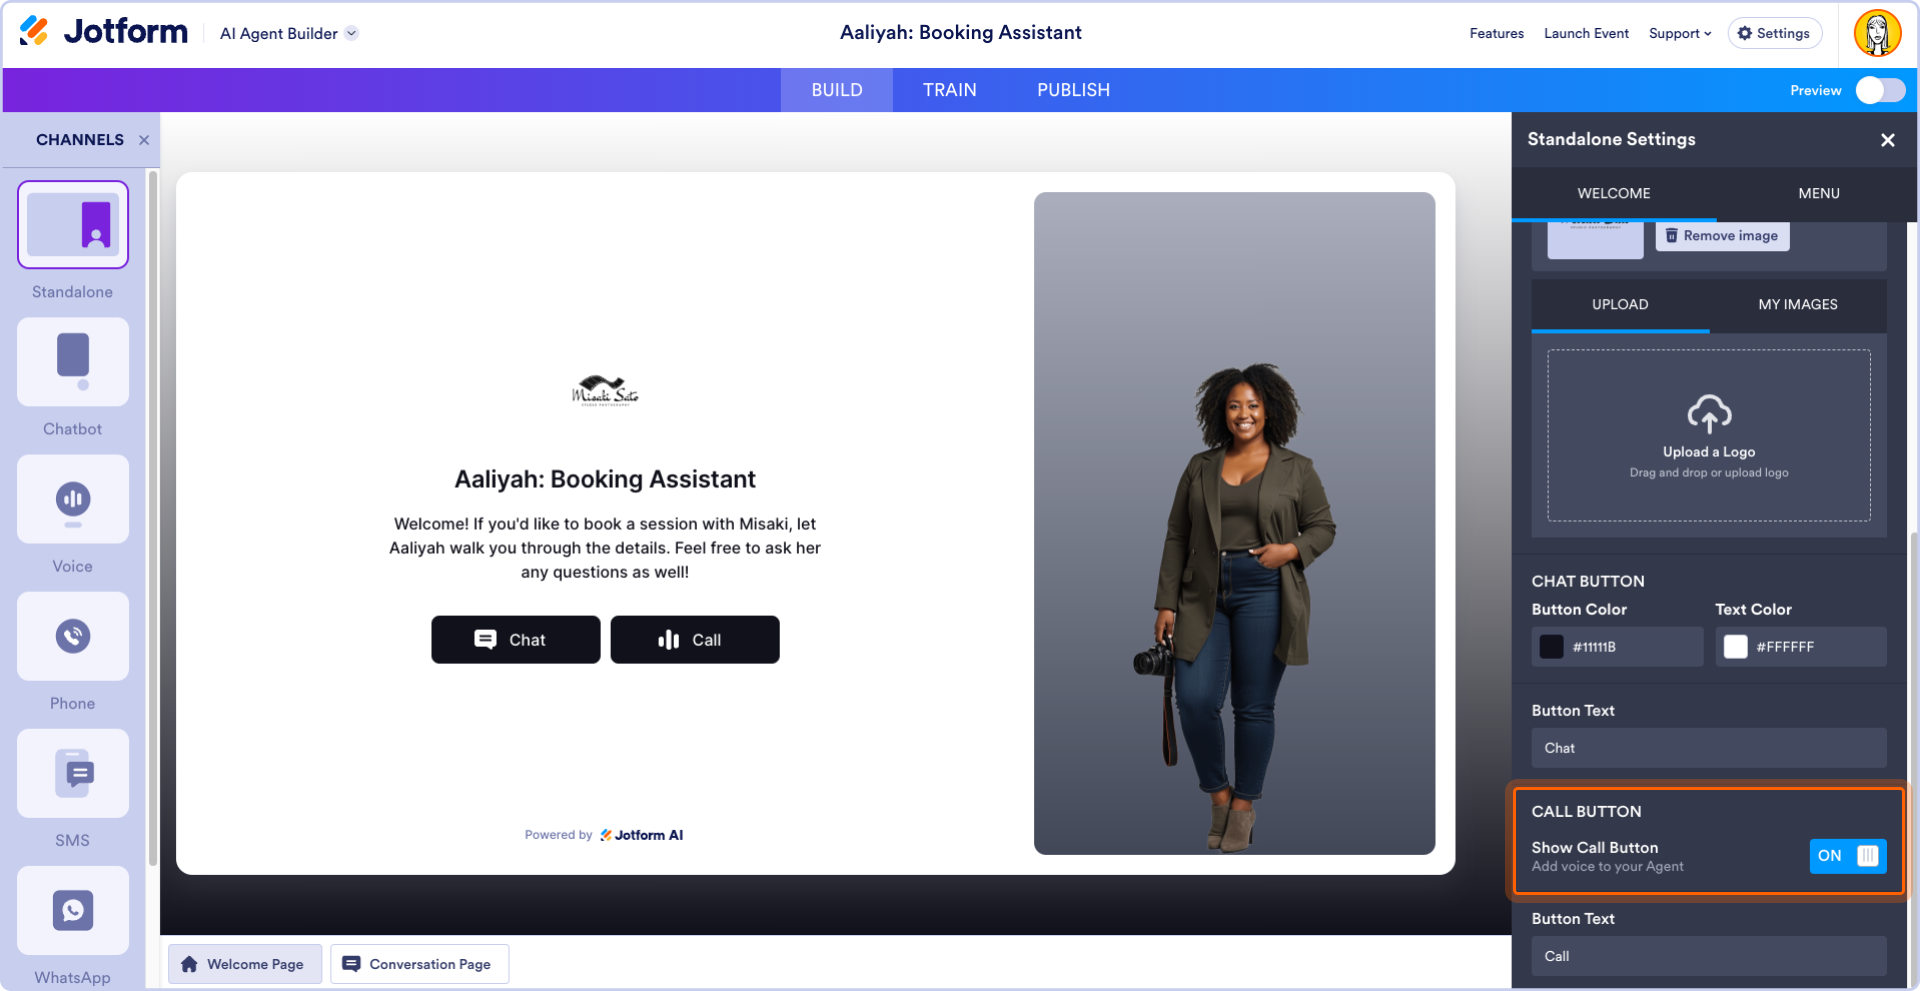
- If you’d like to set up a welcome page before dropping customers into agent conversations, select Add Welcome Page.
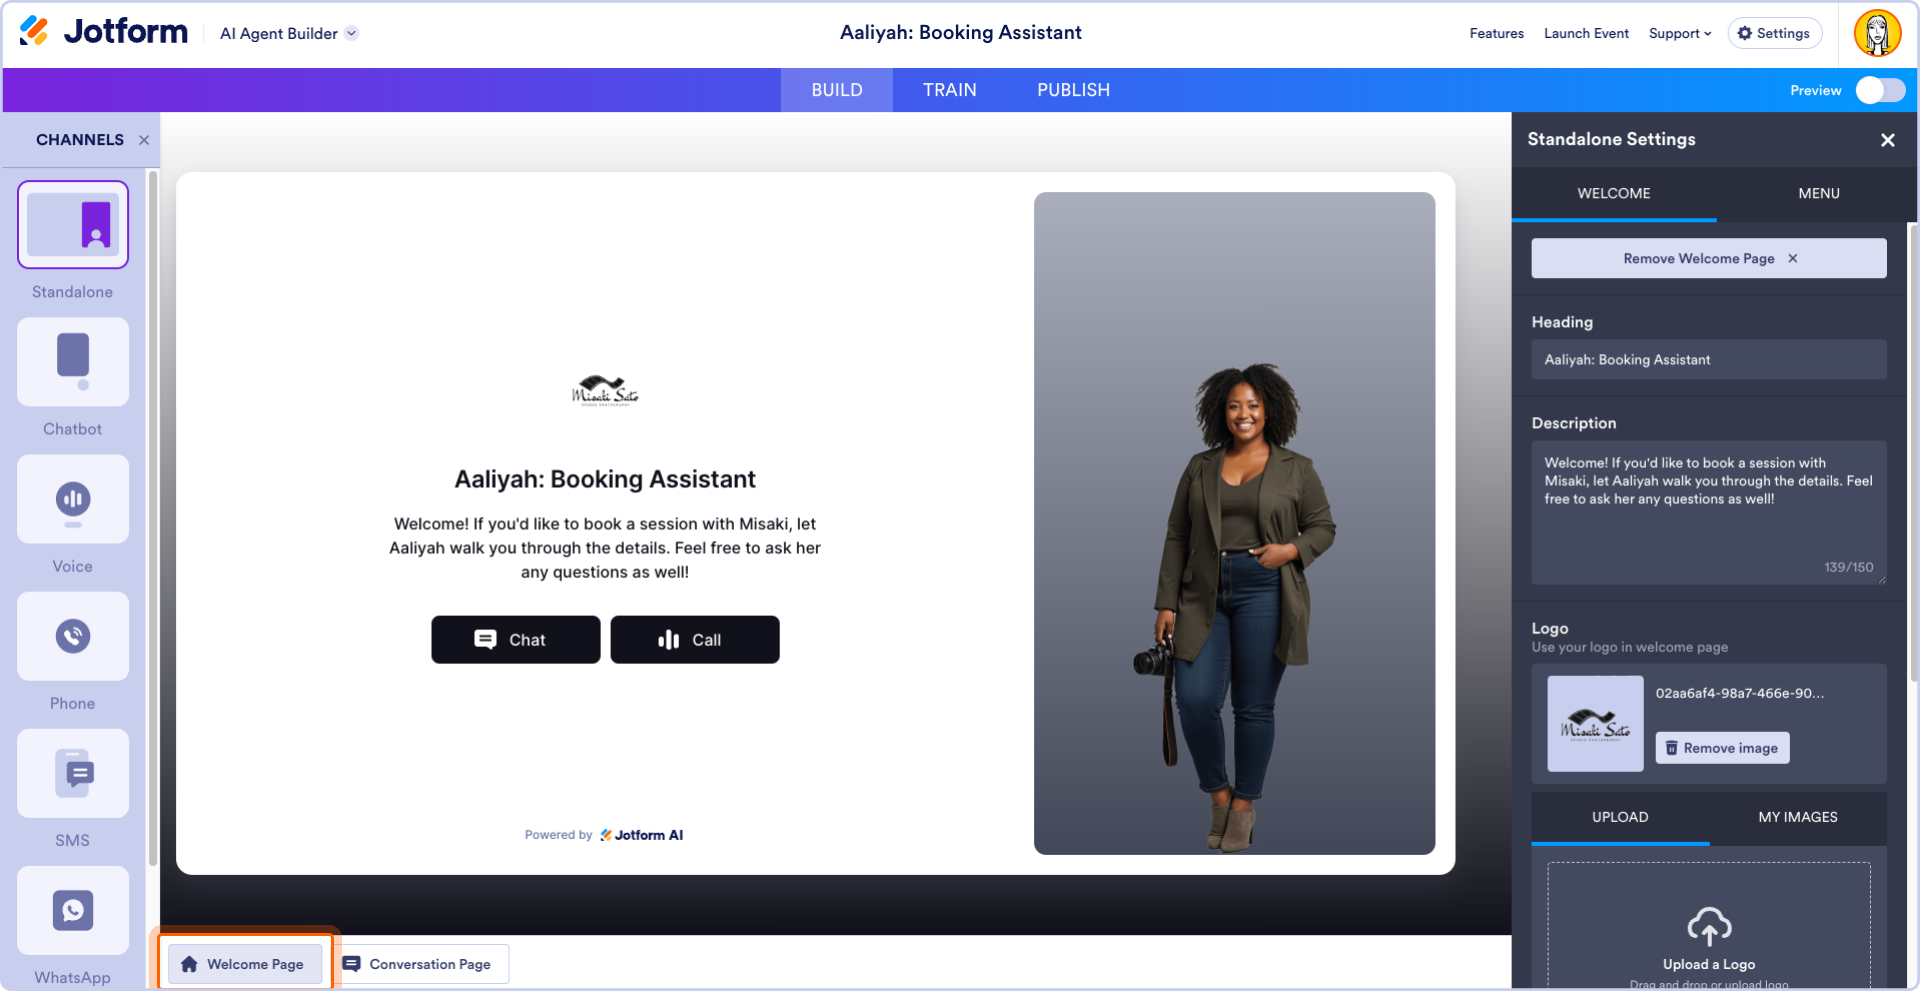
A default welcome page will be added. To customize it, hover over the page and select the gear icon. The Standalone Settings window will open. You can enter a custom welcome message in the Description text box and make other modifications. You can customize the buttons users see and choose whether to show a call button if you want your agent to receive and conduct calls (more on that later!).
Your AI Agent can be used to interact with your customers on multiple platforms:
- Standalone web interface
- Embedded chatbot
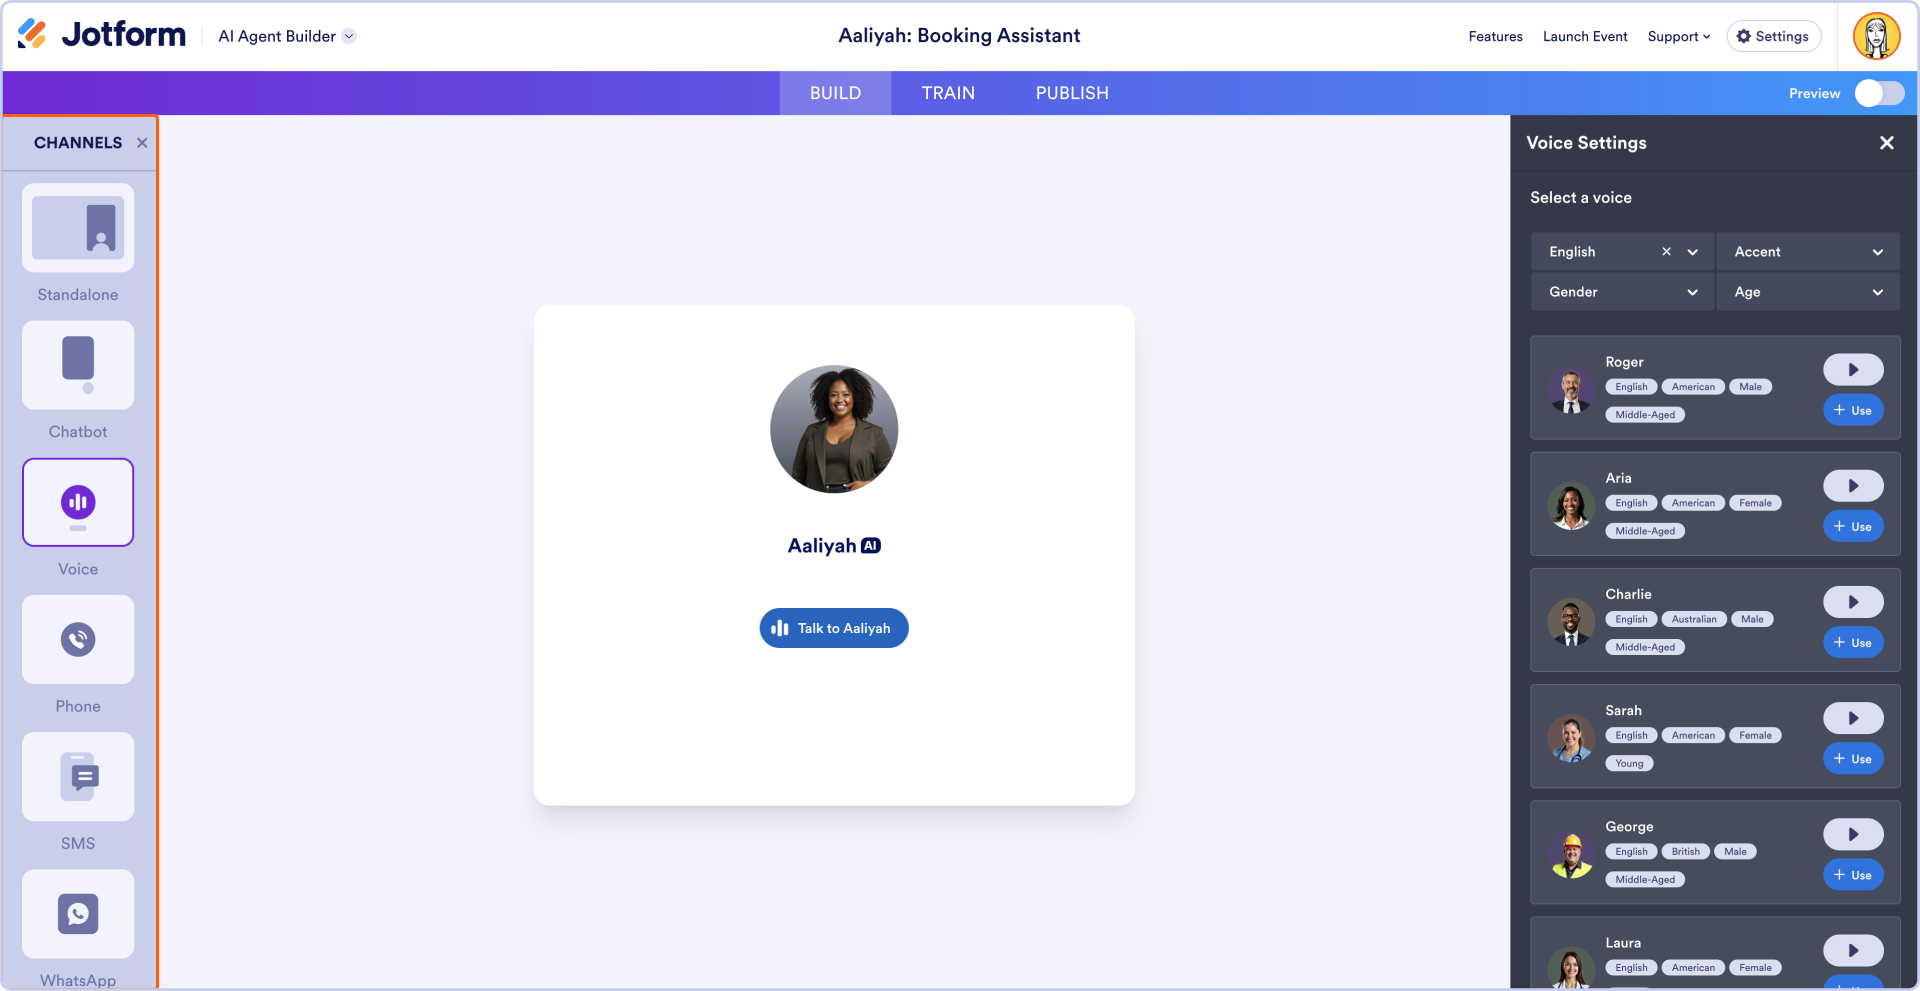
- Voice calls
- Phone calls
- SMS messages
- Messenger
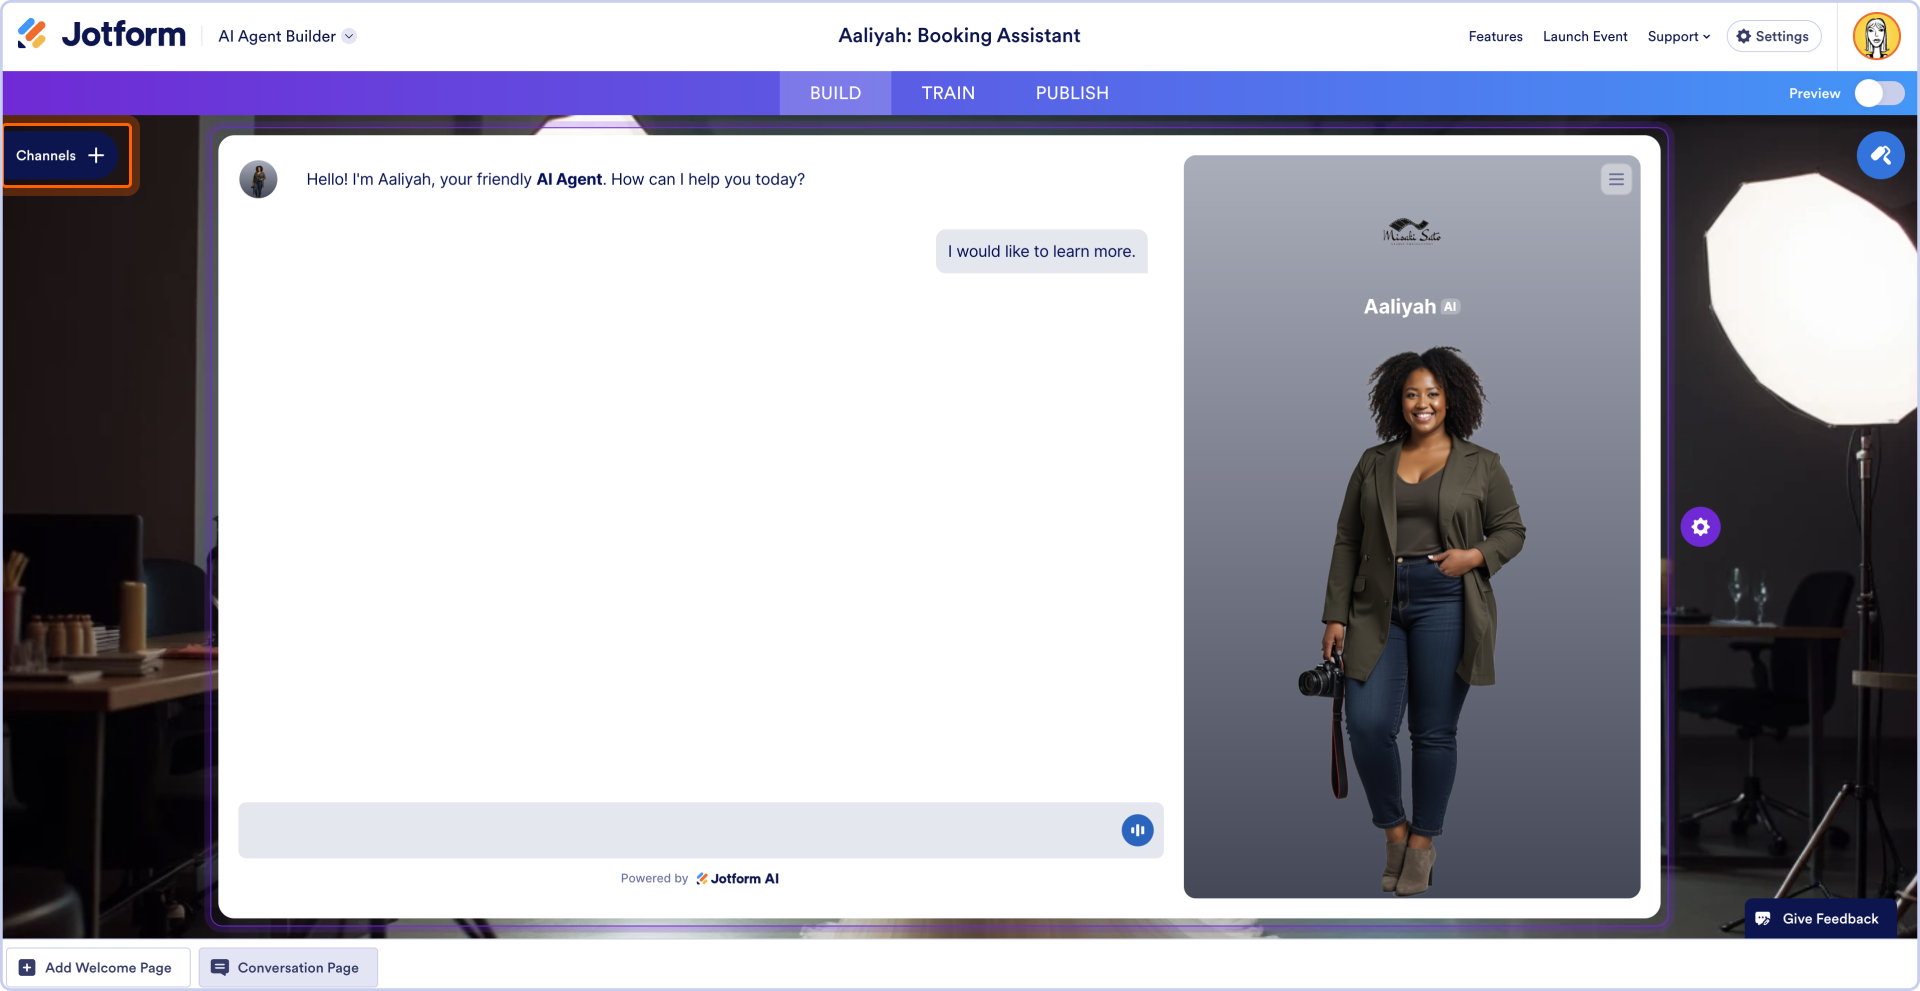
While you choose a primary channel when you initially create your agent, your agent can work across multiple channels, and you can customize its settings across each of them. Simply select the Channels button on the Build page to customize your agent across these channels.
We’ll explore these channels in more depth later on in Chapter 4: Setting AI Agents up across multiple channels.
How to convert a form into an agent from the Form Builder
While you can link multiple forms to your agent directly from the AI Agent Builder, you can also instantly turn a form you’re working on into an AI Agent. Here’s how.
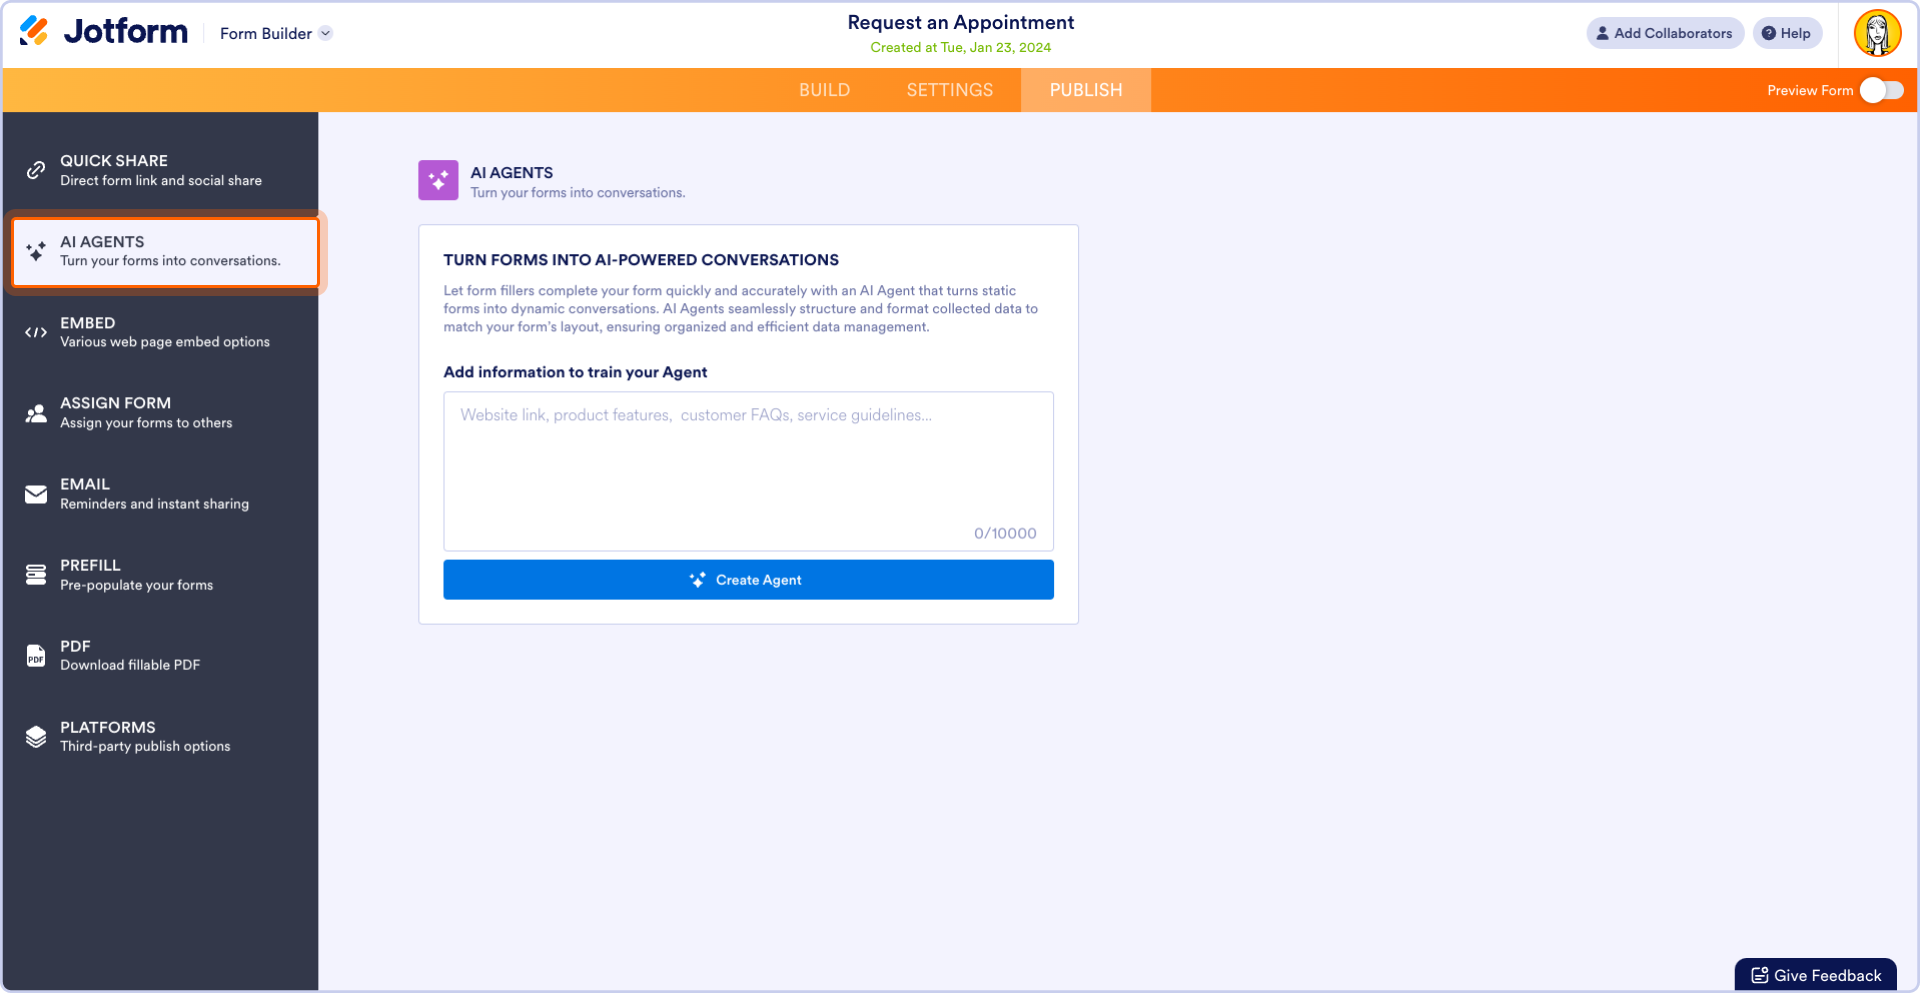
- In the Form Builder, select Publish. In the Publish sidebar, select AI Agents. Here, you can enter training information in the text box (you can also wait to do this from the main AI Agent Builder interface). Select Create Agent to convert your form into an agent. The AI Agent Builder interface will open.
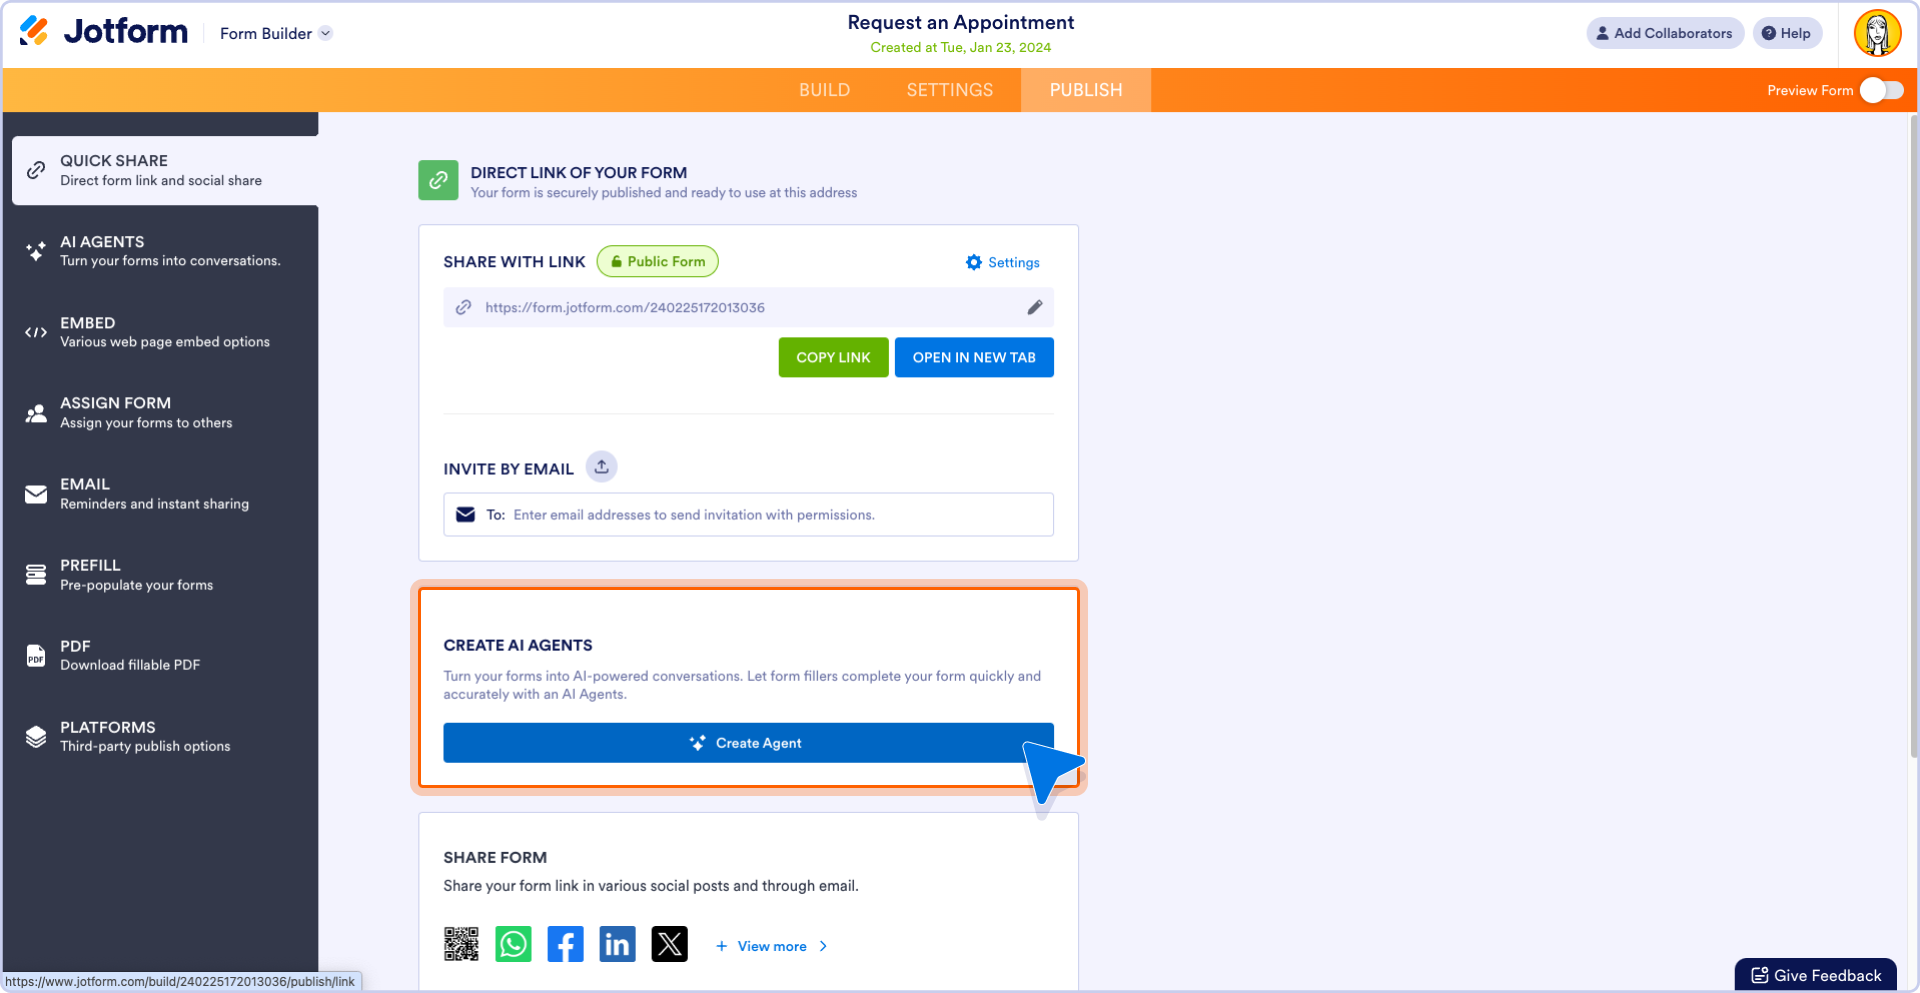
Alternatively, you can select Create Agent from the Quick Share window.
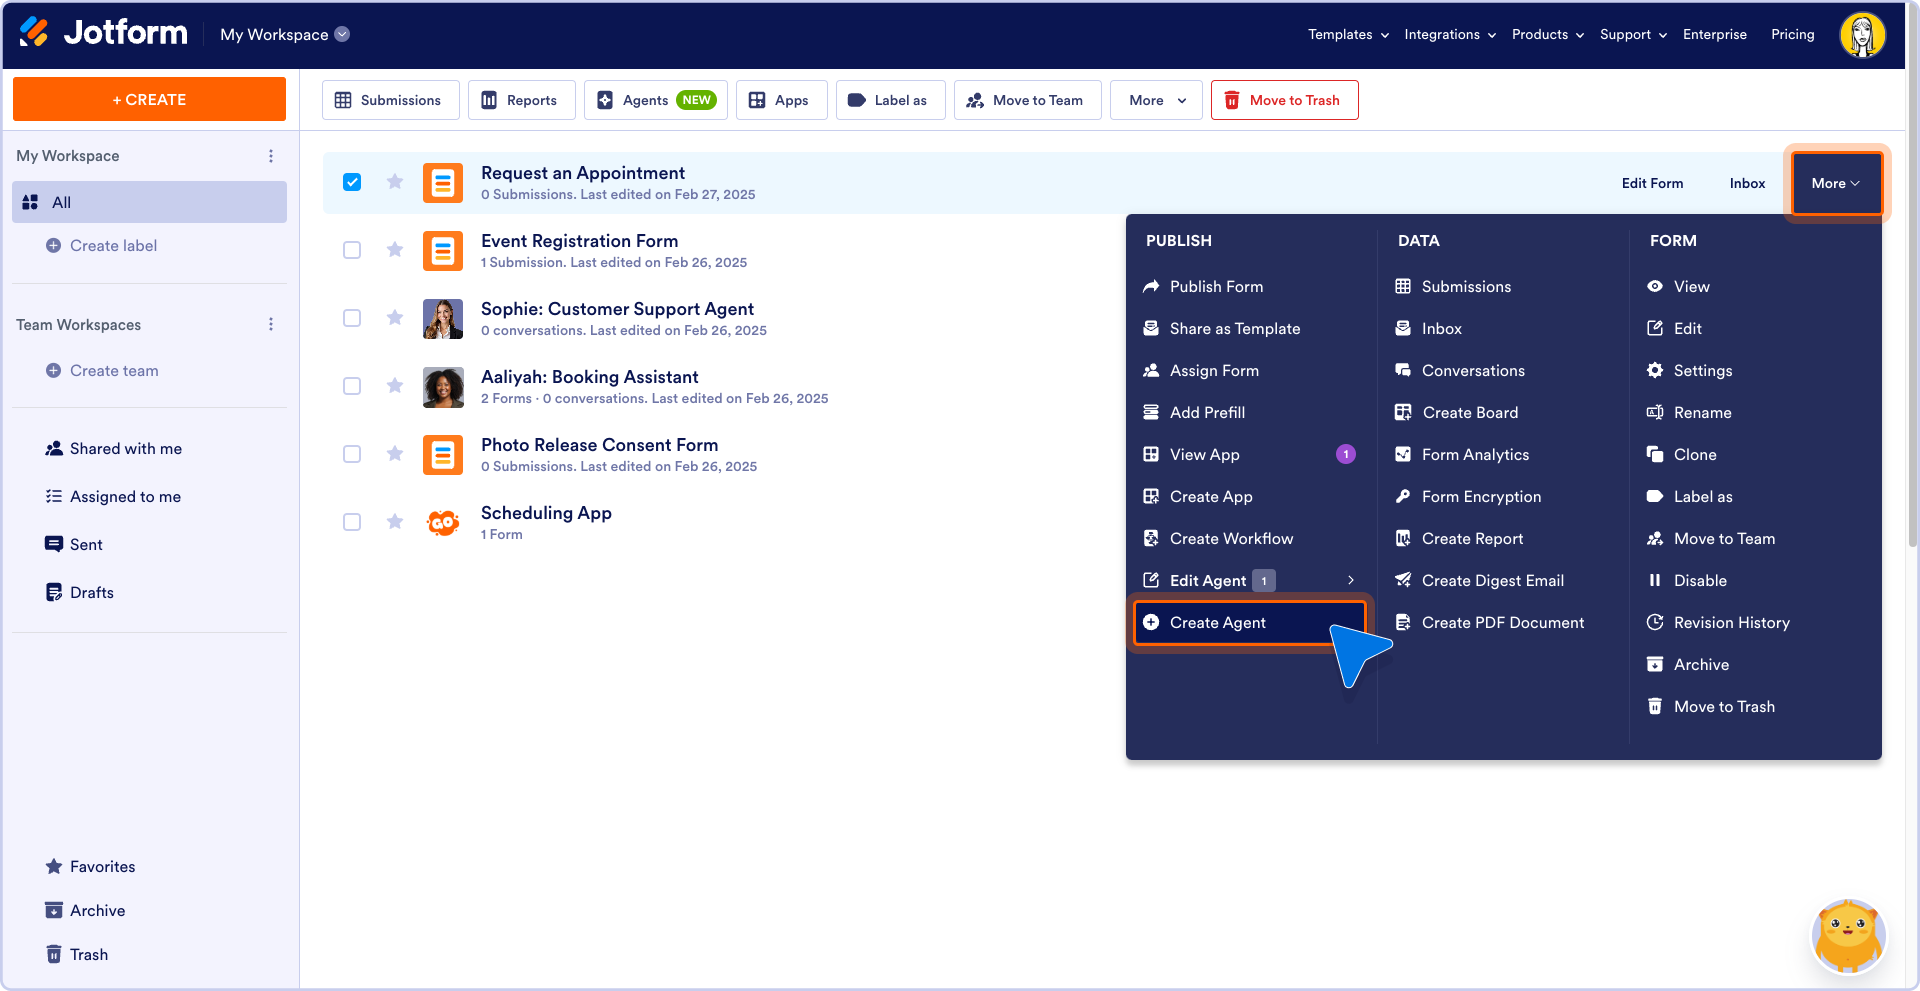
2. You can also create an agent directly from your My Workspace page. Select your form, select More, then select Create Agent from the menu.