Ghost is an open-source platform made for writers, publishers, and creators who want a clean, straightforward way to share their content. It’s known for its minimalist design and user-friendly interface, perfect for building websites, publishing blogs, or sending newsletters. Ghost keeps things simple, letting you focus on connecting with your audience without getting bogged down by extra features you don’t need.
Now, if you add an online form to your Ghost site, you can take that connection even further. Forms make it easy to capture feedback, collect sign-ups, or get new content ideas directly from your readers. It’s a great way to hear from your audience, learn what they’re looking for, and build a real sense of community around your work.
Getting the Embed Code
Follow these steps to copy the form embed code for your Ghost page or blog post:
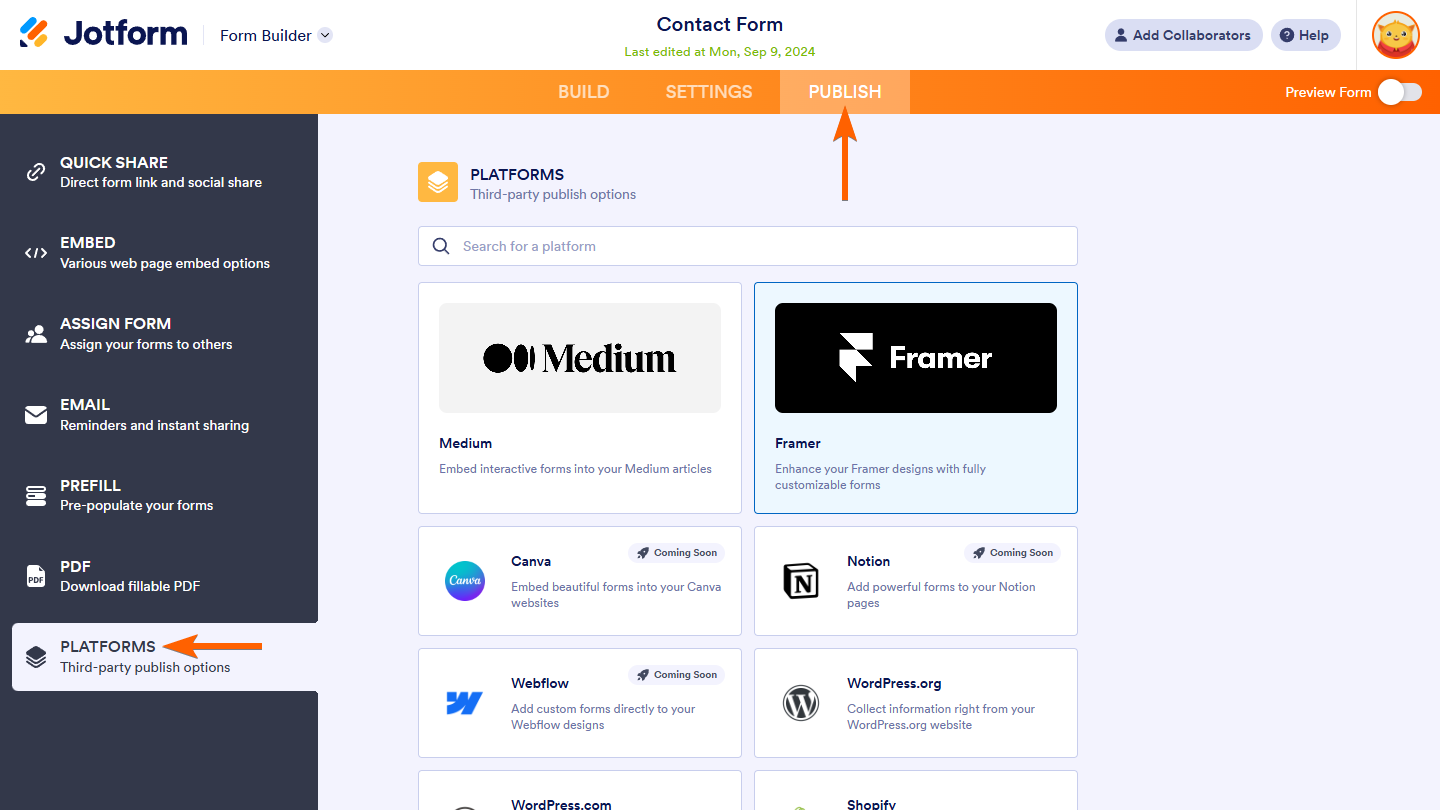
- In Form Builder, click on Publish.
- Next, click on Platforms.
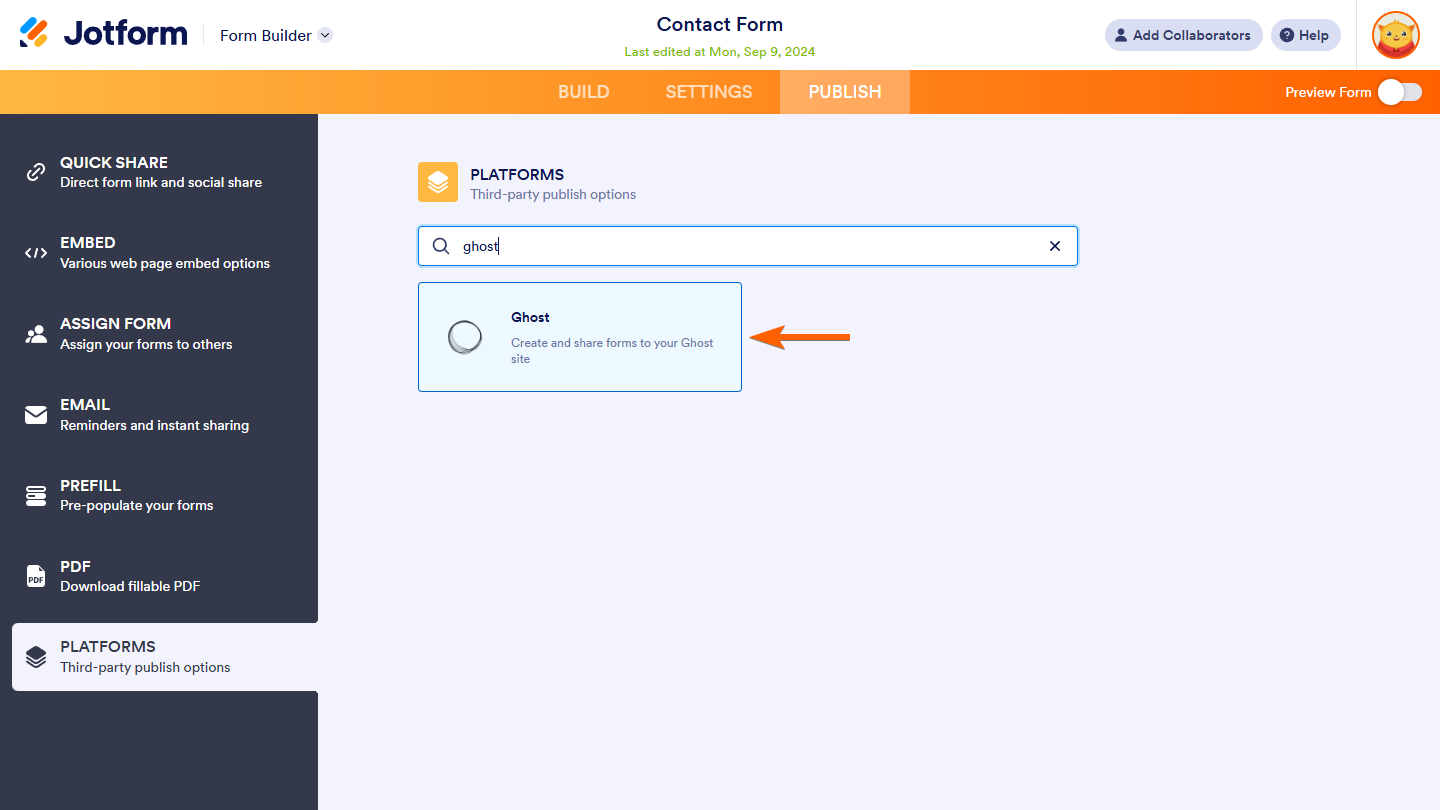
- Then, select Ghost. You can use the search bar to find it easily.
- In the next screen, click on Copy Code.
Embedding the Form
Once you are signed in to your Ghost site address, follow these steps to embed your form on your Ghost website:
- Click on the Pages tab on the left side of the page.
- Next, click on the Pencil icon on the right of the page you want to embed your form.
- In Ghost editor, click the Plus icon to open the Card menu.
- Select the HTML card to add it to your website.
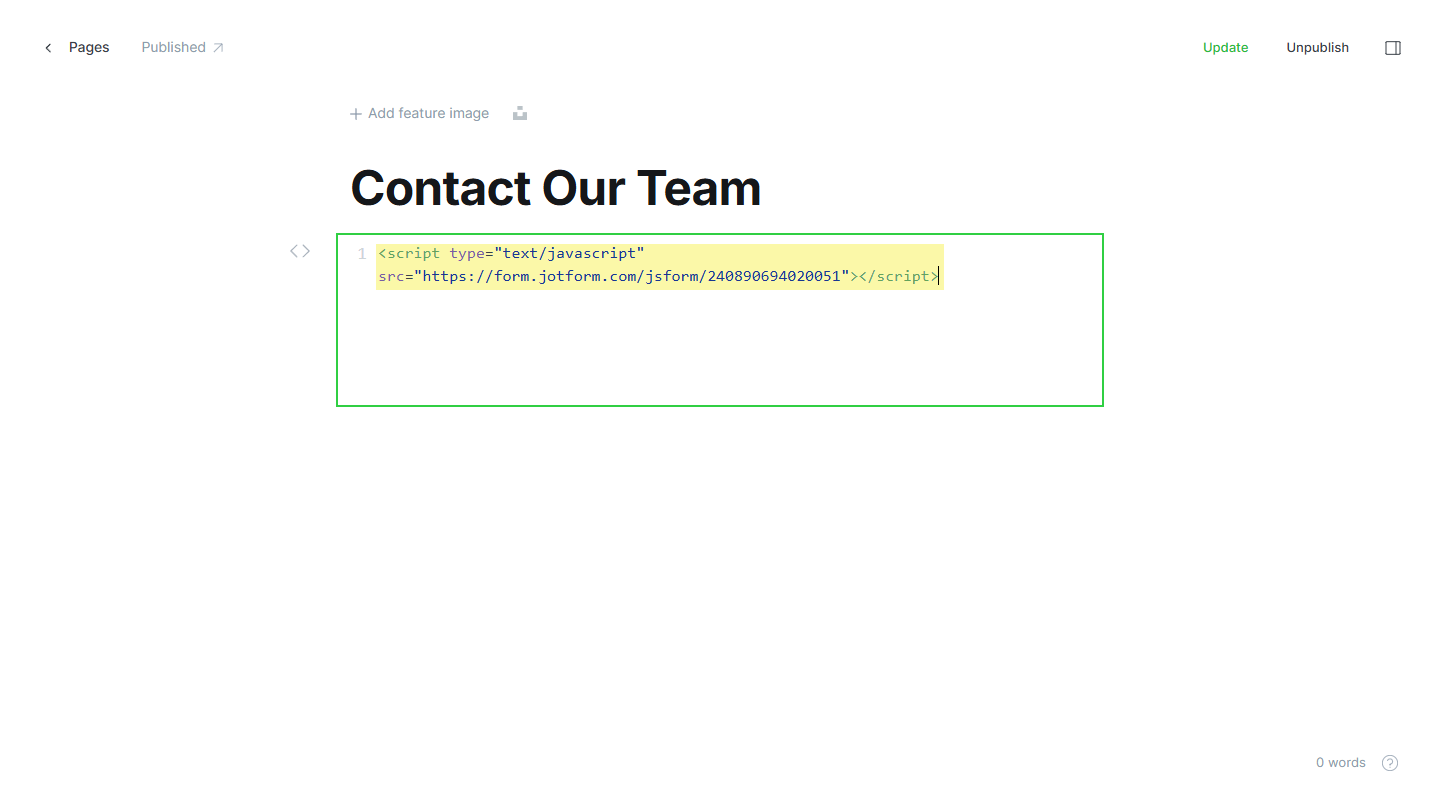
- Paste your form embed code into the source code editor.
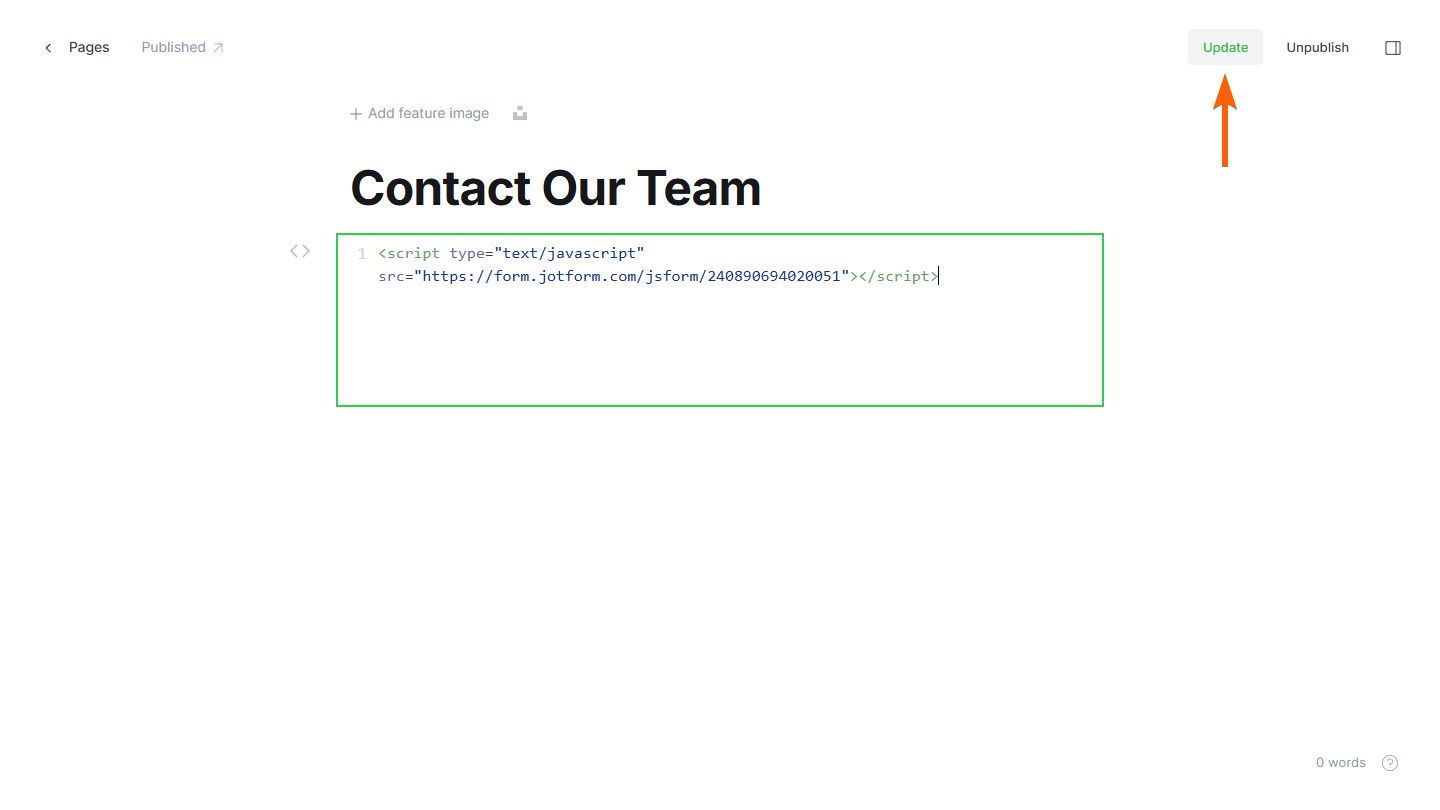
- Click on the Update button at the top of the page to apply the changes.
Viewing Embedded Form
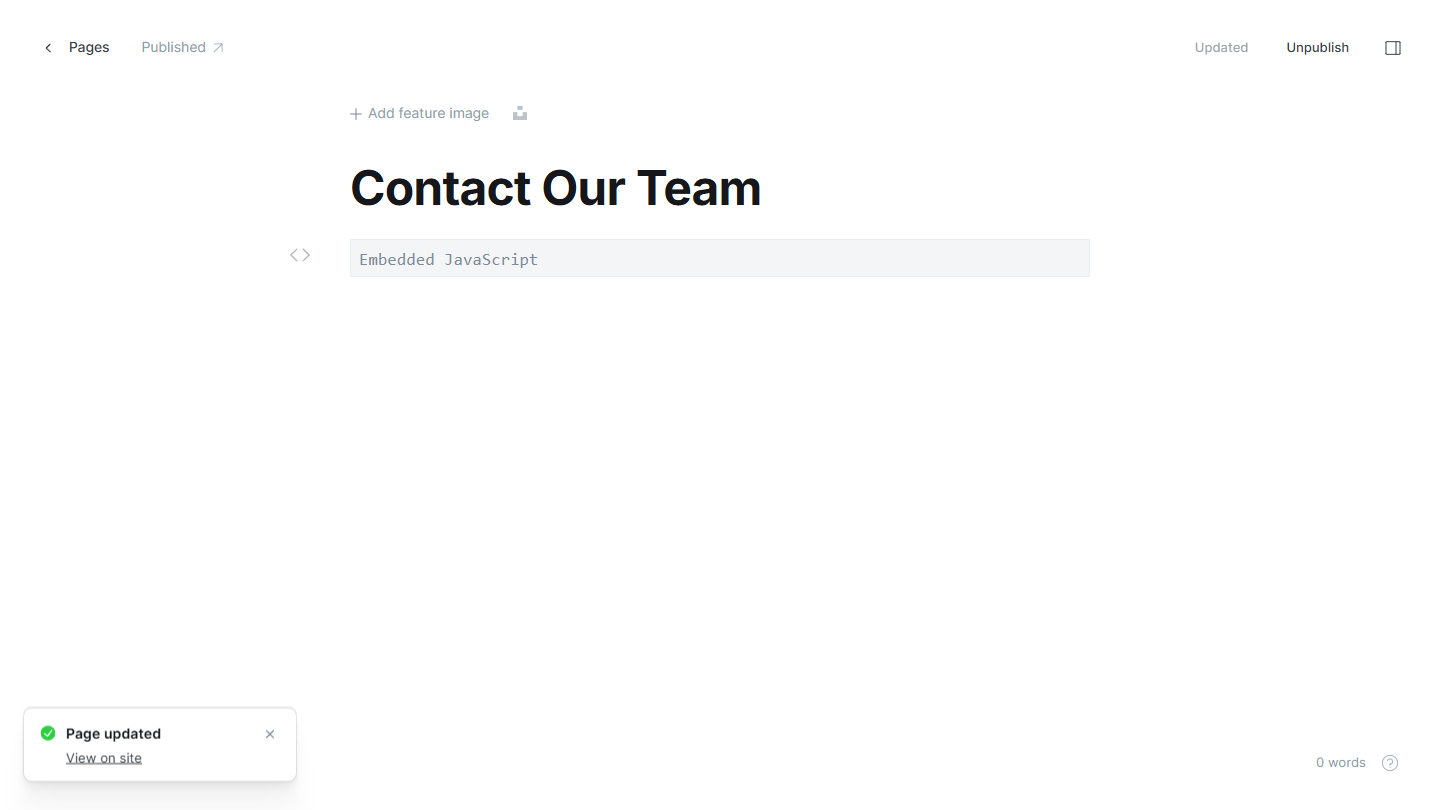
The Ghost Editor saves any changes automatically as draft. After you paste your form embed code and update your website, the HTML card will show an Embedded Javascript message in the Ghost editor.
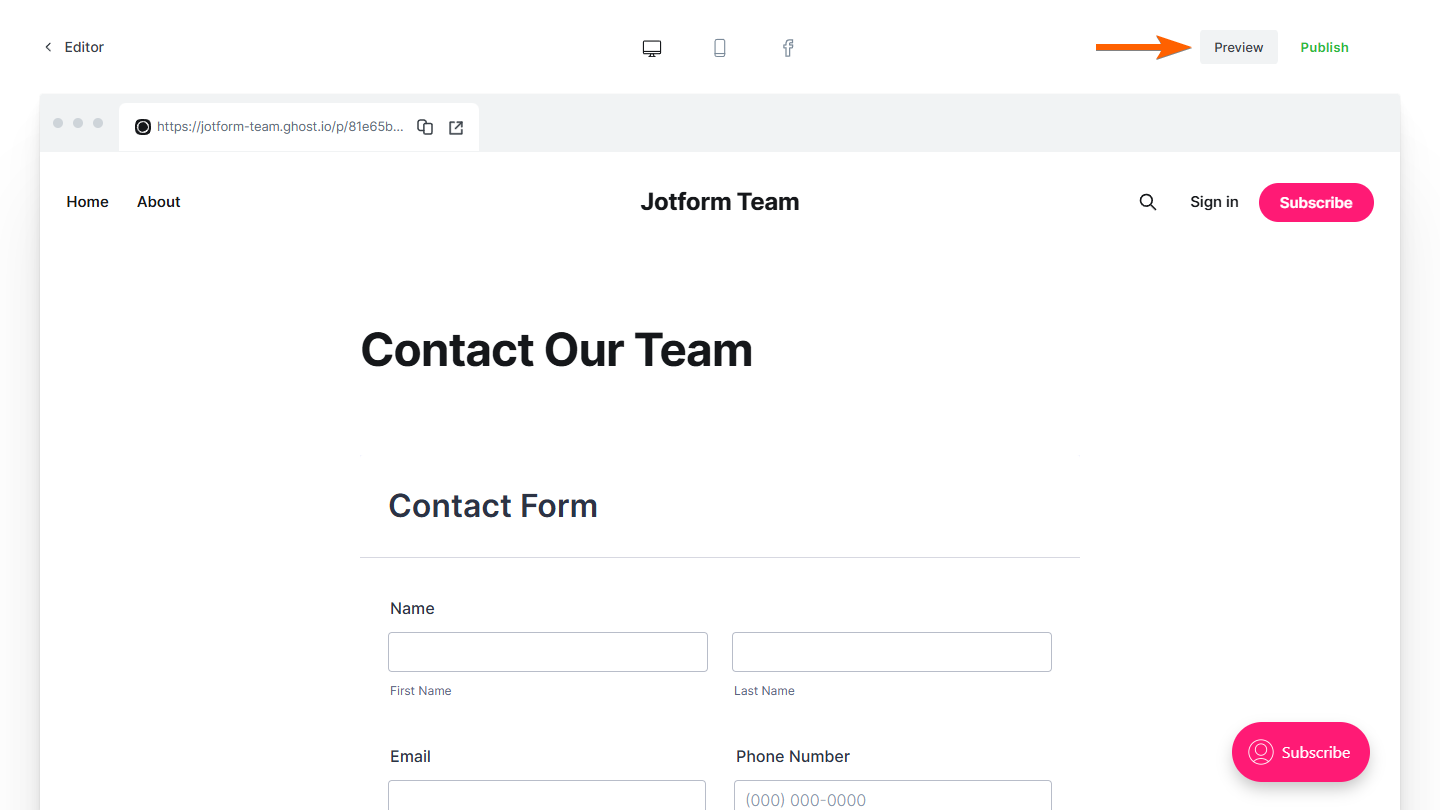
Your embedded form will show when you preview your unpublished website.
It will appear on your published website after you click on the Update button in the Ghost editor.
Notes
The above steps are for Ghost’s page. But the steps are the same if you want to add a form to your Ghost posts.
Ghost Pro is used in this guide, but the steps are the same for a self-installed Ghost website.


Send Comment:
6 Comments:
More than a year ago
Save your theme changes and upload your theme via the Design view in Ghost admin. Next, create a new page called “Contact” and use the Template select option at the bottom of the page settings to select the template “Page With Form”. Hit publish and navigate to the page on your site to see the form in action.
More than a year ago
Cool form builder, but the branding for free version is way too agressive.
I get it, it's free, totally fine to have a link at the bottom but not this giant advertisement banner.
More than a year ago
Hello there,
Please is this a sort of a blog subscription form; or it's just a form to make our customers contact us when they have any questions after reading our blog?
More than a year ago
very excited !!
More than a year ago
How could such a half-baked product be released with such a pride is beyond me. There is absolutely nothing good about it, plus complete lack of customization and conditions.
More than a year ago
The new form cards, are very beautiful, modern and design.
But they are restrained, and lack of functionality and customization of the form.
Notably, for the "Multi-line question" not possible to add widgets / plugins: such as "Imput mask" or "Fixed format" or custom hidden fields.
Same for the colors of the multi-steps (step)
Hope, a quick update