Data is important at Jotform. We help more than 15 million users accumulate digital stacks of information every day.
But what about data that has served its purpose and is no longer needed? It could be a good idea to tidy up your virtual workspace. The human brain responds well to an orderly work environment, and disorganization can lead to mental fatigue and lack of concentration. When workers clear their clutter, they often focus better, leading to an increase in productivity.
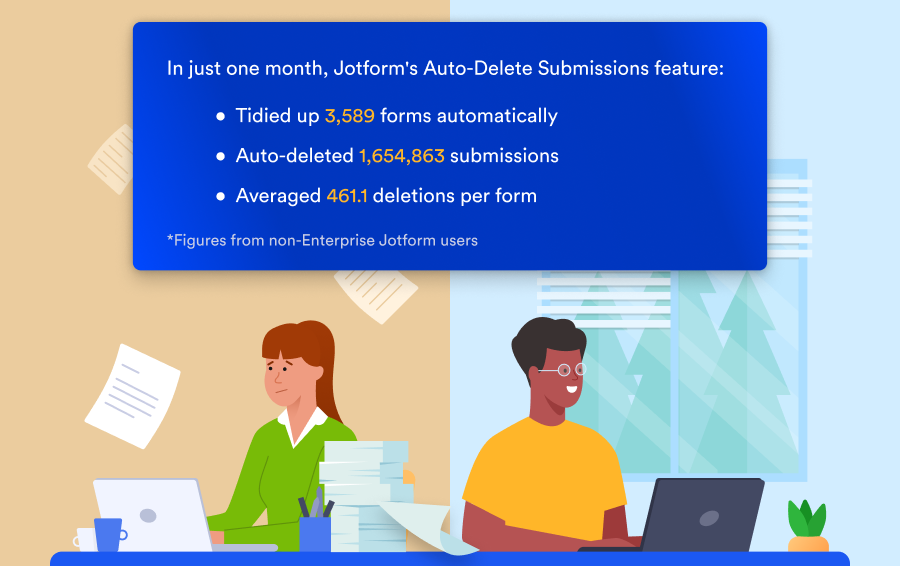
Judging from the response to our new Auto-Delete Submissions feature, Jotform users are already aware of this. A distinct upgrade from Jotform’s Auto Delete Submissions form integration, the Auto-Delete Submissions feature became functional earlier this year. The Jotform community has taken advantage by deleting more than 1,654,863 submissions automatically.
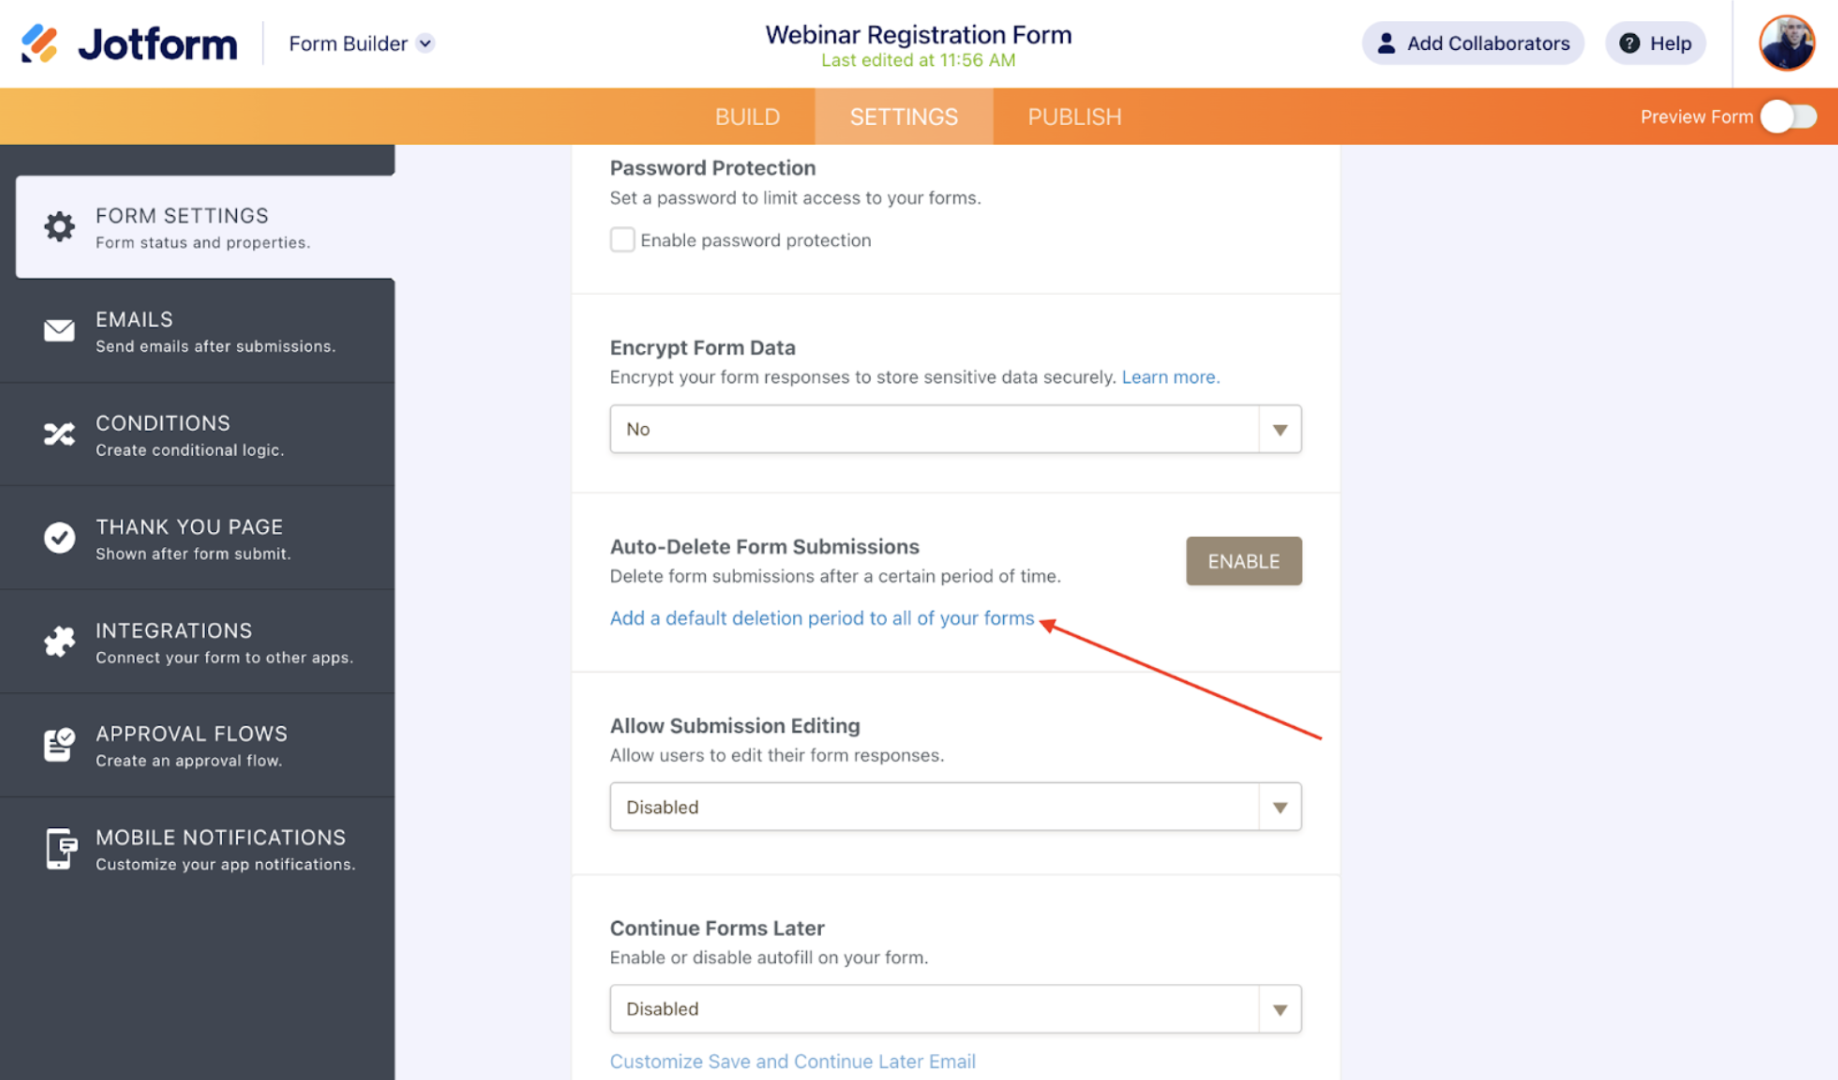
It’s likely that the Auto-Delete Submissions feature is already popular because it’s easy to find. You can access it directly from the Form Builder to set auto-delete rules for a single form. If you want to set rules for all your forms at once, you can do so from your account settings.
Hang onto the data you still need
The Auto-Delete Submissions feature is about more than simply deleting data. It also helps you hang onto the data you still need through the following feature attributes:
- Auto-deleted submissions can be restored from your trash file for 30 days.
- You get to choose how long data stays in your inbox, from just one hour to one year.
- Submissions imported to Tables or added manually are never deleted automatically.
- Archived submissions and submissions restored after auto-deletion are excluded from deletion.
Altogether, it’s a comprehensive list of options that nimbly handles the various data deletion needs of our users. Some users transfer Jotform submissions to a third-party service or their own service for data management, so submissions can be cleared from Jotform almost immediately. Others have data that must be deleted due to industry regulations and/or legal requirements.
Whatever reason you have for organizing your Jotform inbox, it’s easier than ever to do. Here’s a brief look at how to take advantage of Jotform’s new Auto-Delete Submissions feature if you haven’t done so already.
Deleting submissions for individual forms
To set the Auto-Delete Submissions feature for a single form, go to the Settings tab of the Form Builder and click the Show More Options button. Then click the Enable button in the Auto-Delete Form Submissions section.
Next, select a deletion period. If you have existing data that exceeds your chosen deletion time frame, you can elect to keep or delete the affected data or go back and adjust your chosen time window.
A summary of your selected auto-delete rules will appear on the final screen. Click Yes, Update to save your form settings. The submission deletion period will be displayed in the Form Builder Settings next to the Disable button, indicating that Auto-Delete Submissions is active.
Pro Tip
You can also jump to your account settings while setting auto-delete for a single form. To do this, click the link labeled Add a default deletion period to all your forms, which is visible from the Auto-Delete Submissions settings in the Form Settings.
Deleting form submission data at the account level
If you’d rather set auto-delete rules for multiple forms at once, go to the Data section of the My Account page.
Click the Set Deletion Period button and select your preferred time frame. Forms that already have Auto-Delete Submissions settings will appear on the next screen with their accompanying auto-delete rules. You can opt to keep those settings, change them along with your new account-level settings, or go back to alter your deletion period.
Just as with auto-delete rules set for a single form, you’ll be notified of any submission data that’s to be deleted instantly because of your new settings. You can choose to keep the data, delete it, or go back and adjust your Auto-Delete Submissions setting.
A summary of your changes will appear as part of a final review before you approve your new settings. Once saved, the default deletion period will appear in the Data section of the My Account page.
Your data, your choice
Jotform has always been a data-collection powerhouse. And now we’ve taken an extra step to help you manage all that information.
So what happens to data that has already served its purpose? The answer to that question is up to you. Clear your virtual workspace completely, or neatly store still-relevant data while other information goes away in an instant.
However you choose to clear a bit of clutter, or perhaps more than a bit, enjoy this new way to organize data with Jotform and further streamline your workflow.


Send Comment: