Jotform HIPAA accounts are served from an isolated HIPAA system. In that system, we are taking additional measures in addition to our standard practices to avoid unintentional data breaches. When you enable HIPAA compliance features, all your data is migrated to the isolated system supporting HIPAA guidelines.
You may create a new account or enable HIPAA compliance features from your existing Jotform account. The HIPAA upgrade wizard will help you navigate through the end.
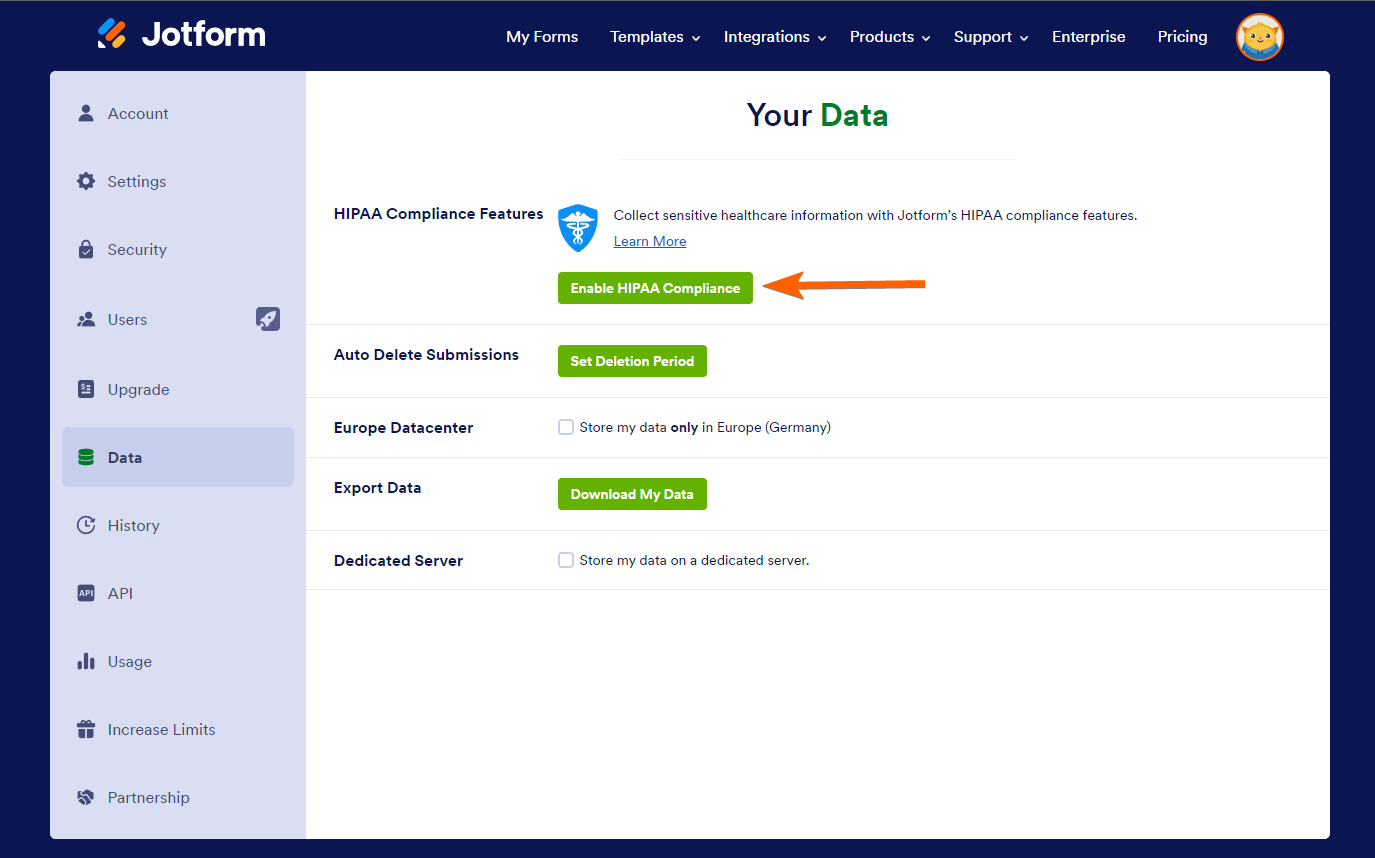
The upgrade wizard can be initiated from your account’s Data page.
After clicking the Enable HIPAA Compliance button, the setup wizard will go through the following:
Upgrade Account
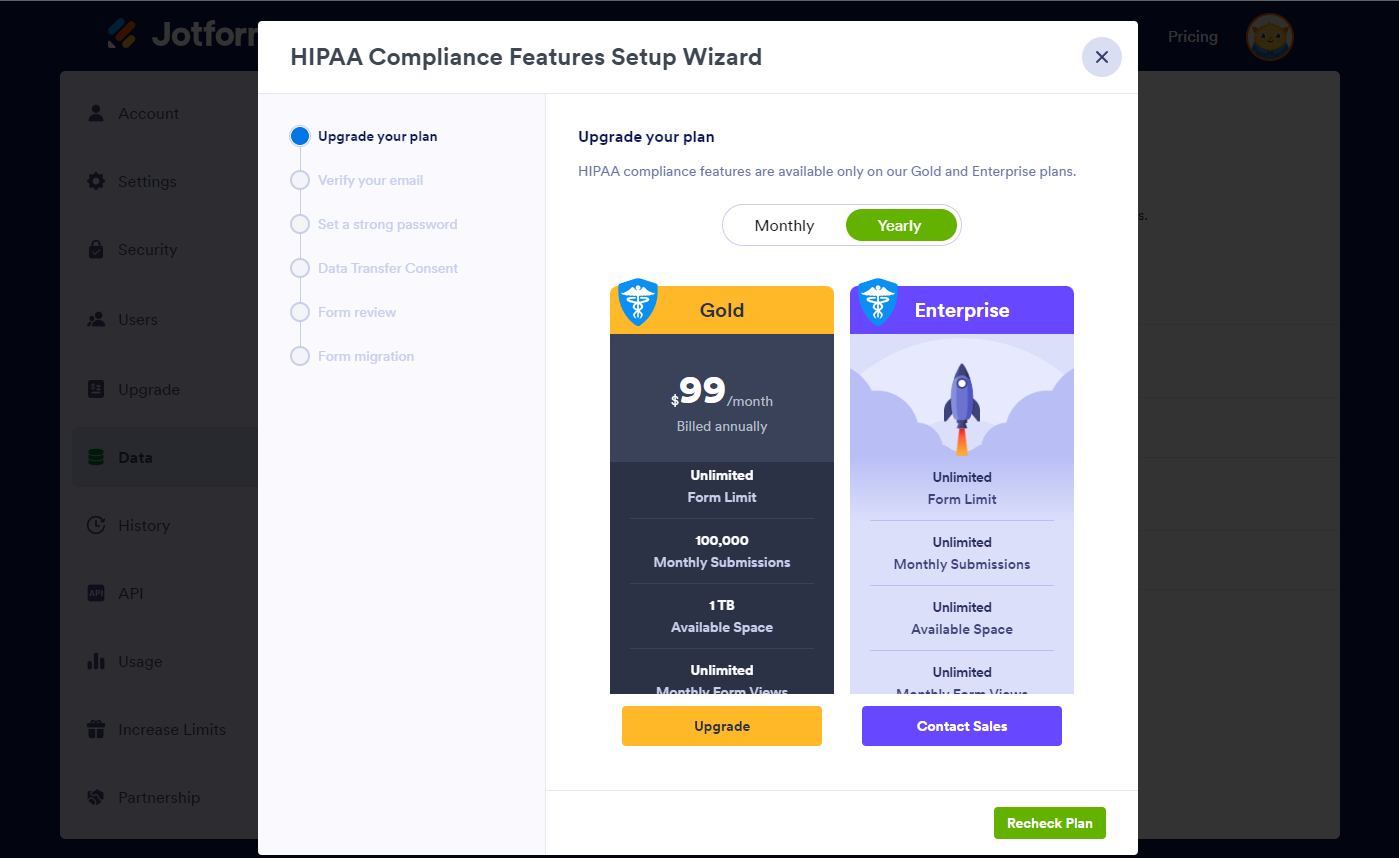
The upgrade wizard will first check your subscription type. We are offering HIPAA compliance features only for Gold subscriptions. You will see the following message if you don’t have a Gold subscription.
Verify Your Email Address
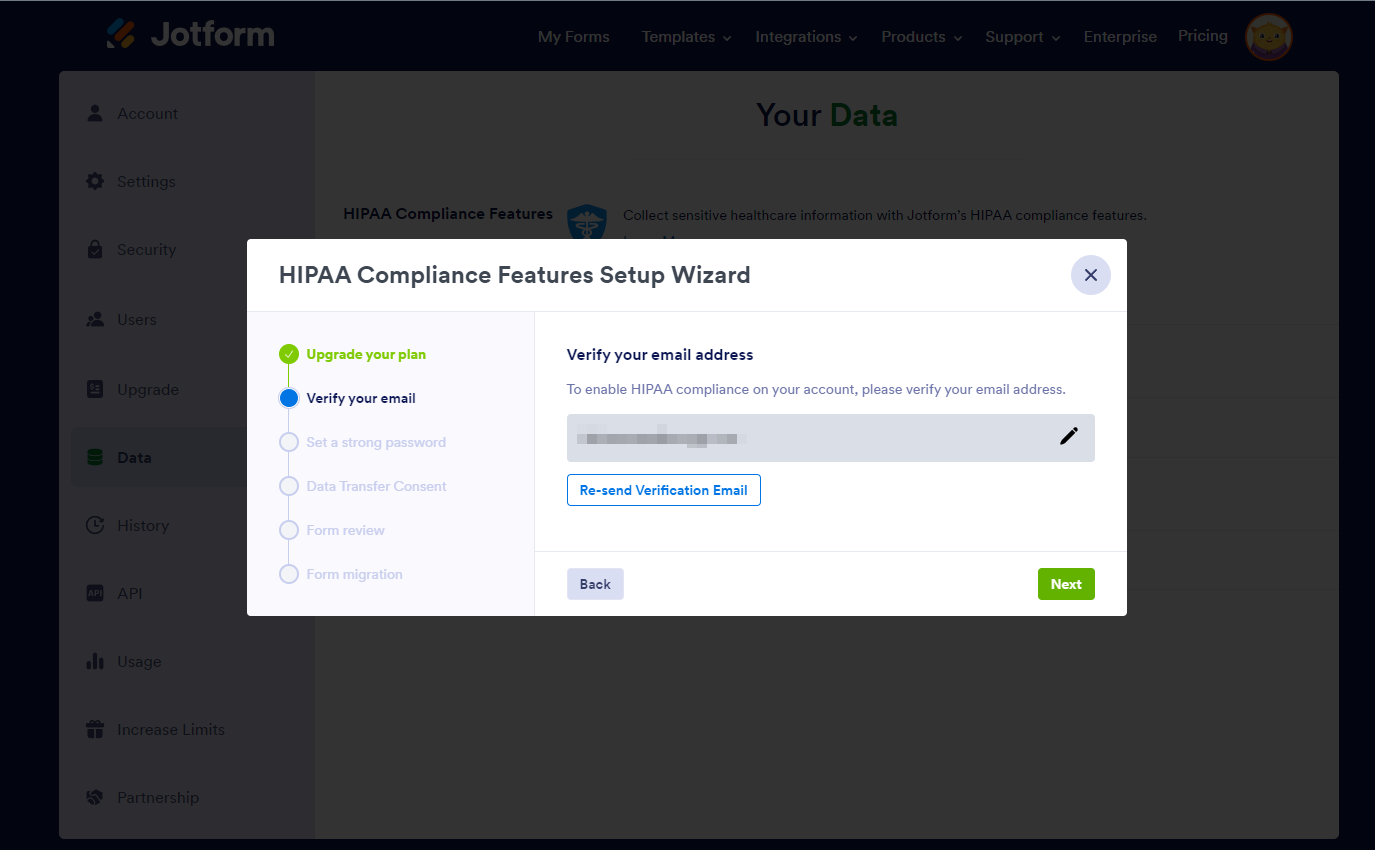
The upgrade wizard will check if you have verified your email address. If you have not already verified your email address, you will see the following message:
Set a Strong Password
HIPAA Compliance requires the use of strong passwords. The upgrade wizard will ask you to define a new password if you have a weak one, which will be your new password to log in to your HIPAA account.
The new password has to follow the HIPAA guidelines where your password must be different from your last 6 passwords and contain at least:
- 1 lowercase letter
- 1 uppercase letter
- 1 number
- 1 special character
- 8 characters
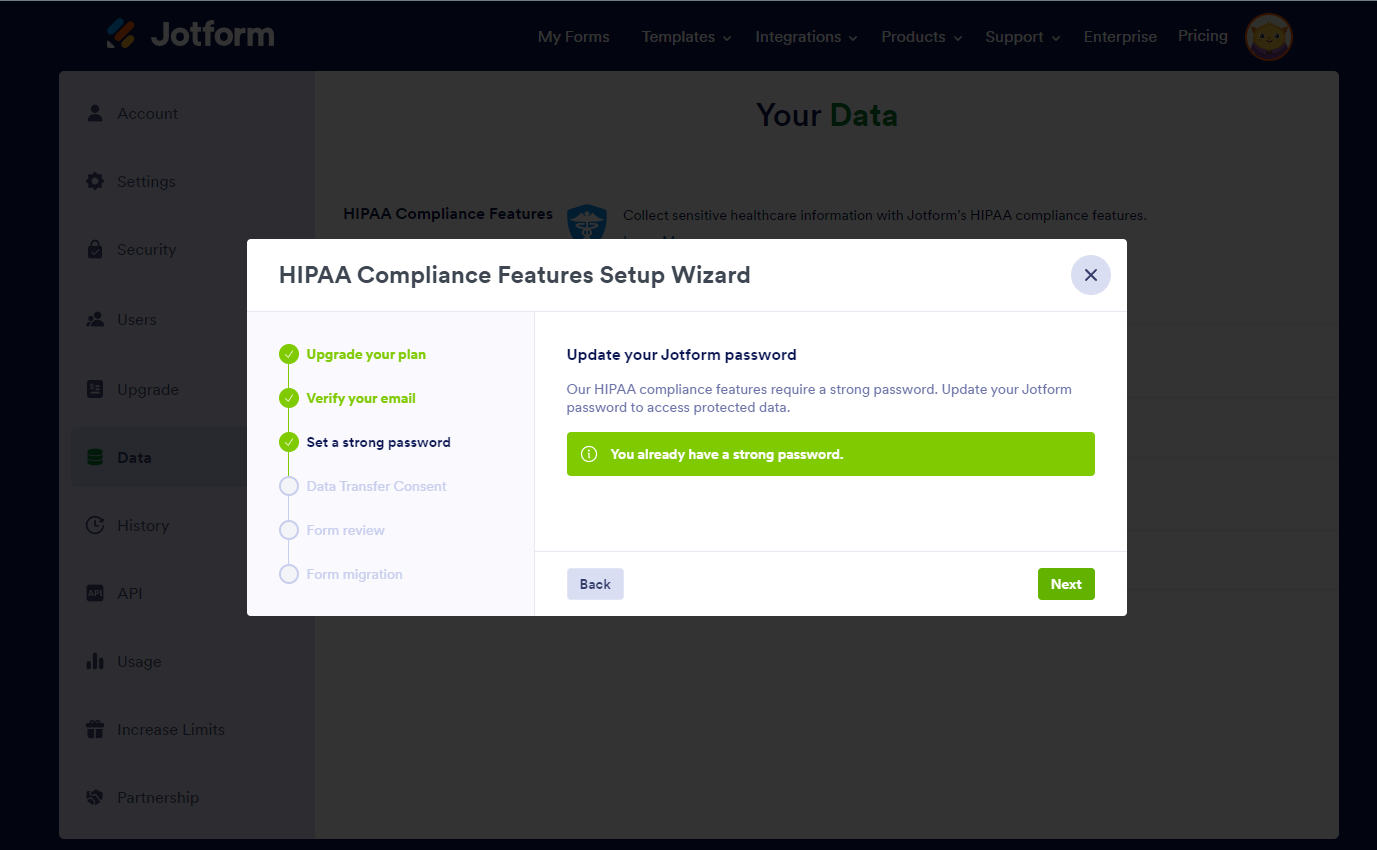
If you’ve already created the account with a strong password, you should see the following message:
Data Transfer Consent
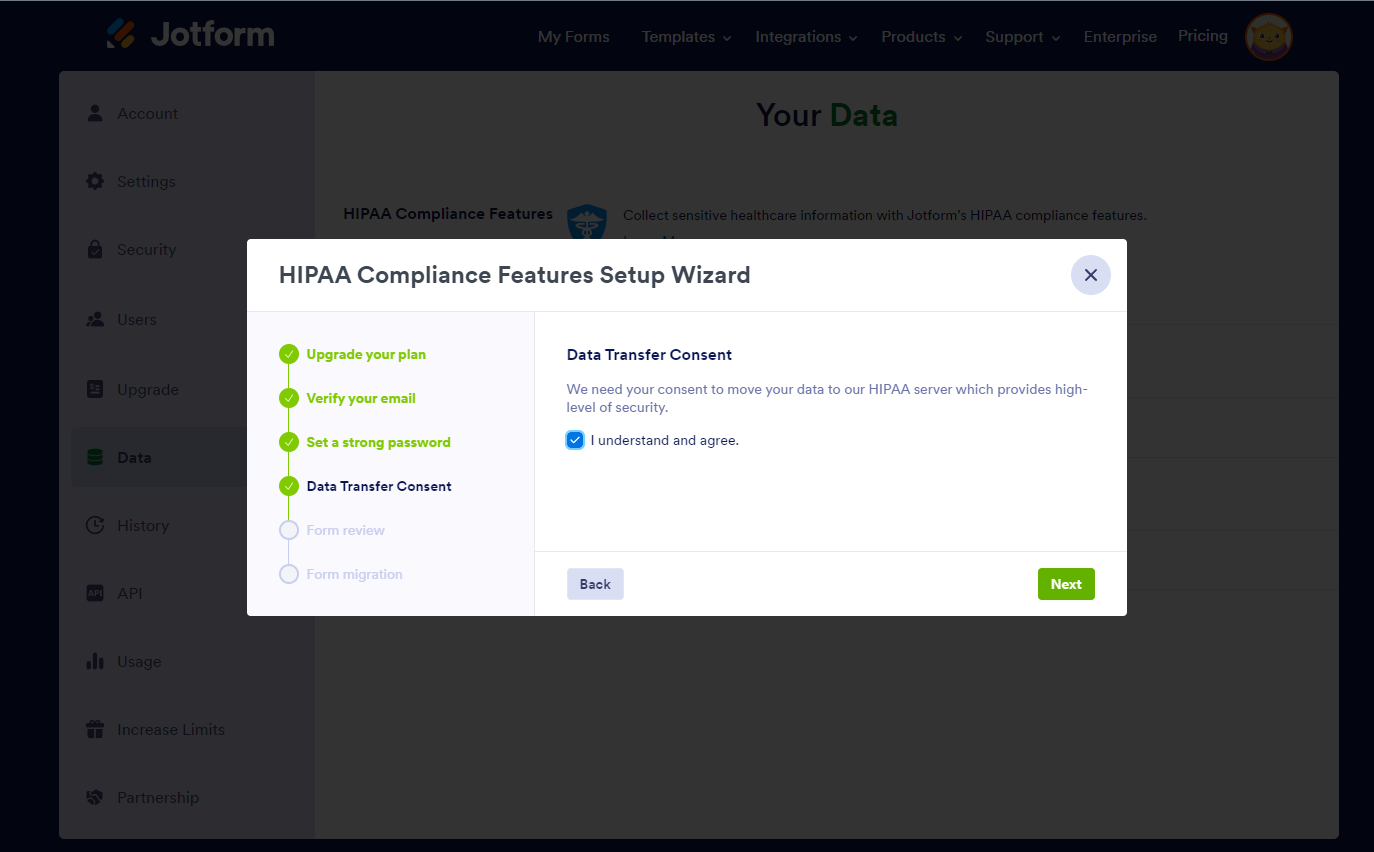
The setup wizard will ask for your consent to move your data to our HIPAA server, which provides high-level security.
Tick on the “I understand and agree” checkbox and the Next button.
Form Review
In this step, the upgrade wizard will review all your forms for HIPAA compliance. To avoid any HIPAA compliance issues, Jotform will only allow widgets and integrations that help with HIPAA compliance in your forms. If the wizard detects any elements in your forms unsuitable for HIPAA compliance, it will list them.
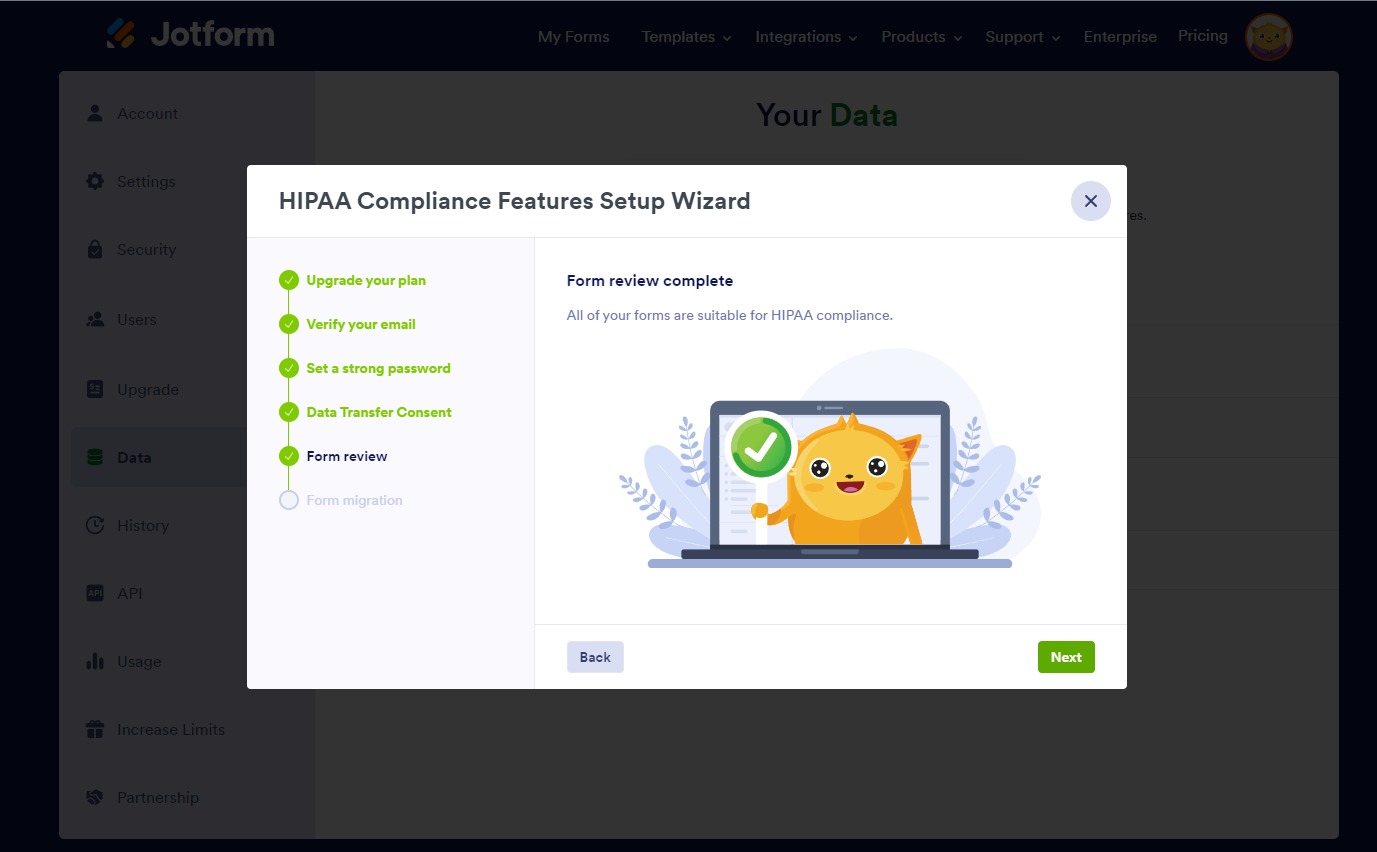
The setup wizard will show the following message if no issues are found.
Click the Next button to start the form migration process.
Form Migration
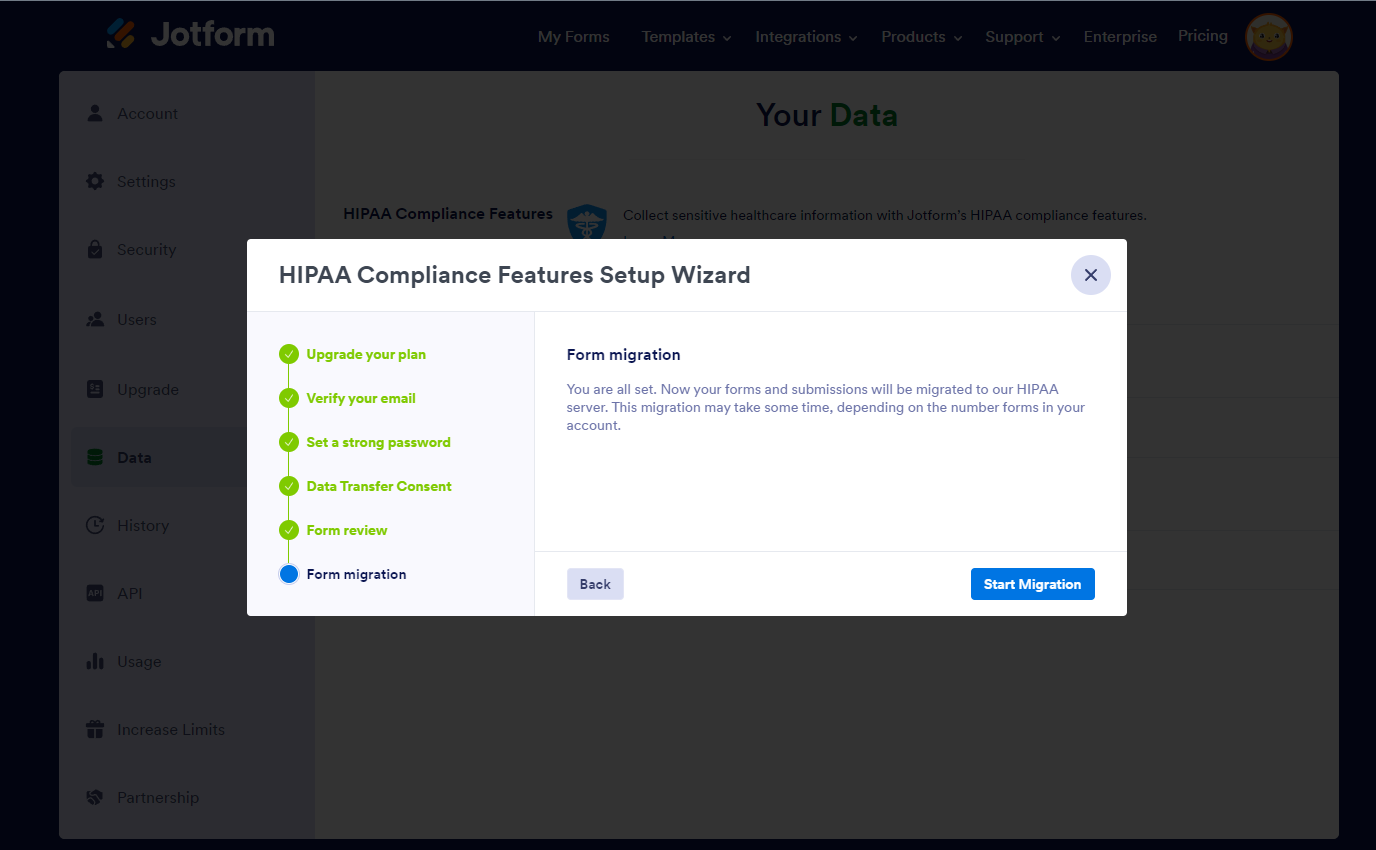
The setup wizard will show a message that your forms and submissions are ready for migration.
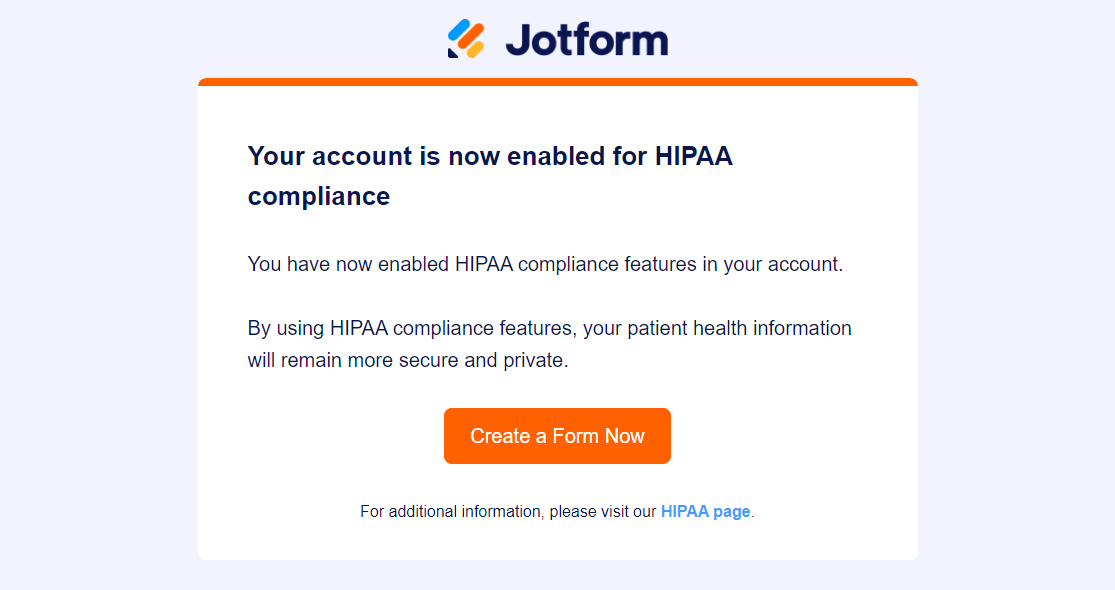
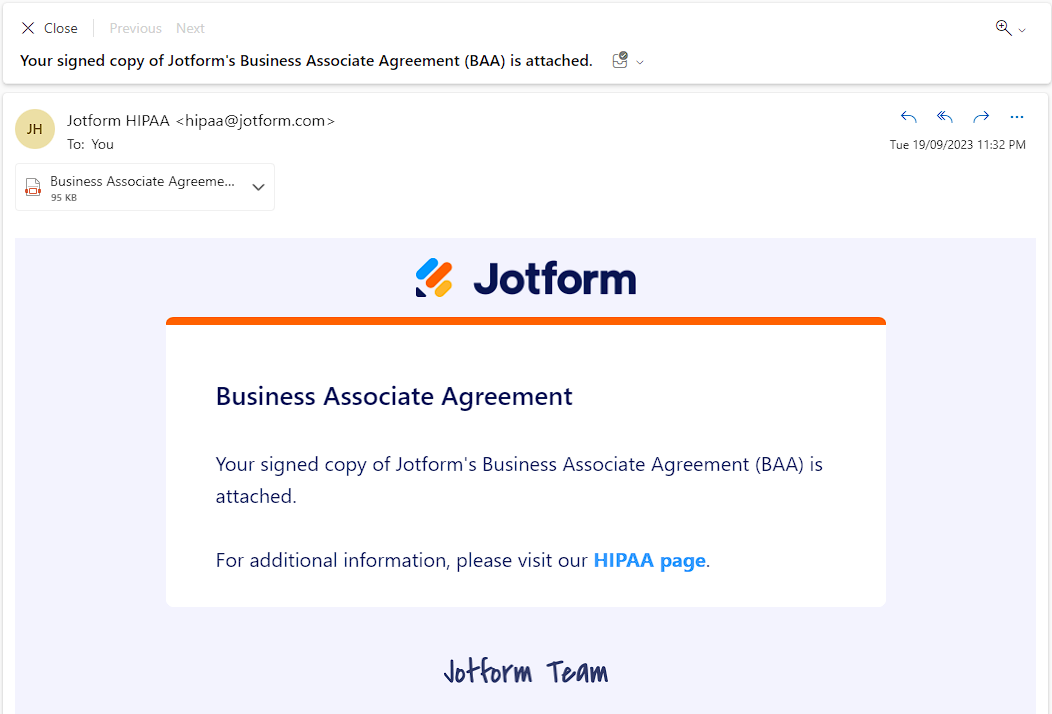
Click the Start Migration button to proceed. This will trigger the automated migration process for your forms. Once the migration is completed, you will be redirected to the Data page to sign the BAA. You will also receive a confirmation email, as shown below, stating the completion of the HIPAA compliance features wizard.
Sign a Business Associate Agreement (BAA)
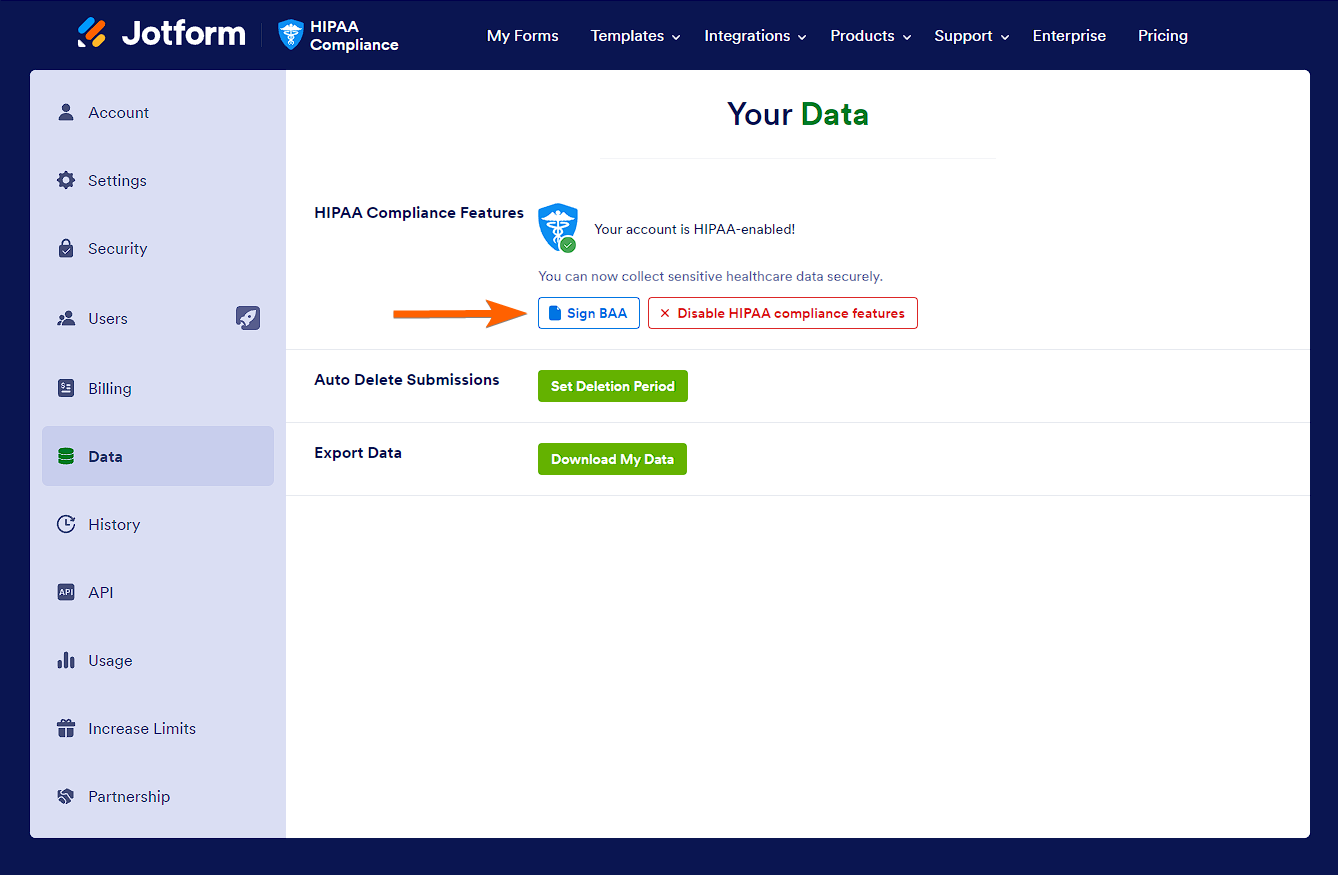
If you’re a Covered Entity that has enabled the HIPAA compliance features in your account, the last step would be to sign the Business Associate Agreement (BAA). To do so, click the Sign BAA button after being redirected to the Data page.
Please fill up the BAA form, scroll down, and click the Submit button to complete it. You will receive a confirmation message through the form.
You can now close the page and wait for the copy of the BAA through email. The email will look like the below image (Outlook interface):
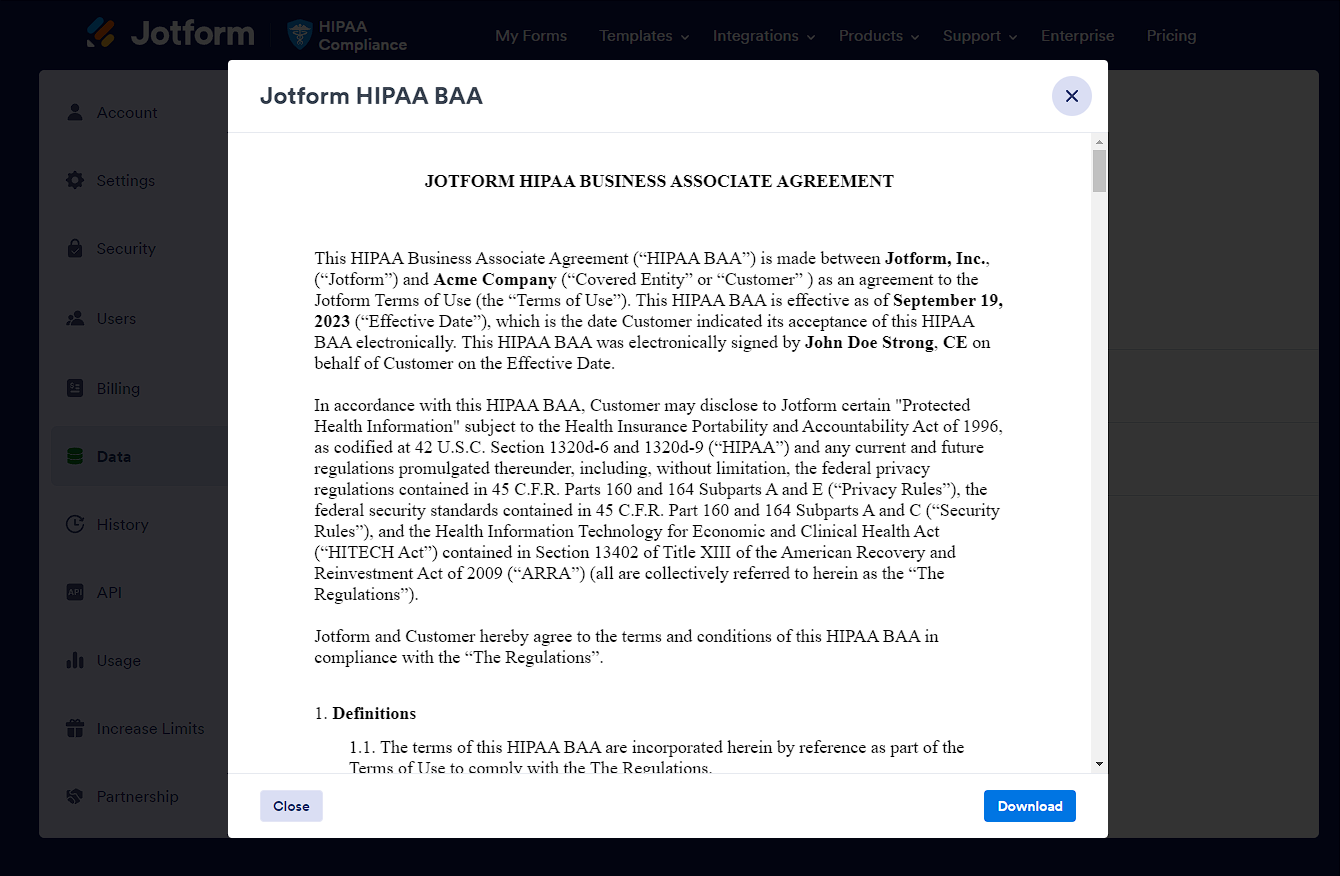
Considering you’ve already signed the BAA, the Sign BAA button through the Data page will be replaced with the View BAA button. Click that button to view and download a copy of your BAA.
Congratulations! Your account, forms, and data are now enabled for HIPAA Compliance. The HIPAA Compliance badge is automatically added to your account and forms.
See also: How to Make Sure Your Forms Are Suitable for HIPAA Compliance.



Send Comment:
6 Comments:
314 days ago
Will changing to HIPAA compliance affect any webhook integration where data is being sent to my server via a Webhook execution?
More than a year ago
After the migration (which went smoothly and was painless), all the links changed. If you have links to your forms embedded in messages or website, it is necessary to update all the links.
More than a year ago
HIPAA compliant set up wizard is not coming up for me. Please help.
More than a year ago
How would this migration affect preexisting forms? Would we have to fix anything within the older ones?
More than a year ago
If I upgrade to HIPAA compliance, does it mean that every form woll be checked for HIPAA compliance. or I can choose which form will be checked for HIPAA compliance
More than a year ago
Hello~
I have updated my Silver membership to be HIPAA compliant. When will forms be active again on my website OmOmbre.com?
Tiffany Holm