Your donation element will not be visible to your donors until you’ve set up a payment integration. With a Donation box element, you have over 30 payment gateways to choose from. So you’re bound to find one that works for you. Keep on reading to learn how to integrate your donation app with your favorite payment gateway.
Note: Donation submissions are subject to payment submissions limitations. Check out the Pricing page to see how many donations you can accept per month.
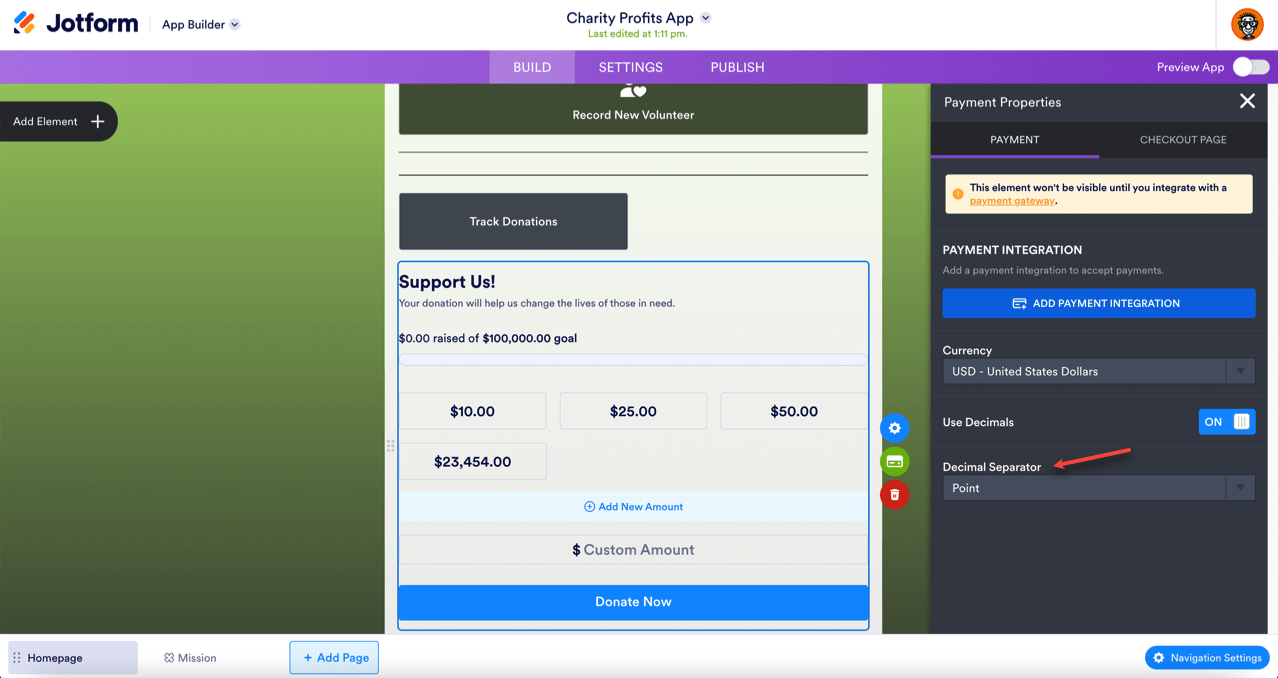
- Once you’ve added your donation box to your app, Click the Payment Properties button on the right side of the element.
- In Payment Properties, you can choose your currency and decide whether or not you want to use decimals to separate dollars and cents.
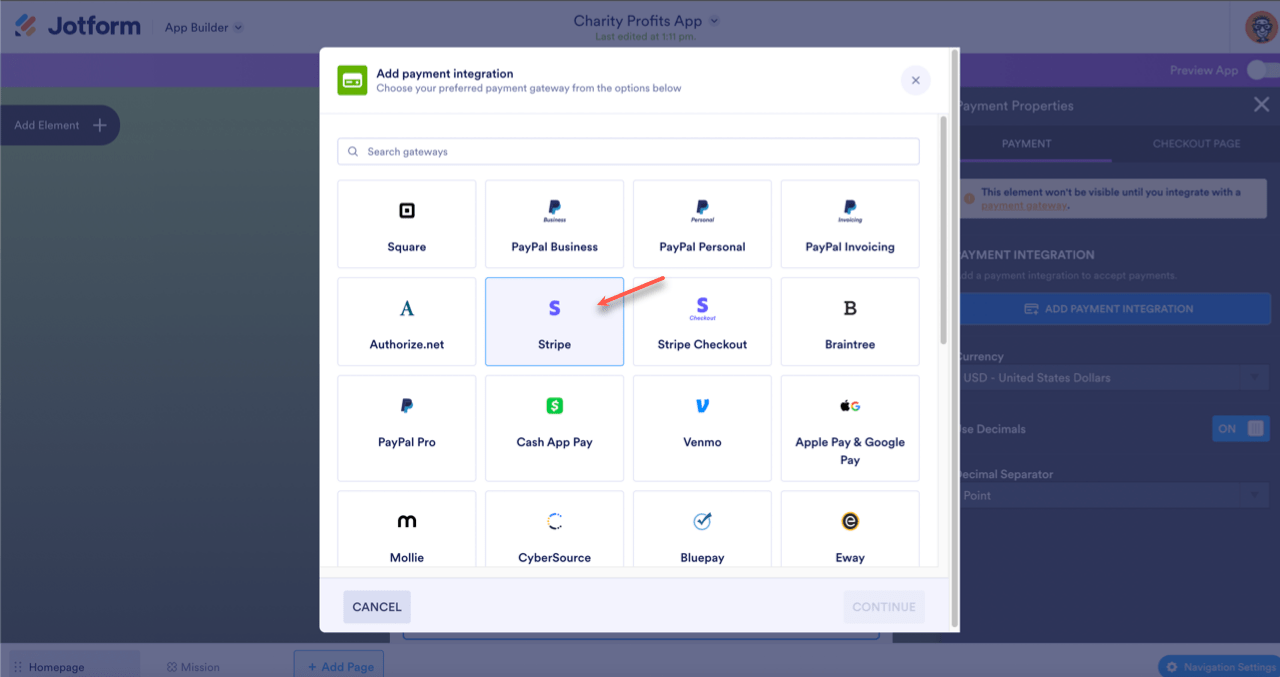
- Click the Add Payment Integration button and select the payment gateway that works best for you. In this guide, we’re going to use Stripe.
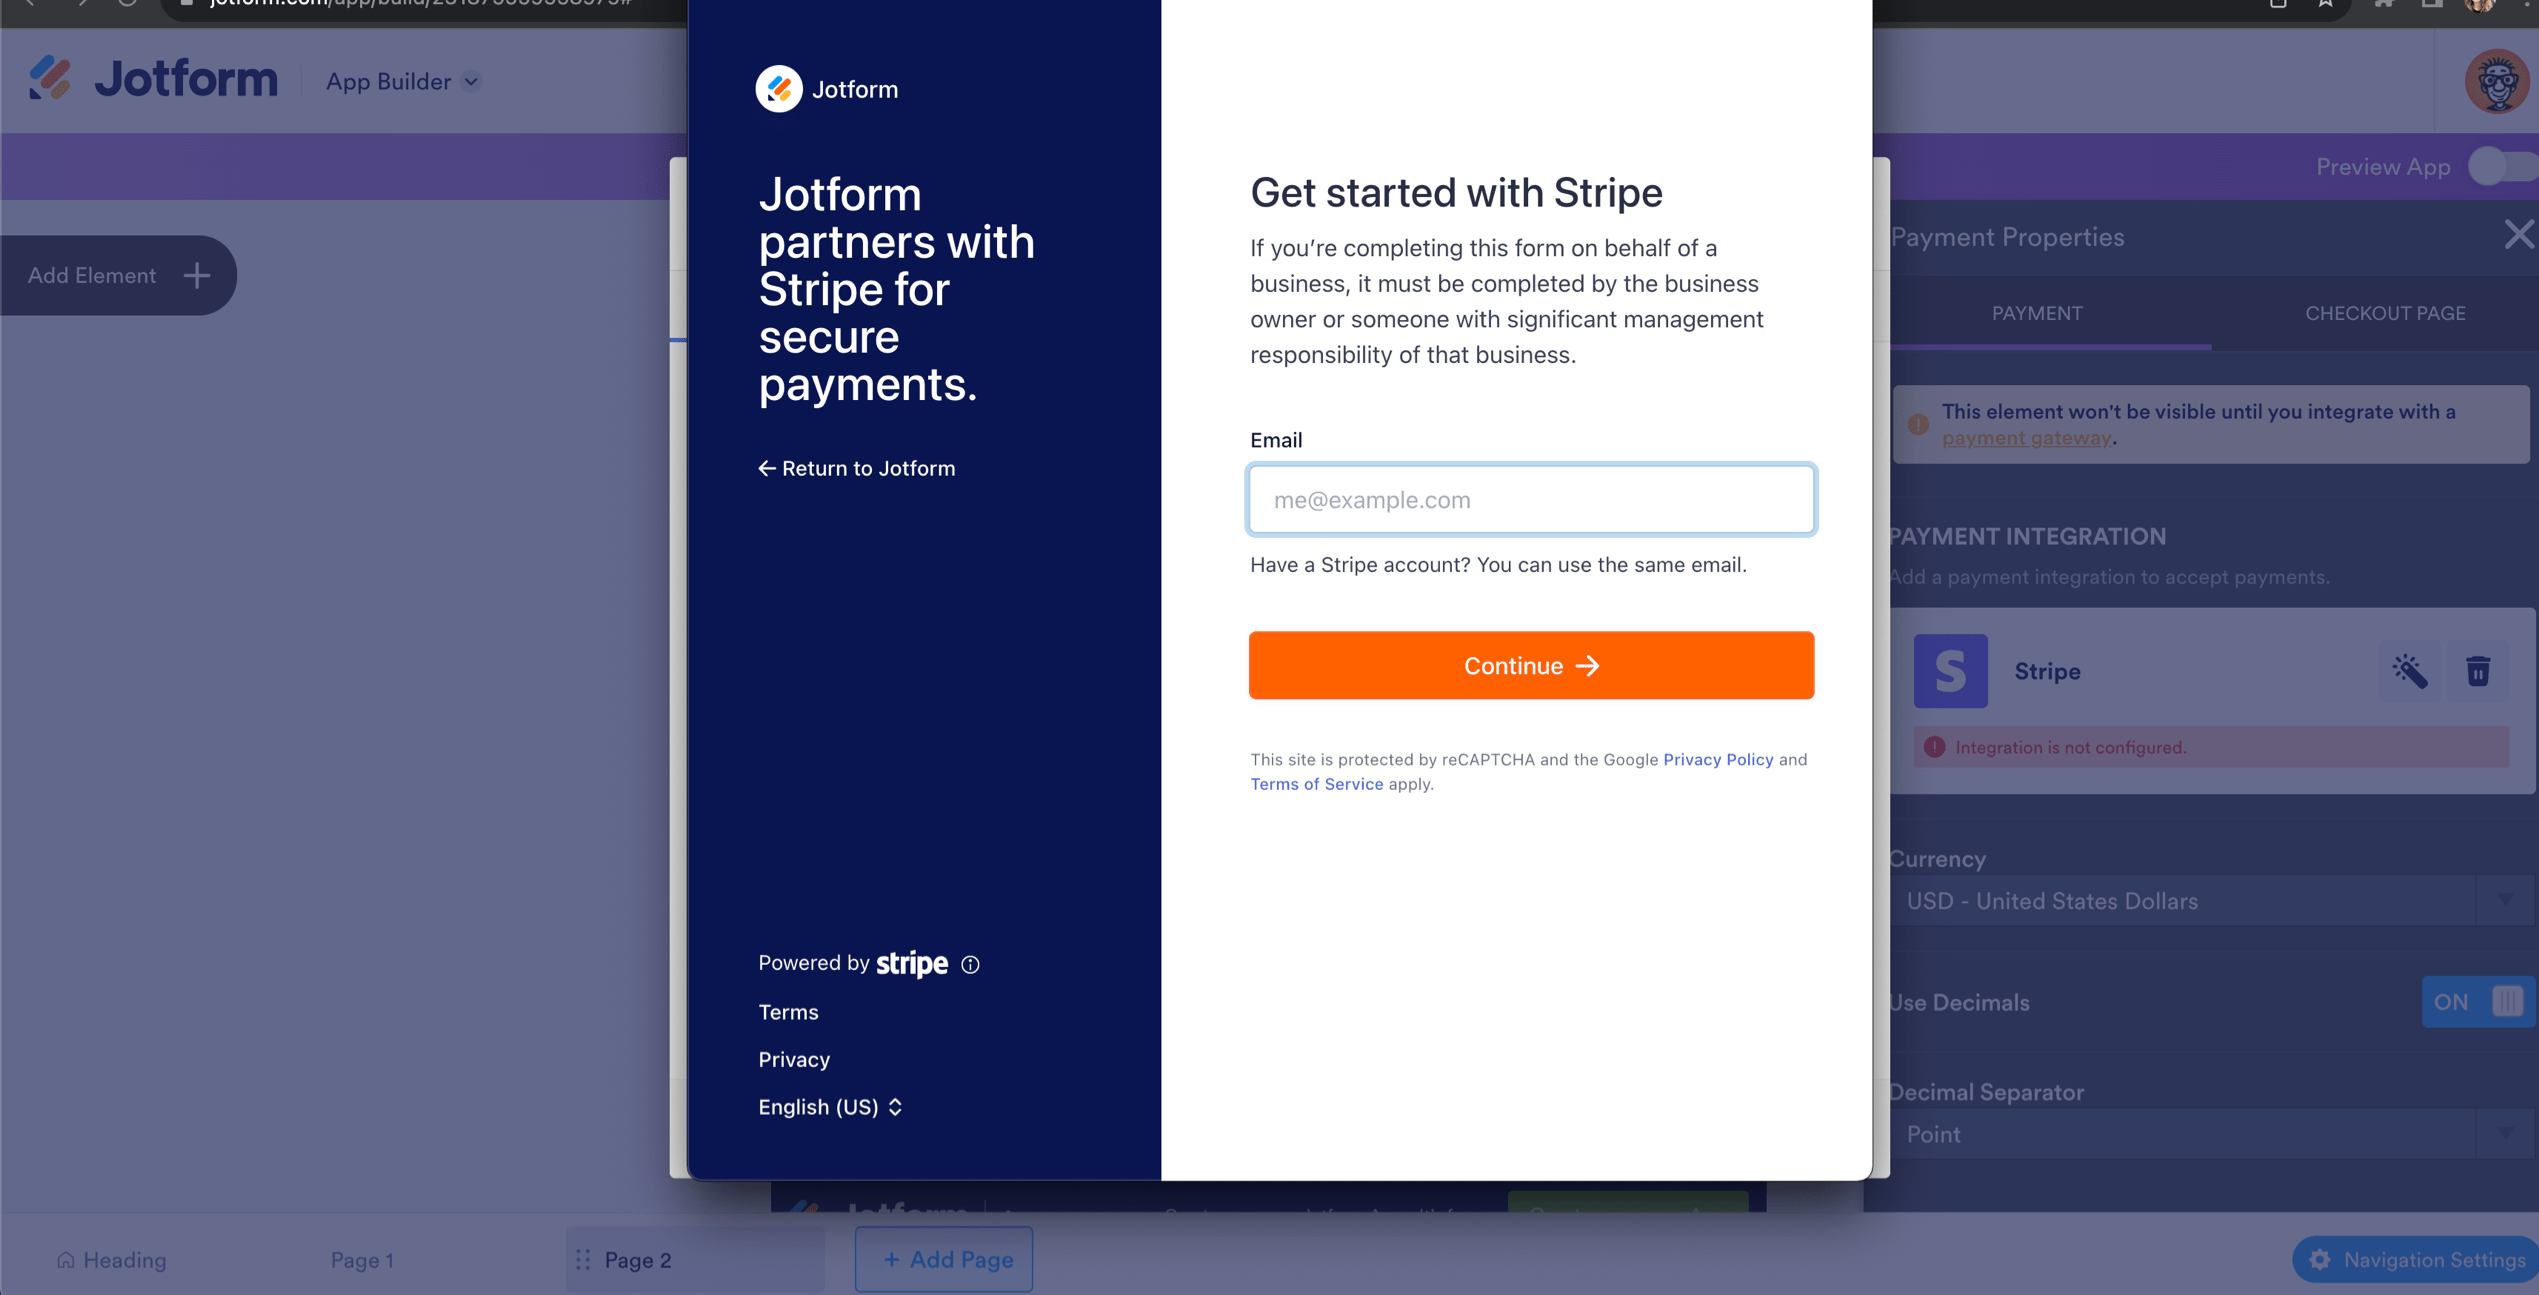
- Select Connect to Stripe and you’ll be taken to Stripe’s login page where you can log into your account.
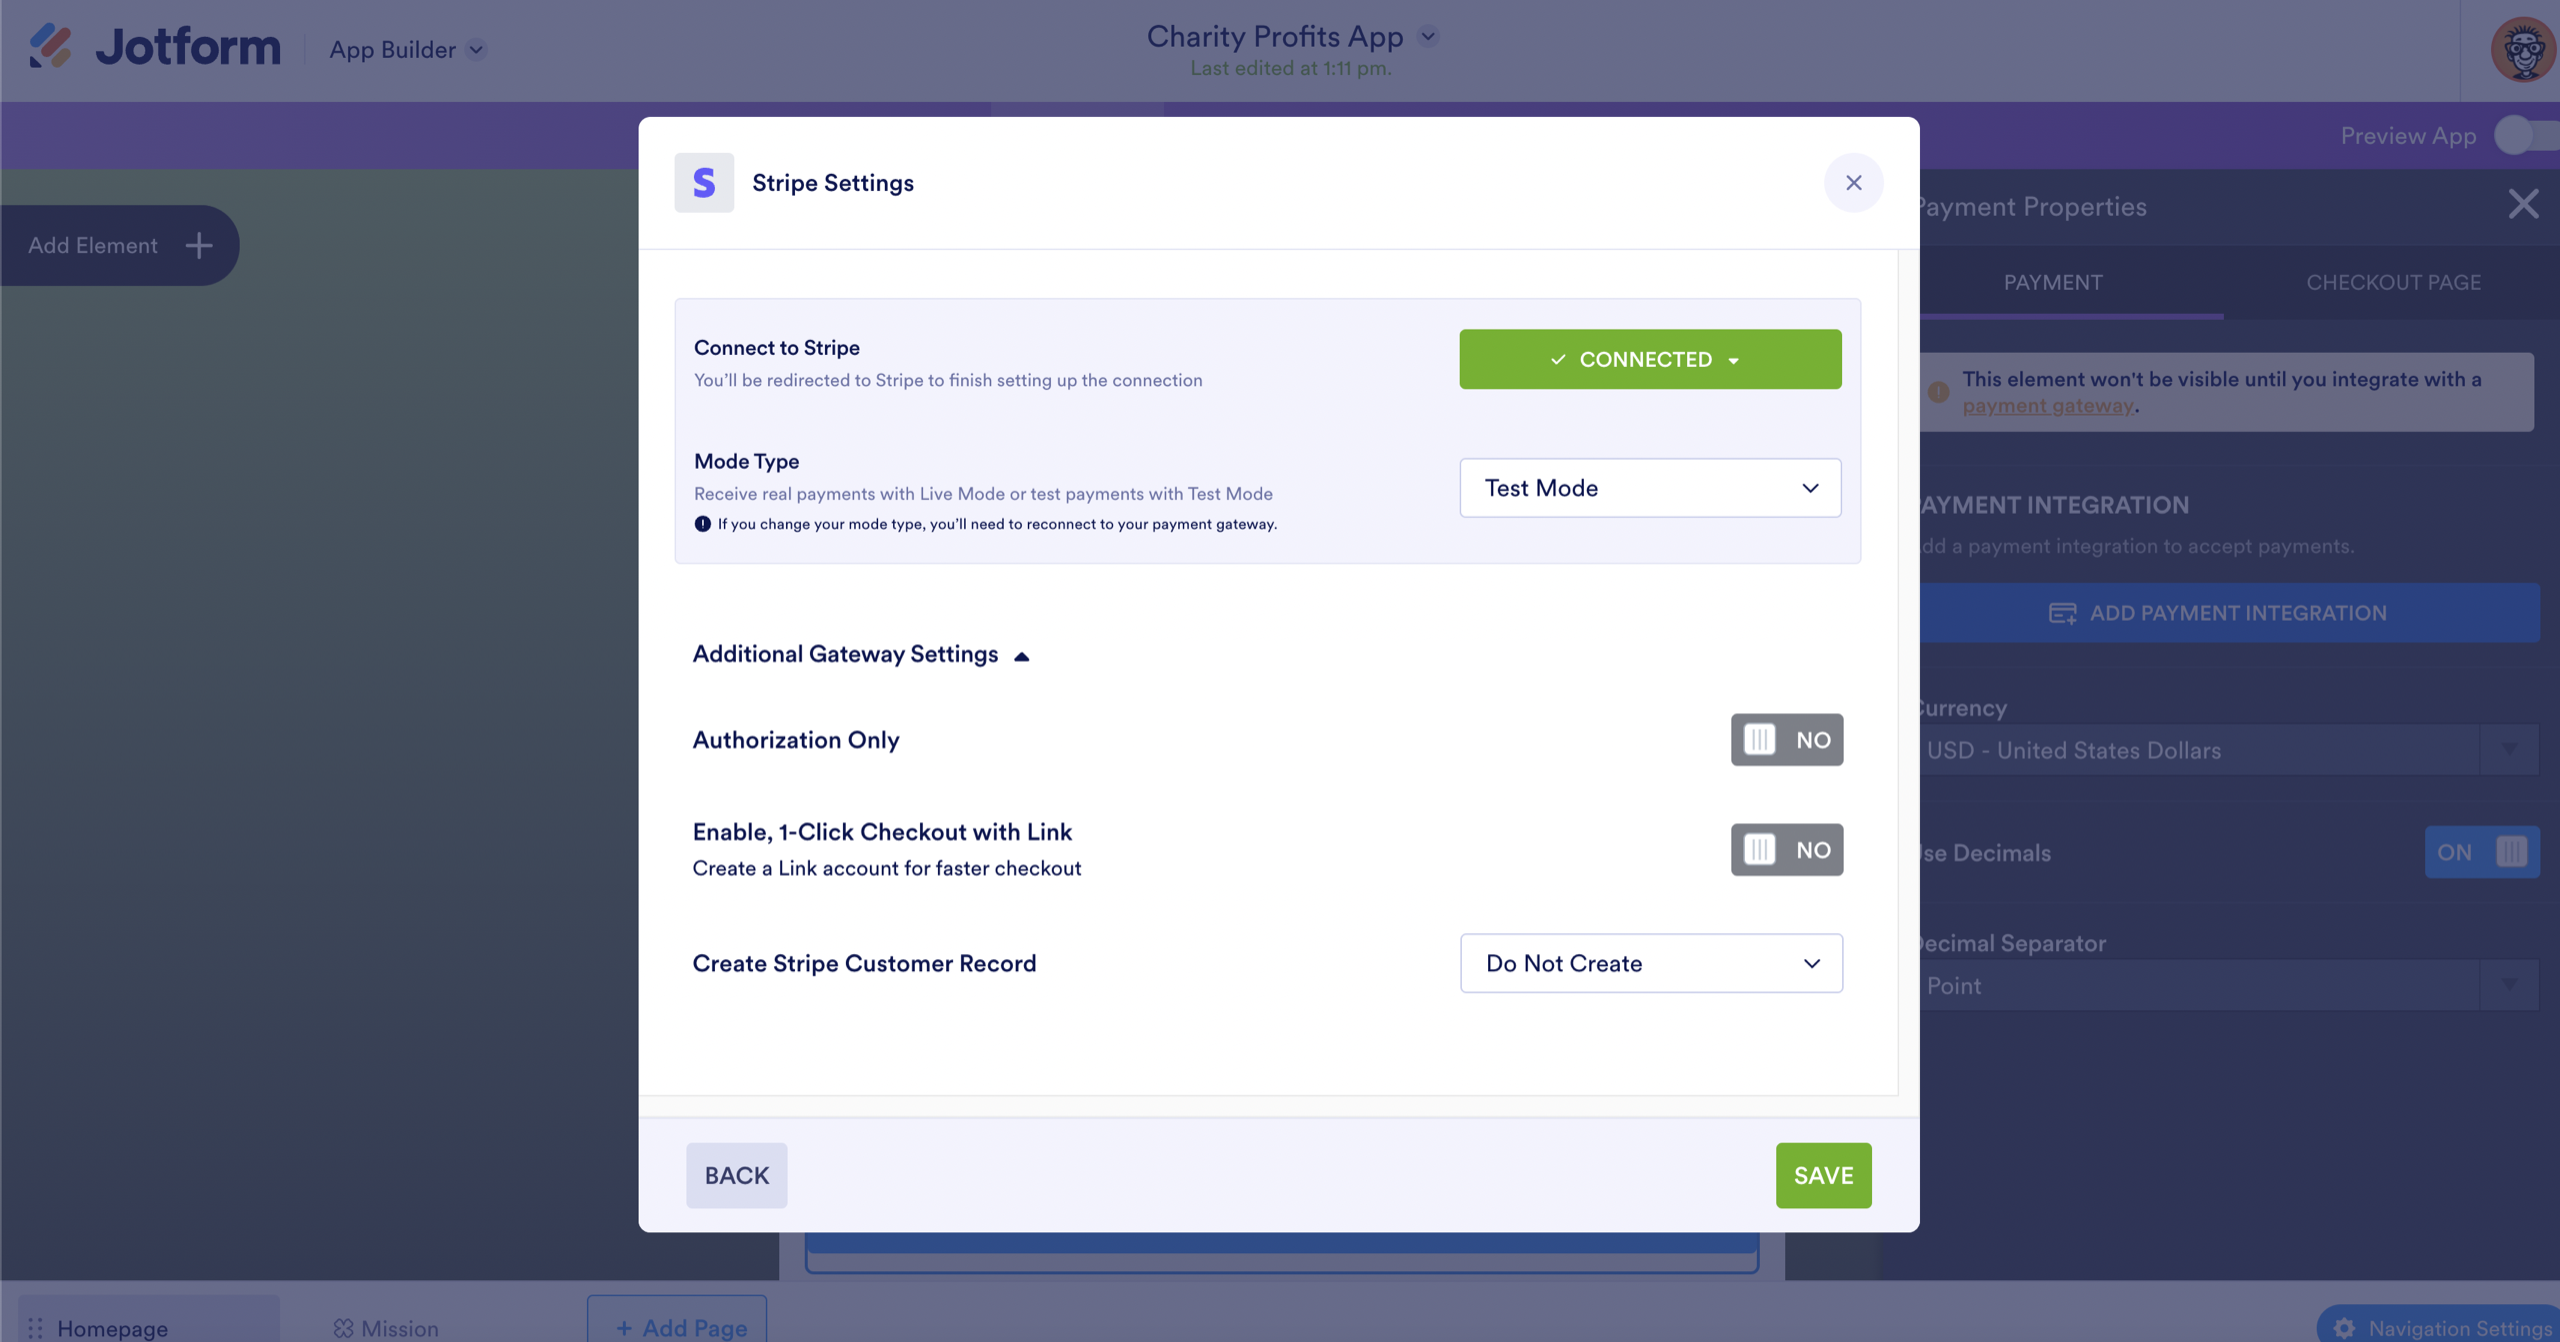
The payment gateway modal will say Connected when the integration is successful.
How to Change Contact Information on the Donation Checkout Page
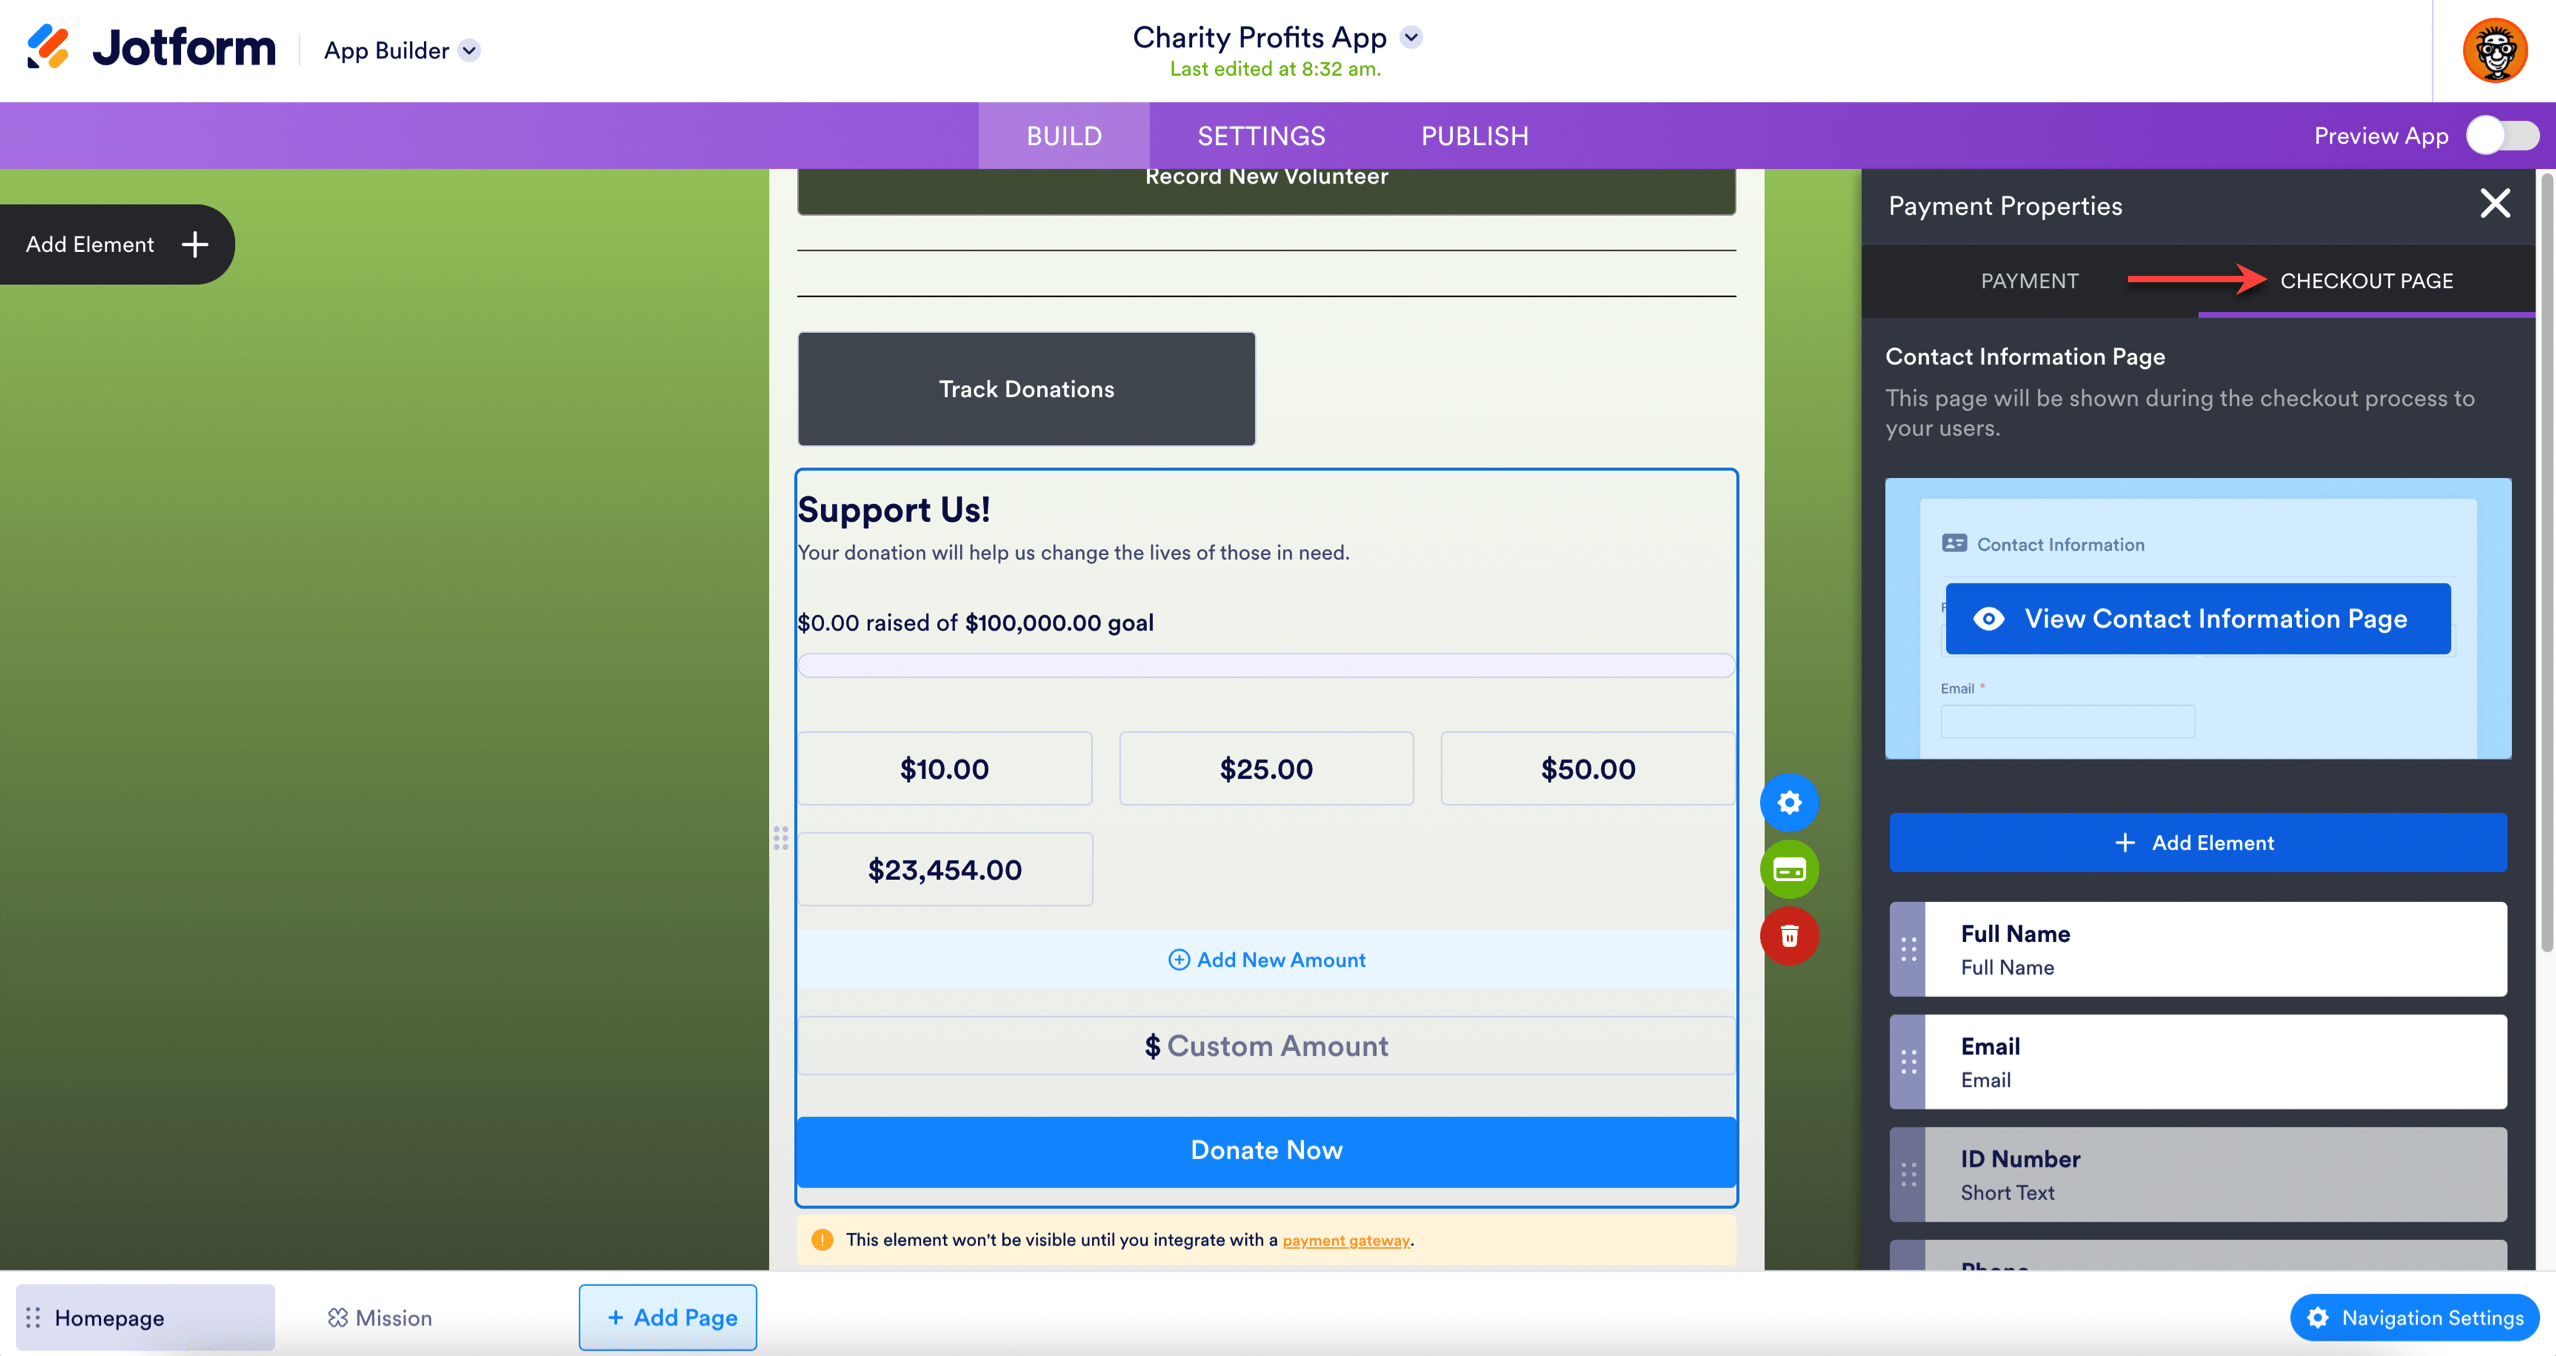
- Go to the Payment Properties panel and click the Checkout Page tab.
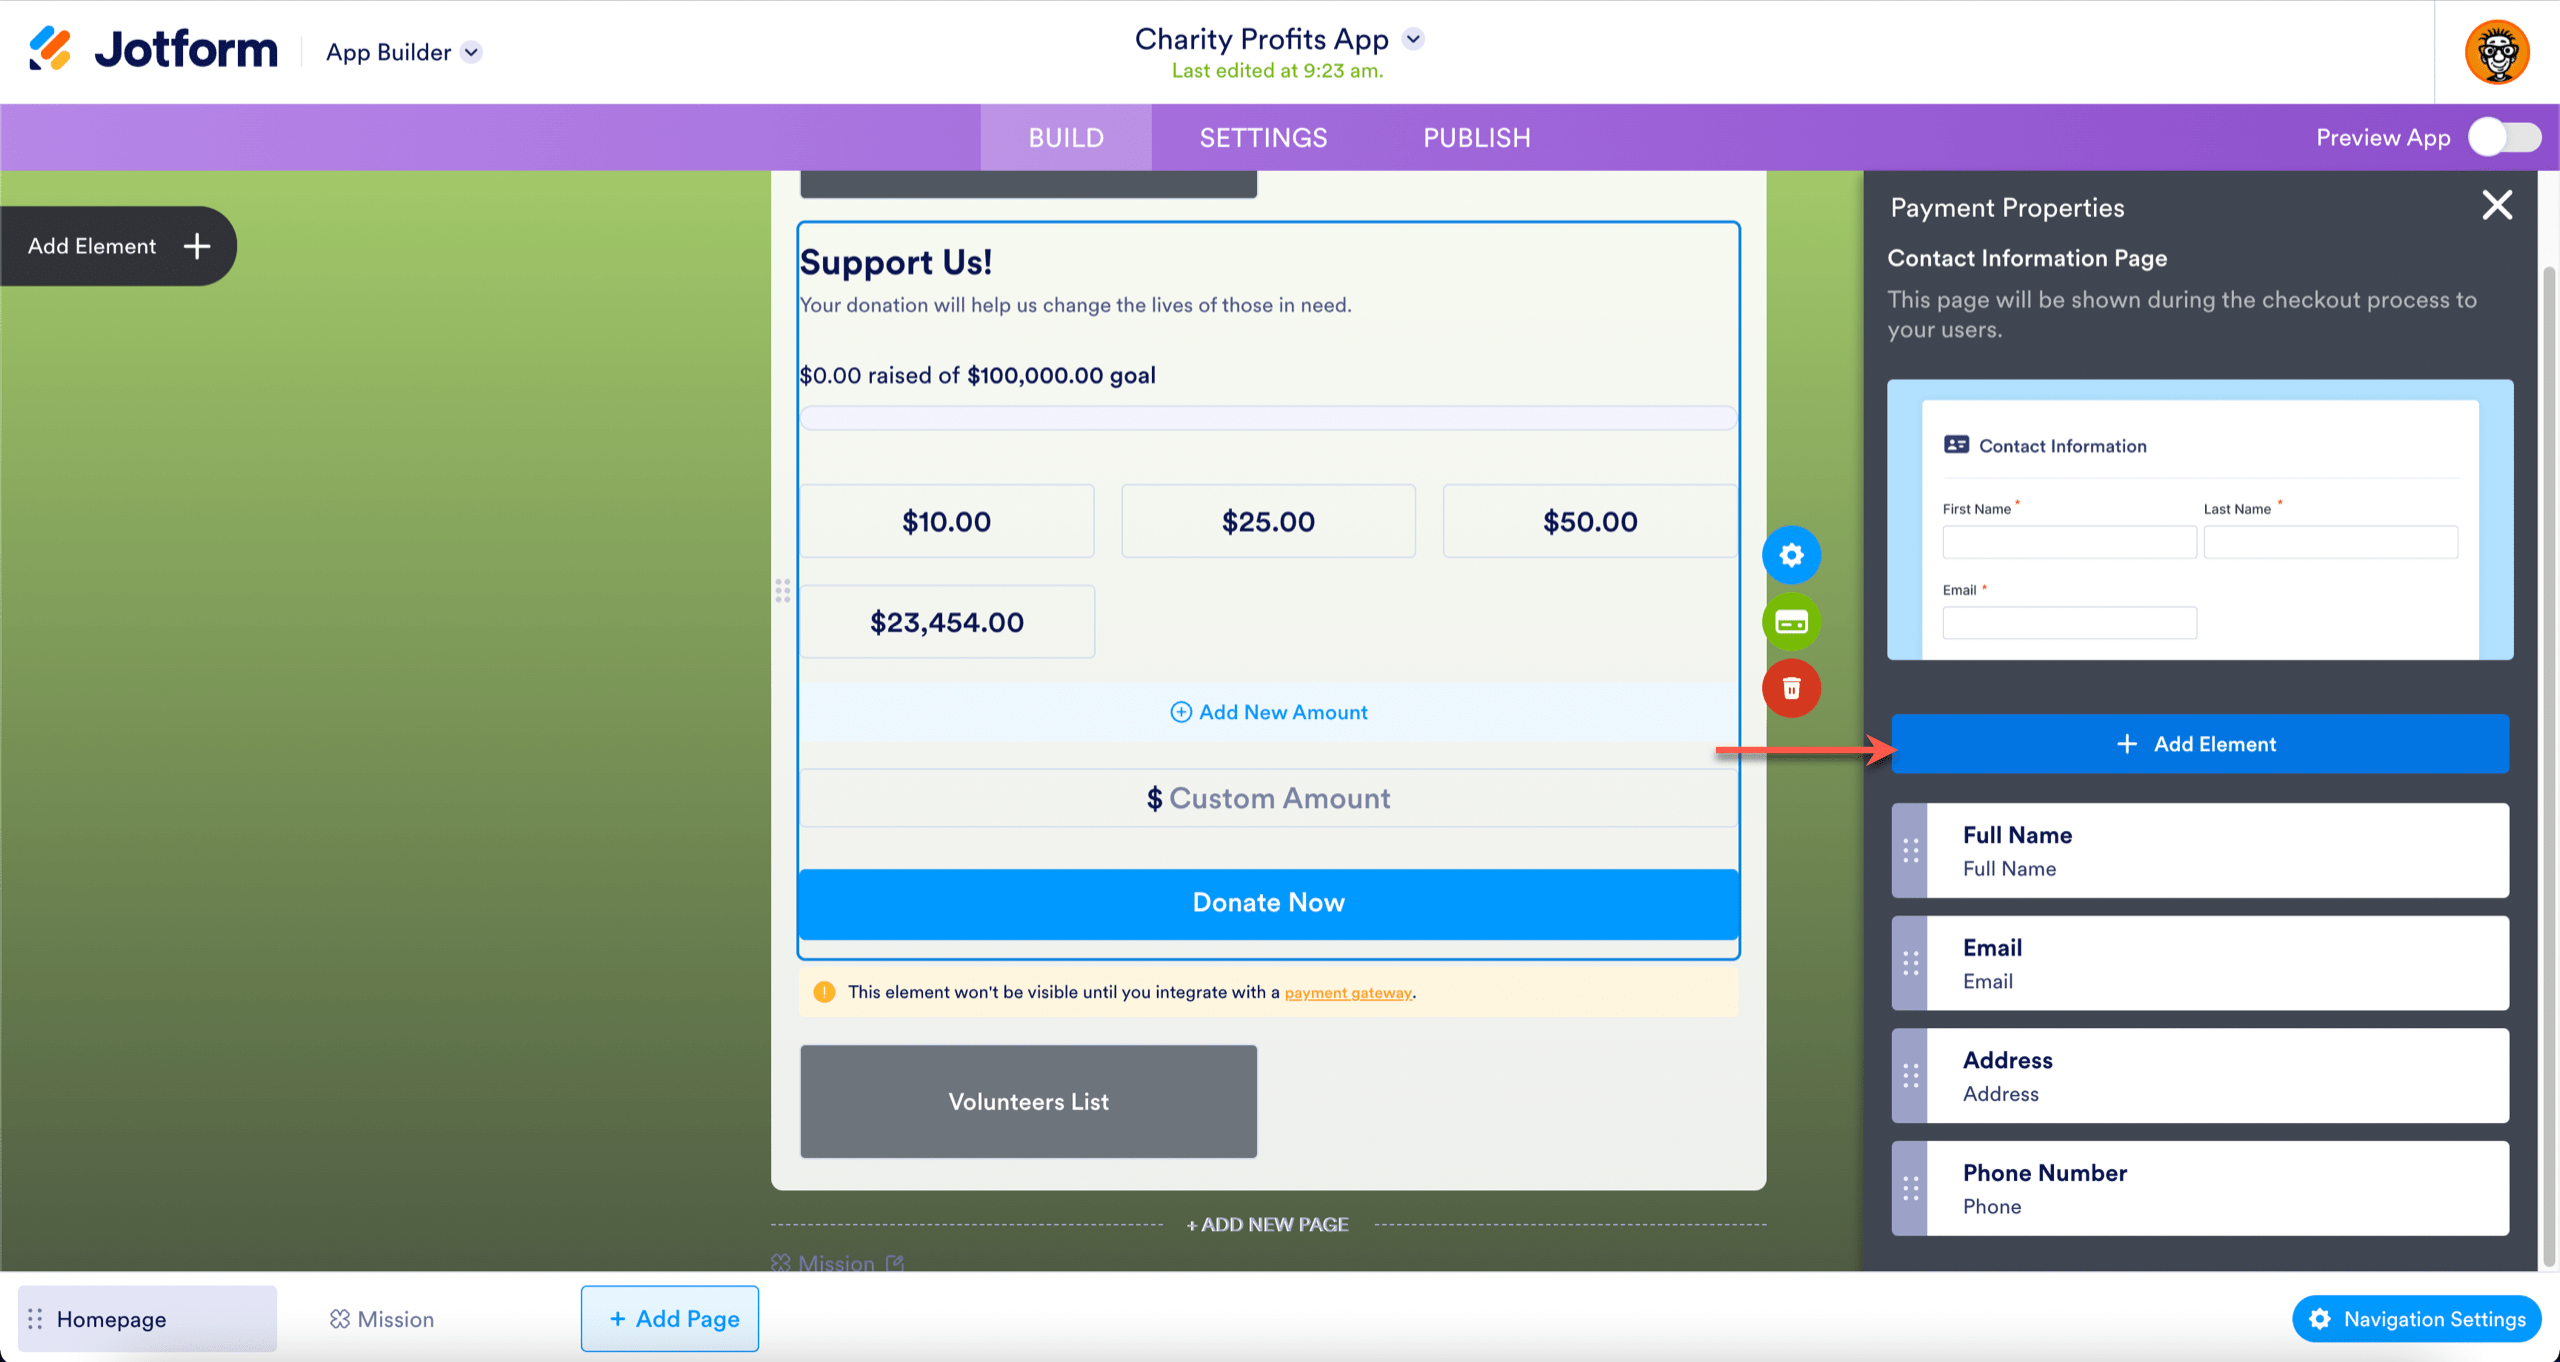
- In the Checkout Page tab, you can personalize the contact information you want to collect from your donors. They’re all optional, except for the full name and email elements. Click the Add Element button to add different contact elements.
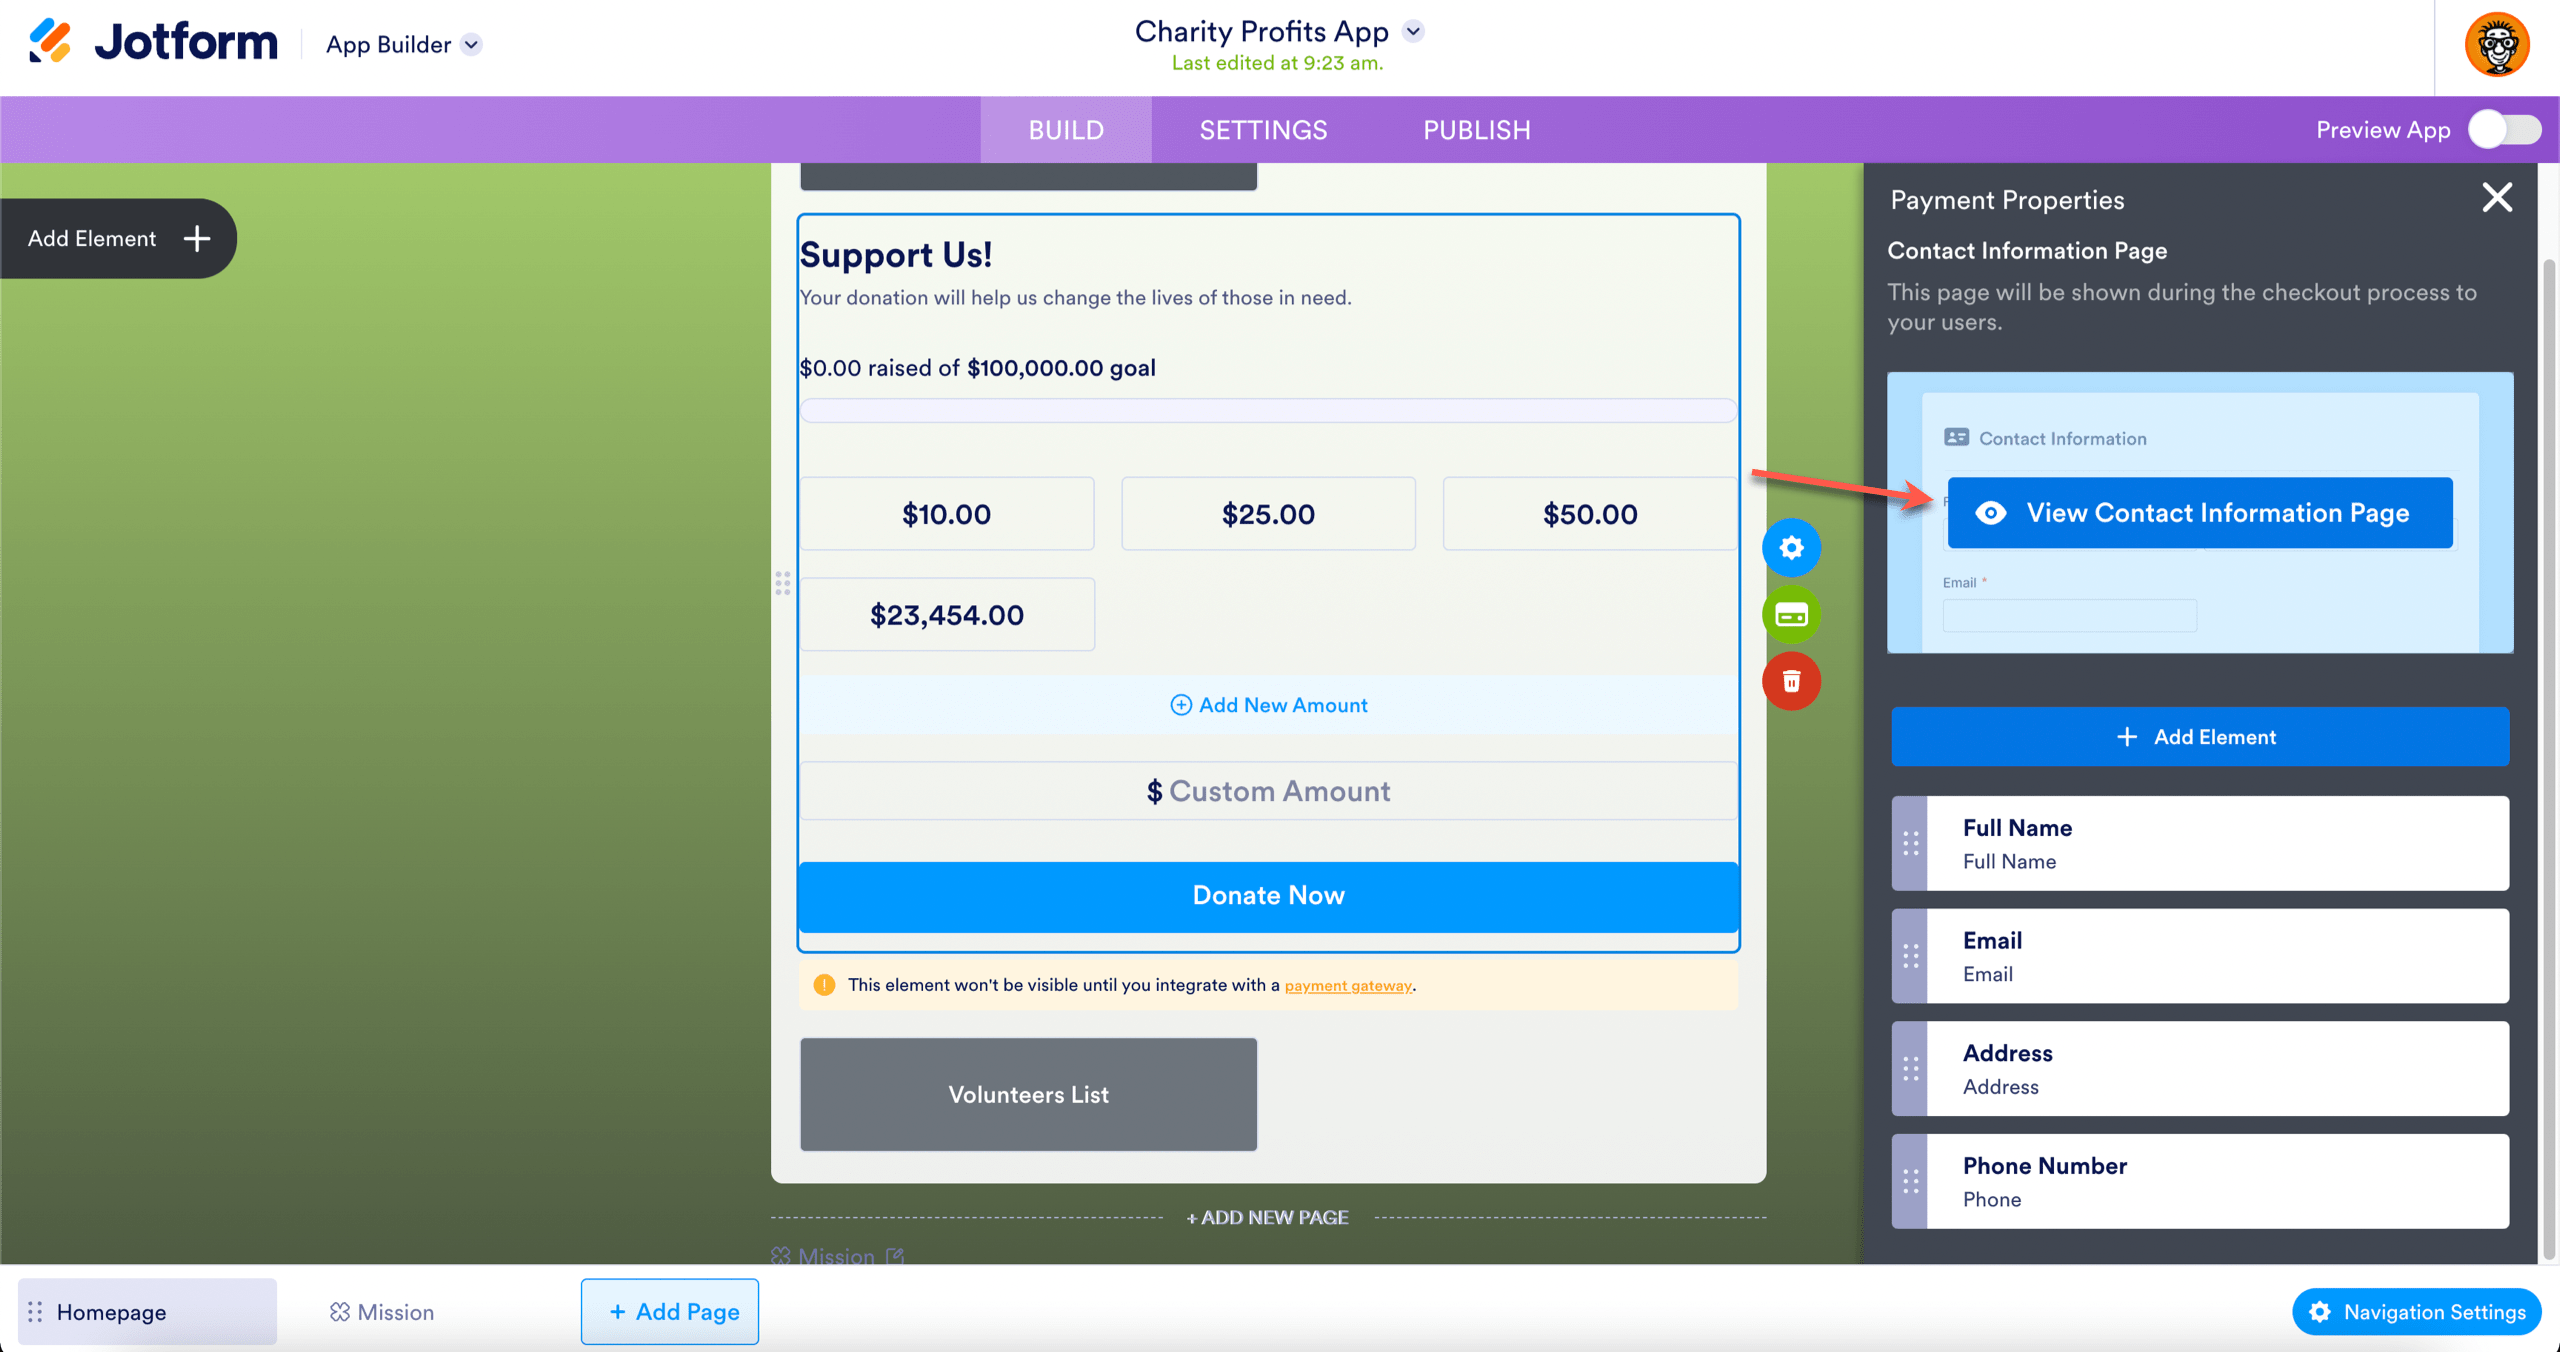
- Hover over the preview and click View Page to see what your checkout page will look like.
And that’s it! With over 30 payment gateways to choose from your bound to find one that works for you. Let us know which one worked best for you in the comments.


Send Comment:
1 Comments:
272 days ago
Hello,
Is there is a fee to collect payments?