Integrating Jotform AI Agents with Google Calendar allows you to automate scheduling, set up event reminders, and streamline appointment management. This ensures your team stays organized and never misses an important event.
Integrating Google Drive with Your AI Agent
Integrating Google Drive with your AI Agent is easy. Check out the steps below to see how it’s done:
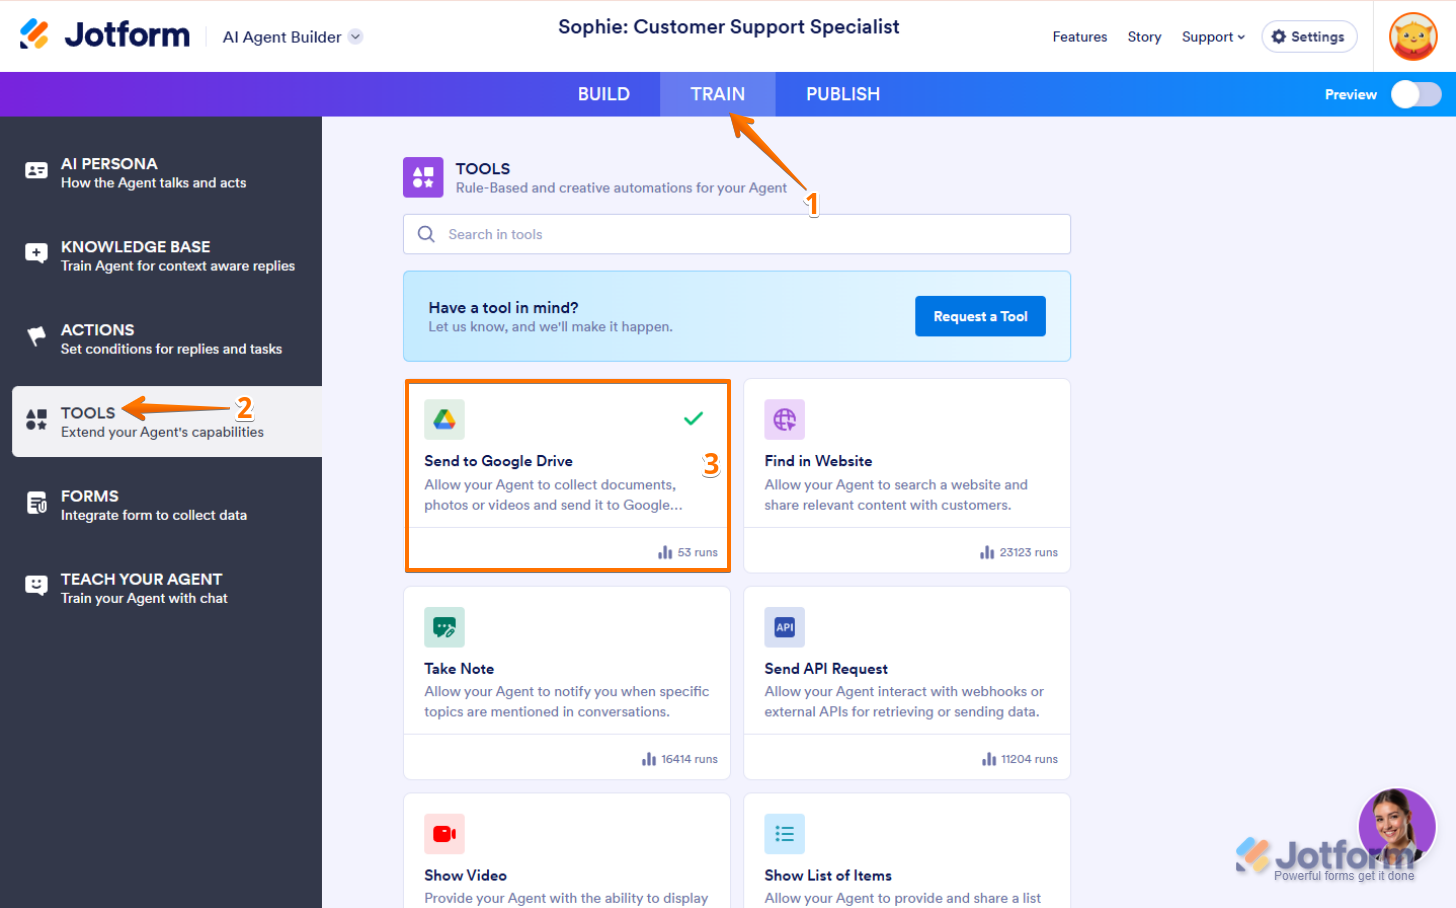
- In Agent Builder, in the blue navigation bar at the top of the page, click on Train.
- In the menu on the left side of the page, click on Tools.
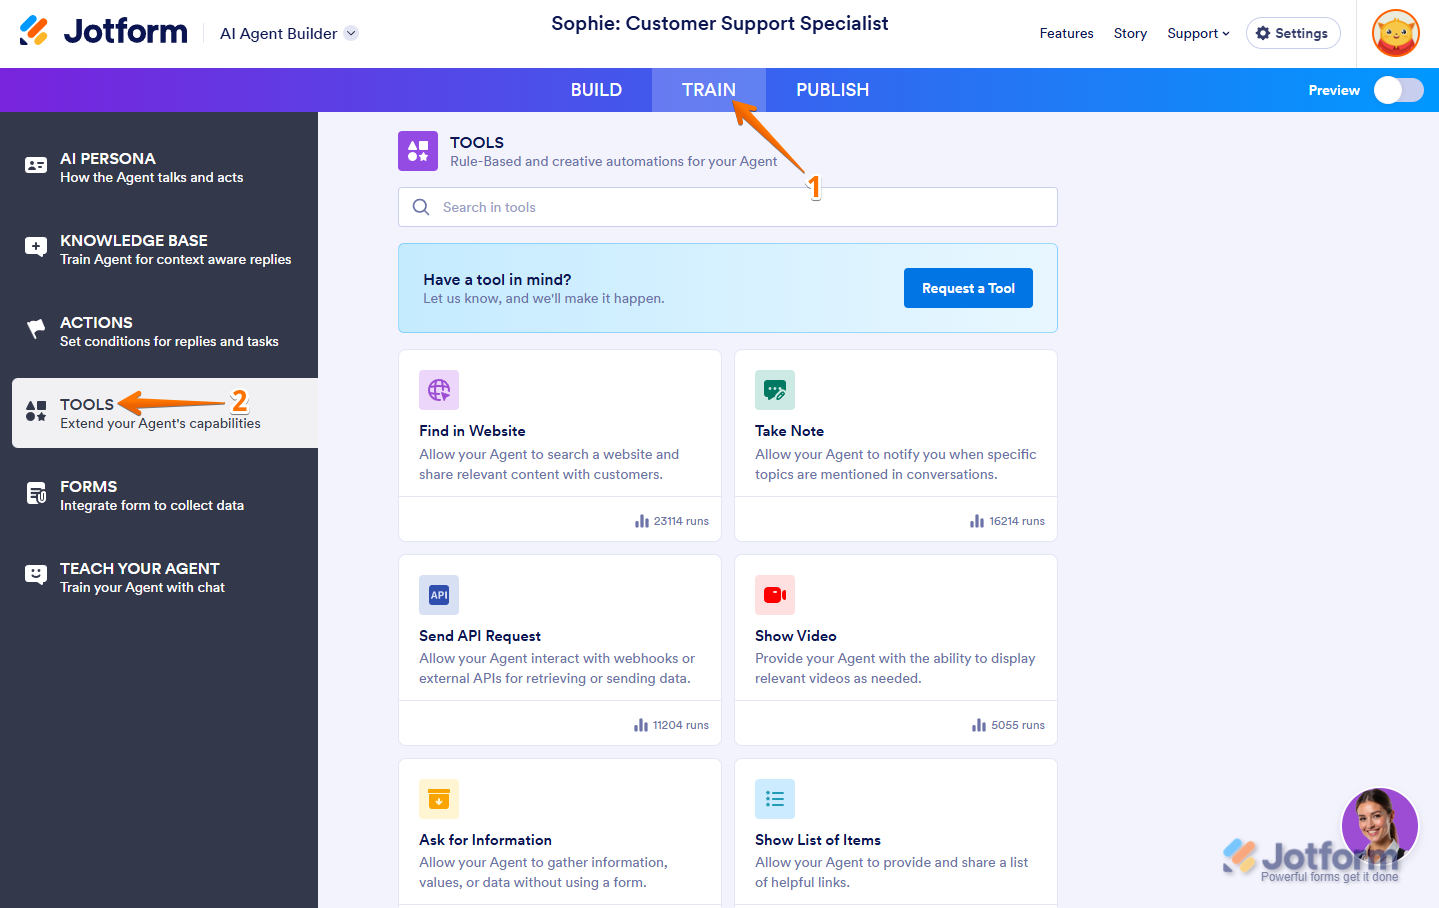
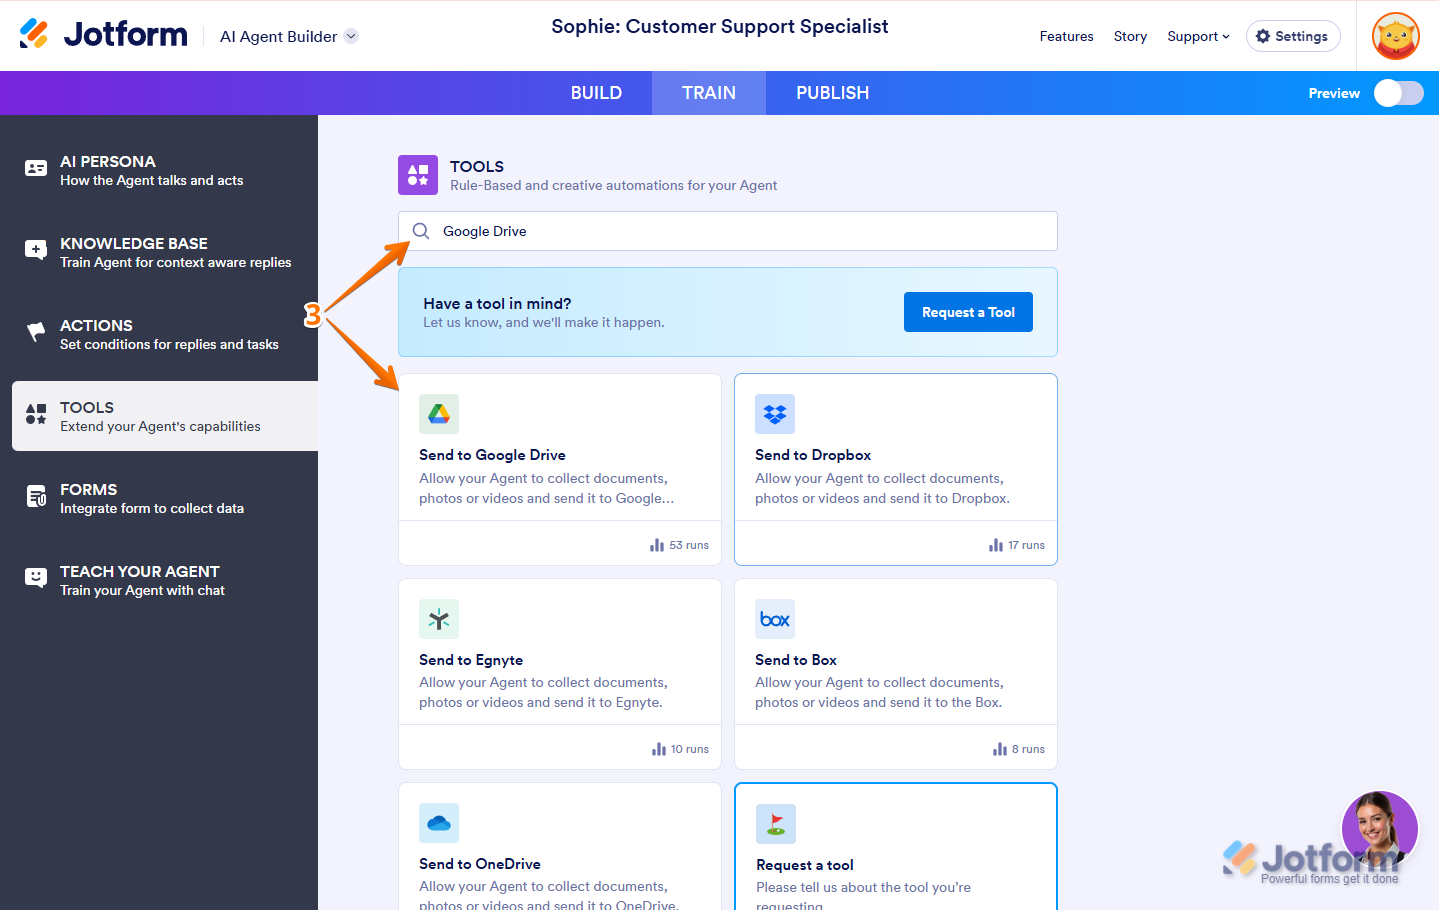
- Then, search for Google Drive at the top of the Tools section, and click on it.
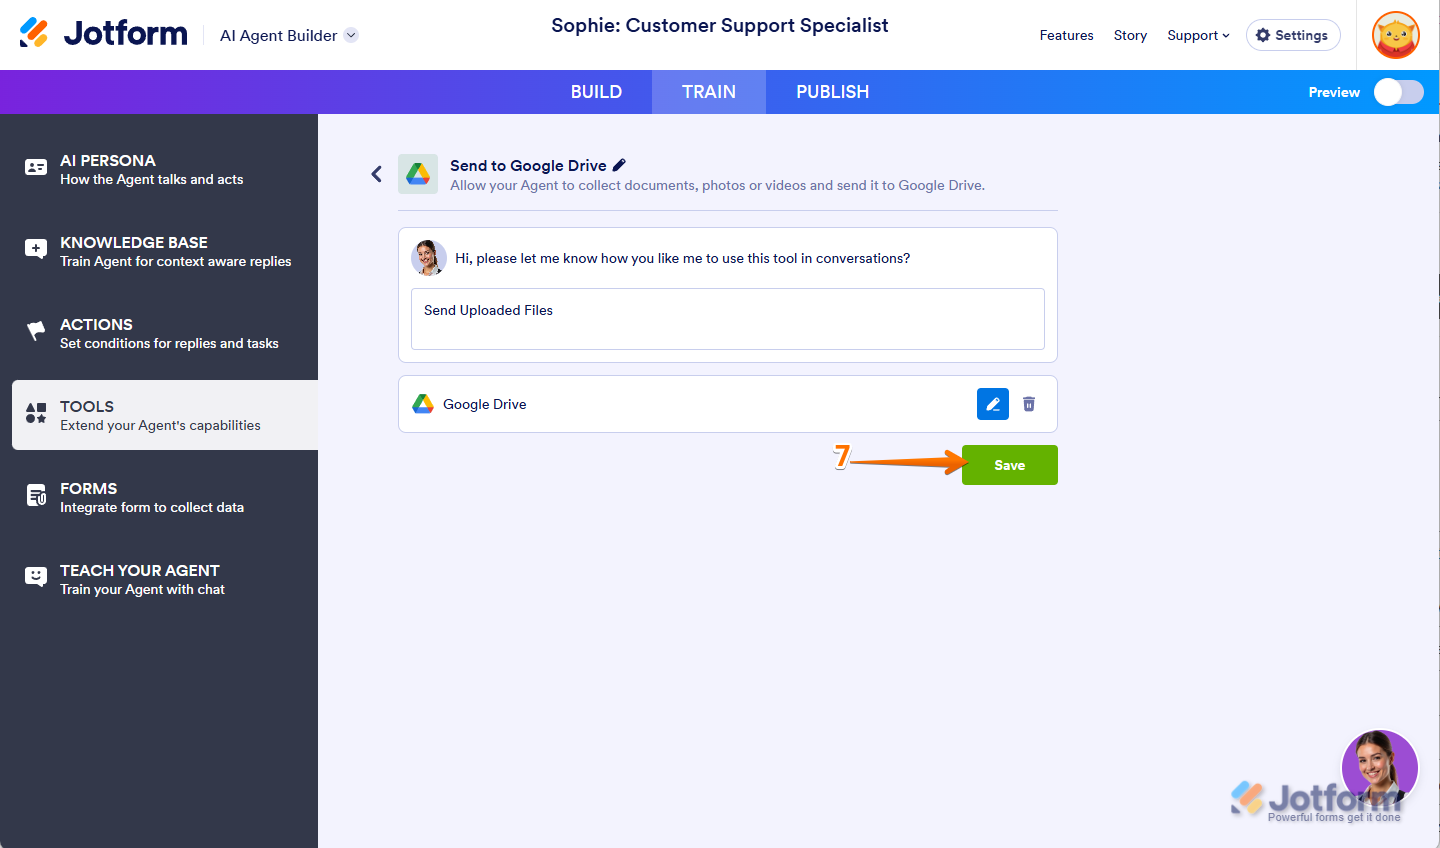
- Write a Prompt for your agent about how to use this tool, for example: ‘’When the user uploads a file, automatically send it to Google Drive without requiring additional confirmation. Ensure the file is stored in the designated folder.’’, and click on Connect.

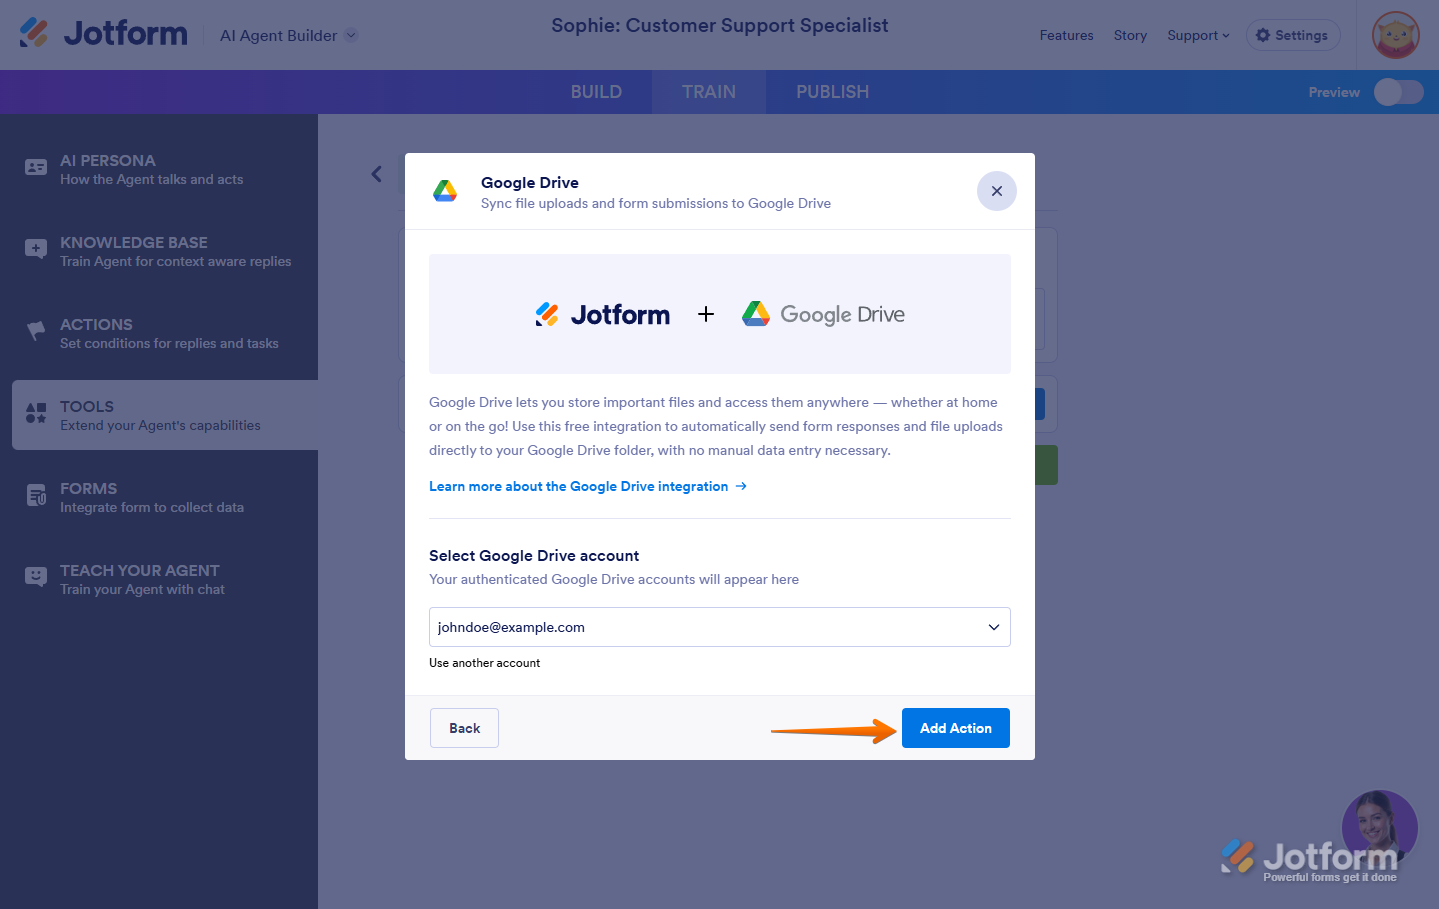
- In the window that opens, click on Authenticate, and then connect your Google Drive Account.

For previously authenticated accounts, choose the account you want to use, and then click on Add Action.
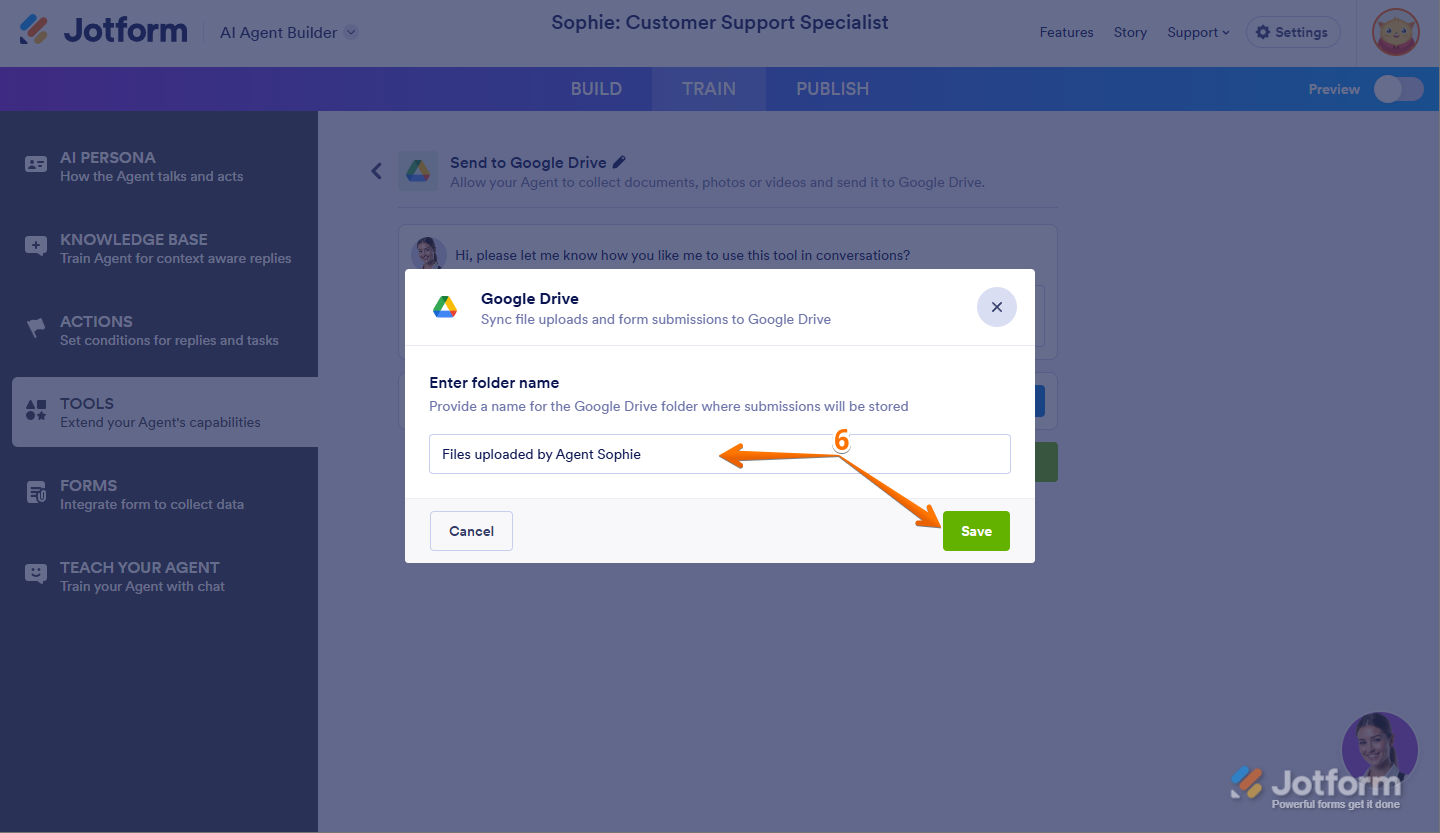
- Next, enter your Folder Name and click on Save.

- Now, just click on Save again, and you’re all set.
Adding a New Google Drive Action with the AI Agent
You can set up multiple Google Drive Actions for your AI Agent and connect each one with the same or a different Google account and use the same or different prompts for each one. Here’s how to do that:
- In Agent Builder, in the blue navigation bar at the top of the page, click on Train.
- In the menu on the left side of the page, click on Tools.
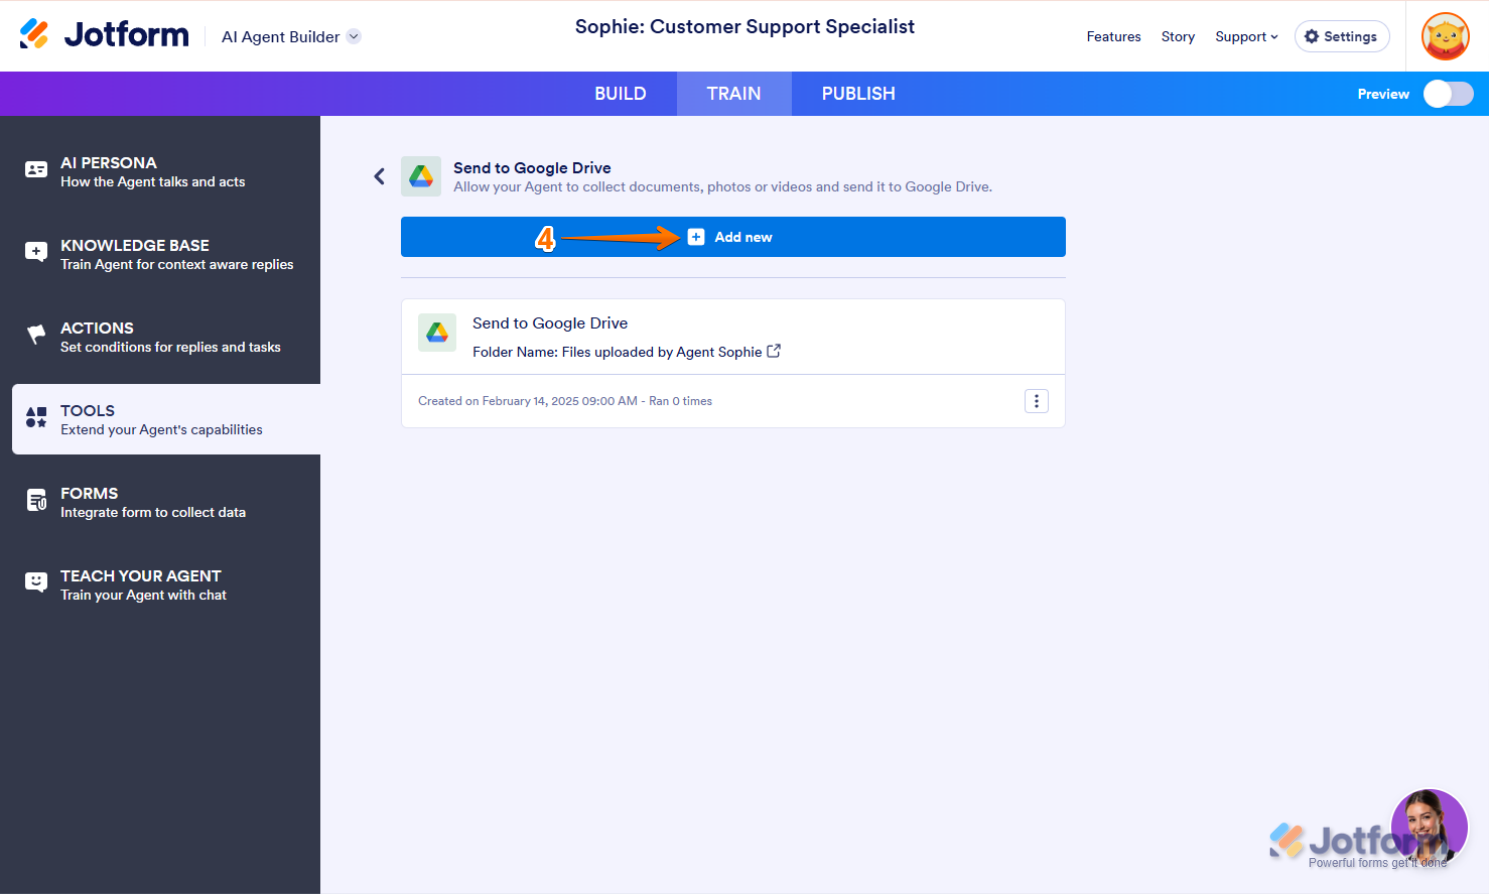
- Then, click on Send to Google Drive.
- Next, click on the Add New button at the top.
- Write a Prompt for your agent about how to use this tool, for example: ‘’When the user uploads a file, automatically send it to Google Drive without requiring additional confirmation. Ensure the file is stored in the designated folder.’’, and click on Connect.

- Next, enter your Folder Name and click on Save.
7. Now, just click on Save again, and you’re all set.

Managing Your Google Drive Integration with the AI Agent
Now that you’ve saved the integration, let’s go back to the main page:
- In Agent Builder, in the blue navigation bar at the top of the page, click on Train.
- In the menu on the left side of the page, click on Tools.
- Then, click on Send to Google Drive.

Here, you’ll see the list of actions you created. Now, you can:
- Click the Three Dots icon on the right side of your Send to Google Drive action, and you’ll see these options:
- Rename Tool — Update the tool’s name for better clarity and organization.
- Disable Tool — Turn off the tool temporarily without removing it.
- Edit Tool — Adjust the tool’s settings to refine its functionality.
- Delete Tool — Remove the tool permanently from your integration.
That’s it. Your agent will now automatically send documents, photos, or videos uploaded through it to your Google Drive, keeping everything organized and easily accessible.


Send Comment:
1 Comments:
1 days ago
Great feature. If chat users upload files (eg a photo of a broken product) how do you track which conversation/user uploaded the file as they are all going to be saved into Google Drive in one place?
I presume the answer is to use a form submission. If so, what is a use-case where the "upload a file to Google Drive" tool would be used in a standard chat.