With Digest Emails, you get to choose what information you want to see. Let’s go through the settings so you can personalize your emails and make them most effective for your needs.
Settings For the Welcome Element
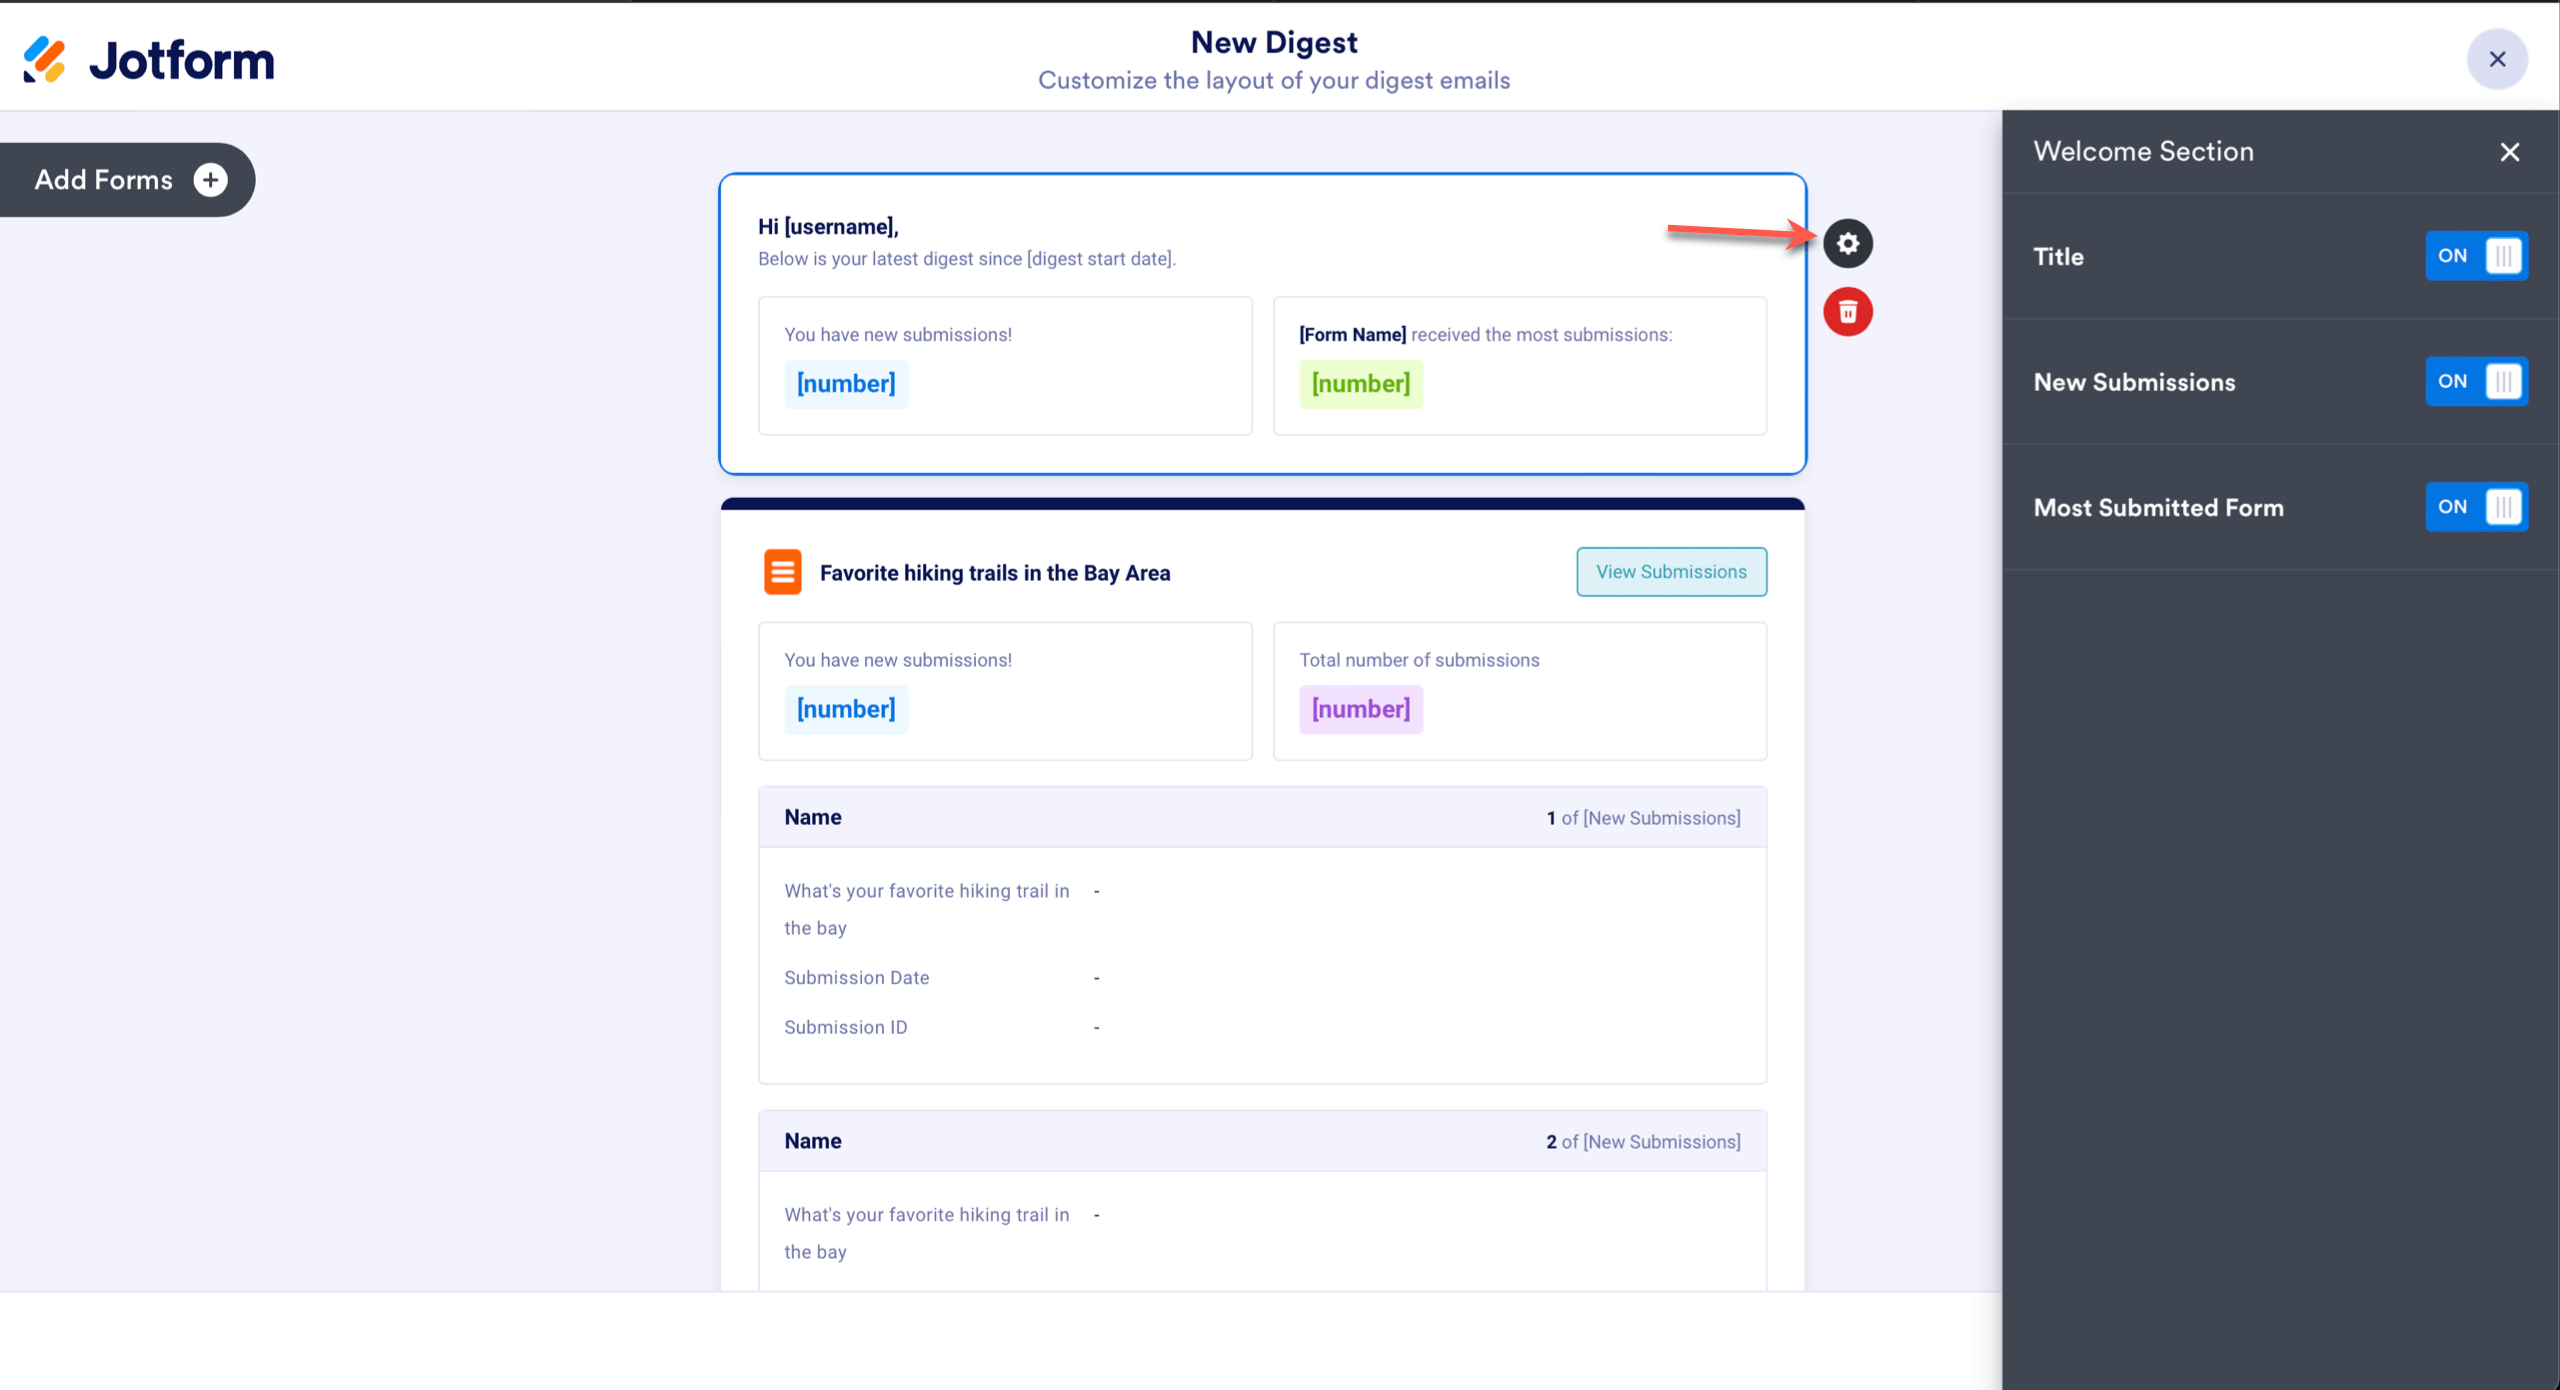
When you add your welcome element, click the gear wheel on the right to personalize your welcome element.
You’ll see a menu with three different toggle switches so you can control what you see in the welcome section. Toggle them on and off to see what your welcome message could look like with or without certain elements.
Settings For Each Submission Summary
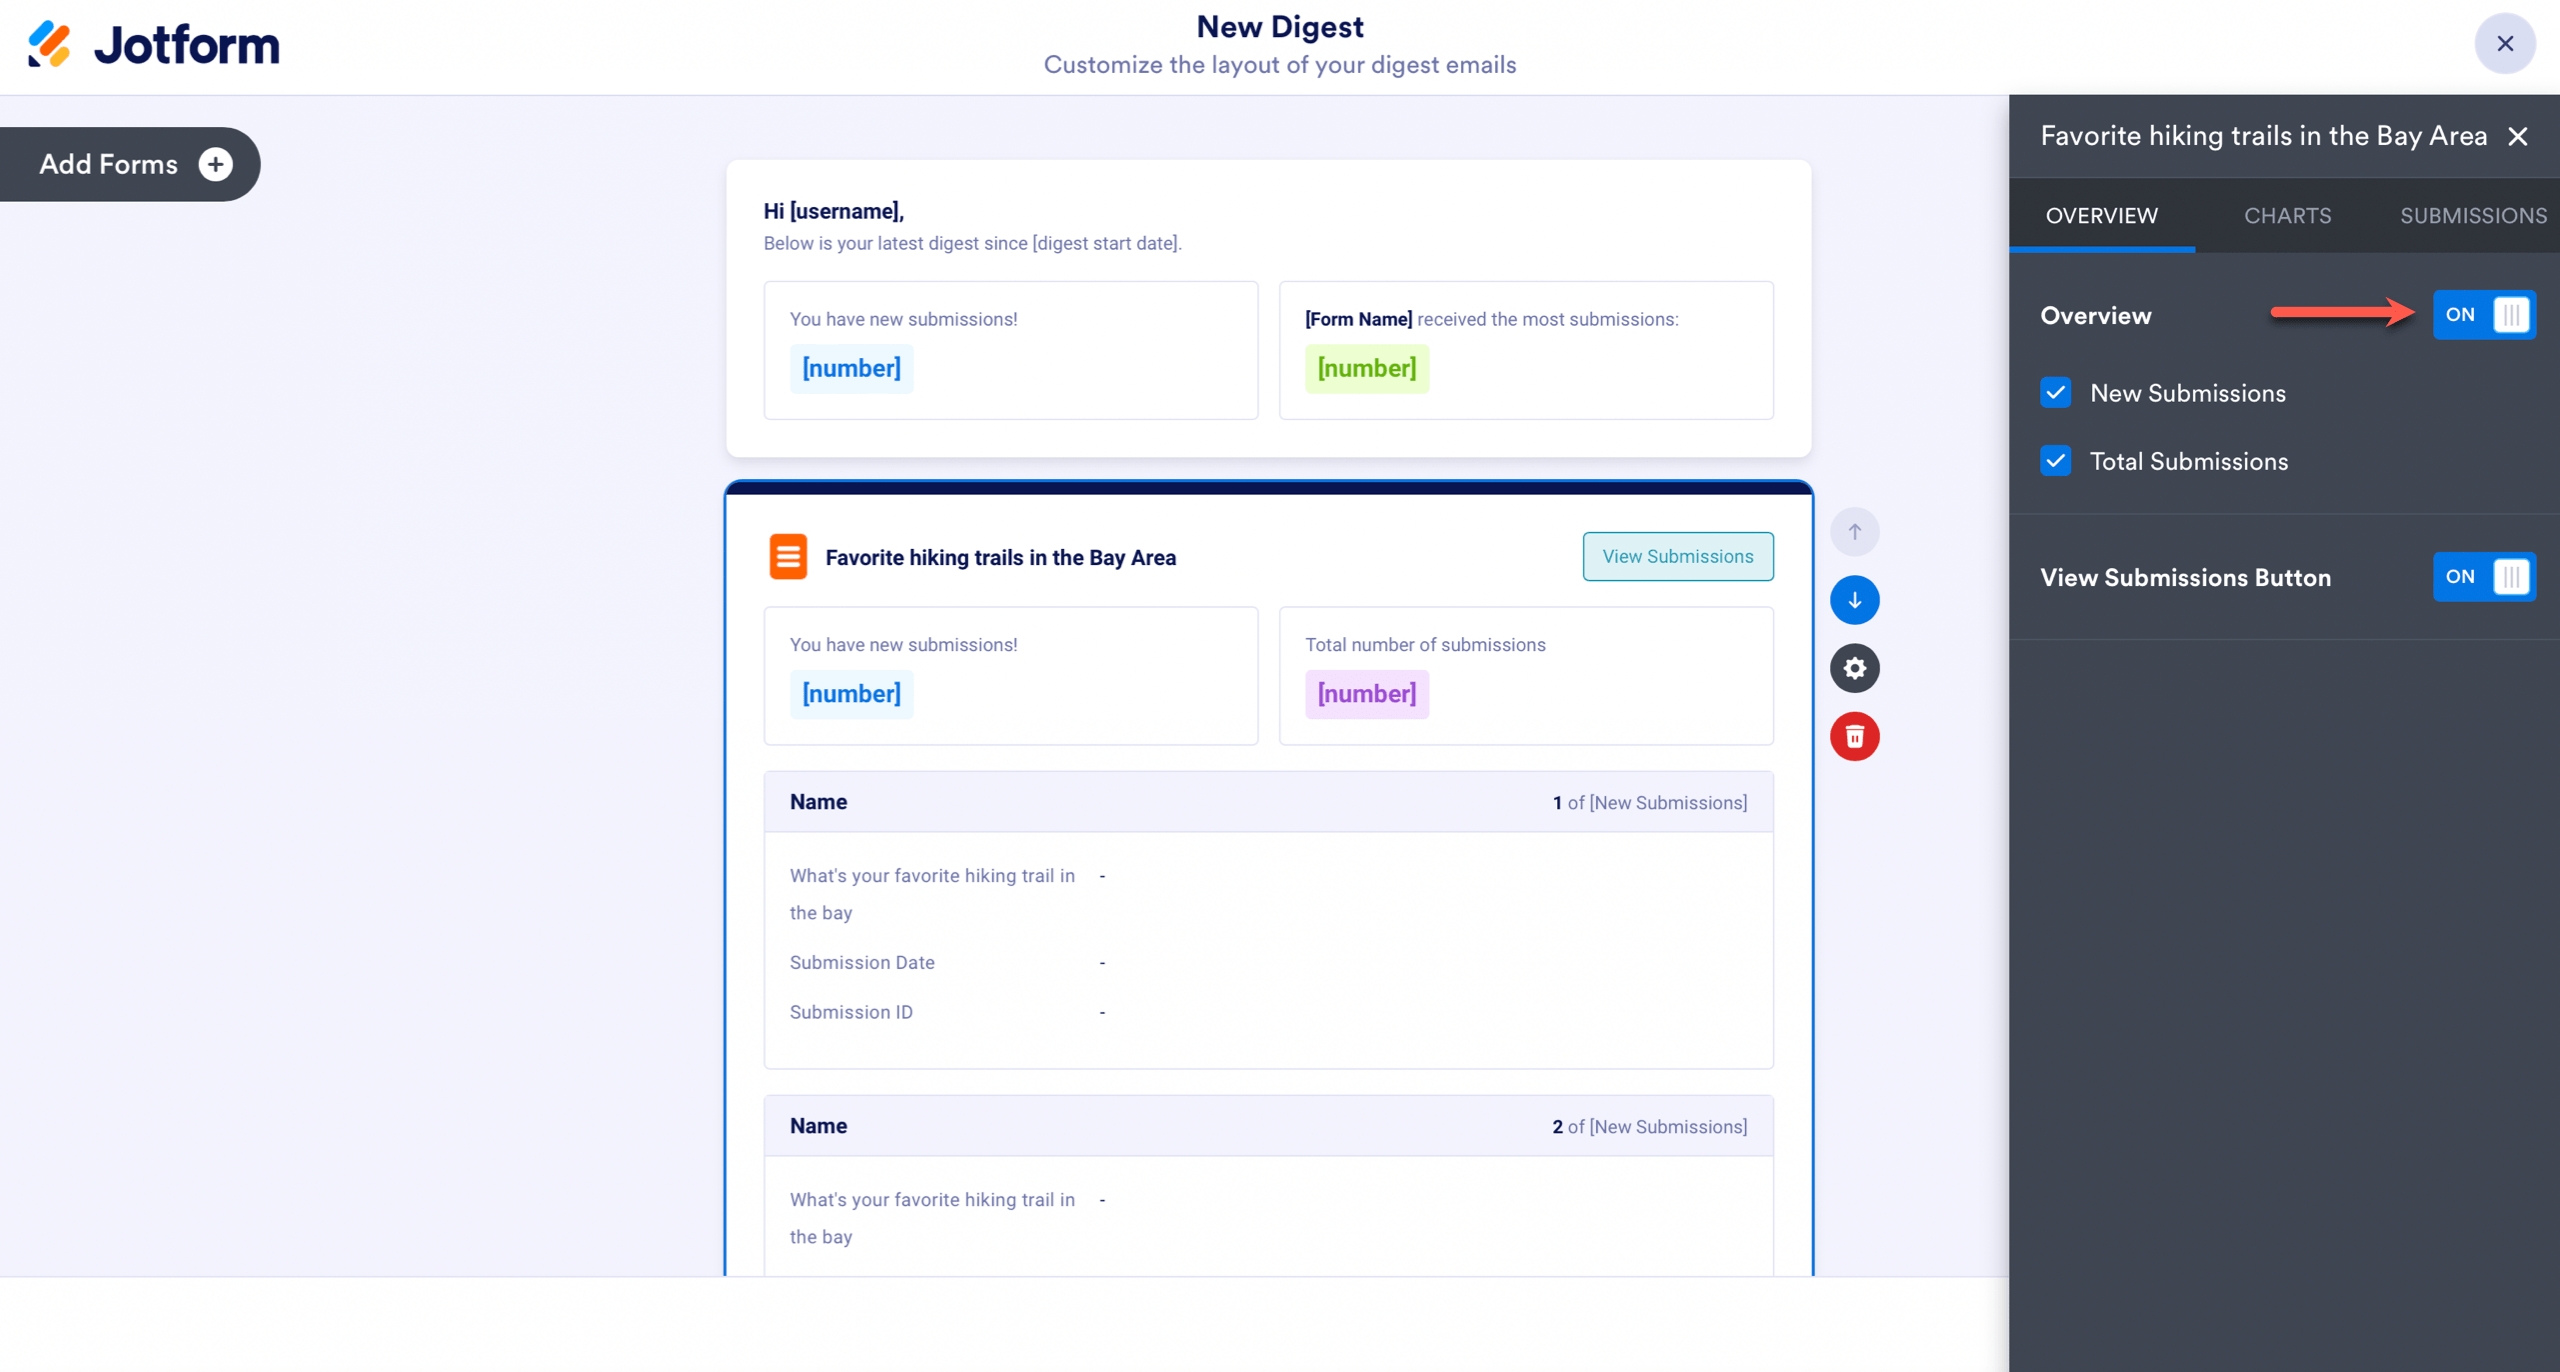
Overview
In the overview tab you can toggle the on/off switch if you don’t want to see the overview. You can also hide the view submissions button if you only want your recipients to get an overview. But if you want recipients to view submissions, just toggle the switch back to on.
Charts
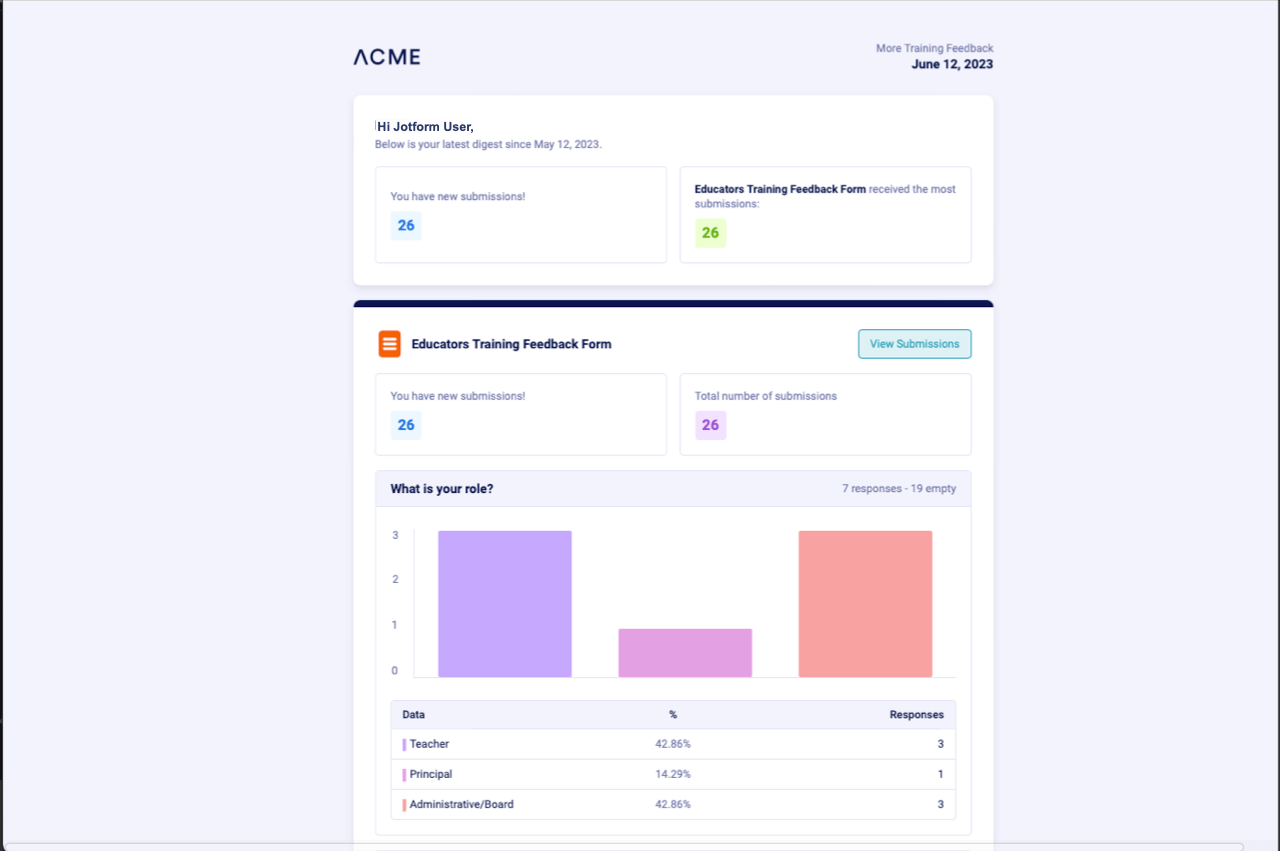
If you want your answers to be displayed in a chart, you can easily do that. But you have to make sure your form answers are compatible with the chart functionality.
Charts can only be generated from the following question types:
- Single Choice
- Multiple Choice
- Dropdown
- Star Rating
- Yes or no questions in Card Forms
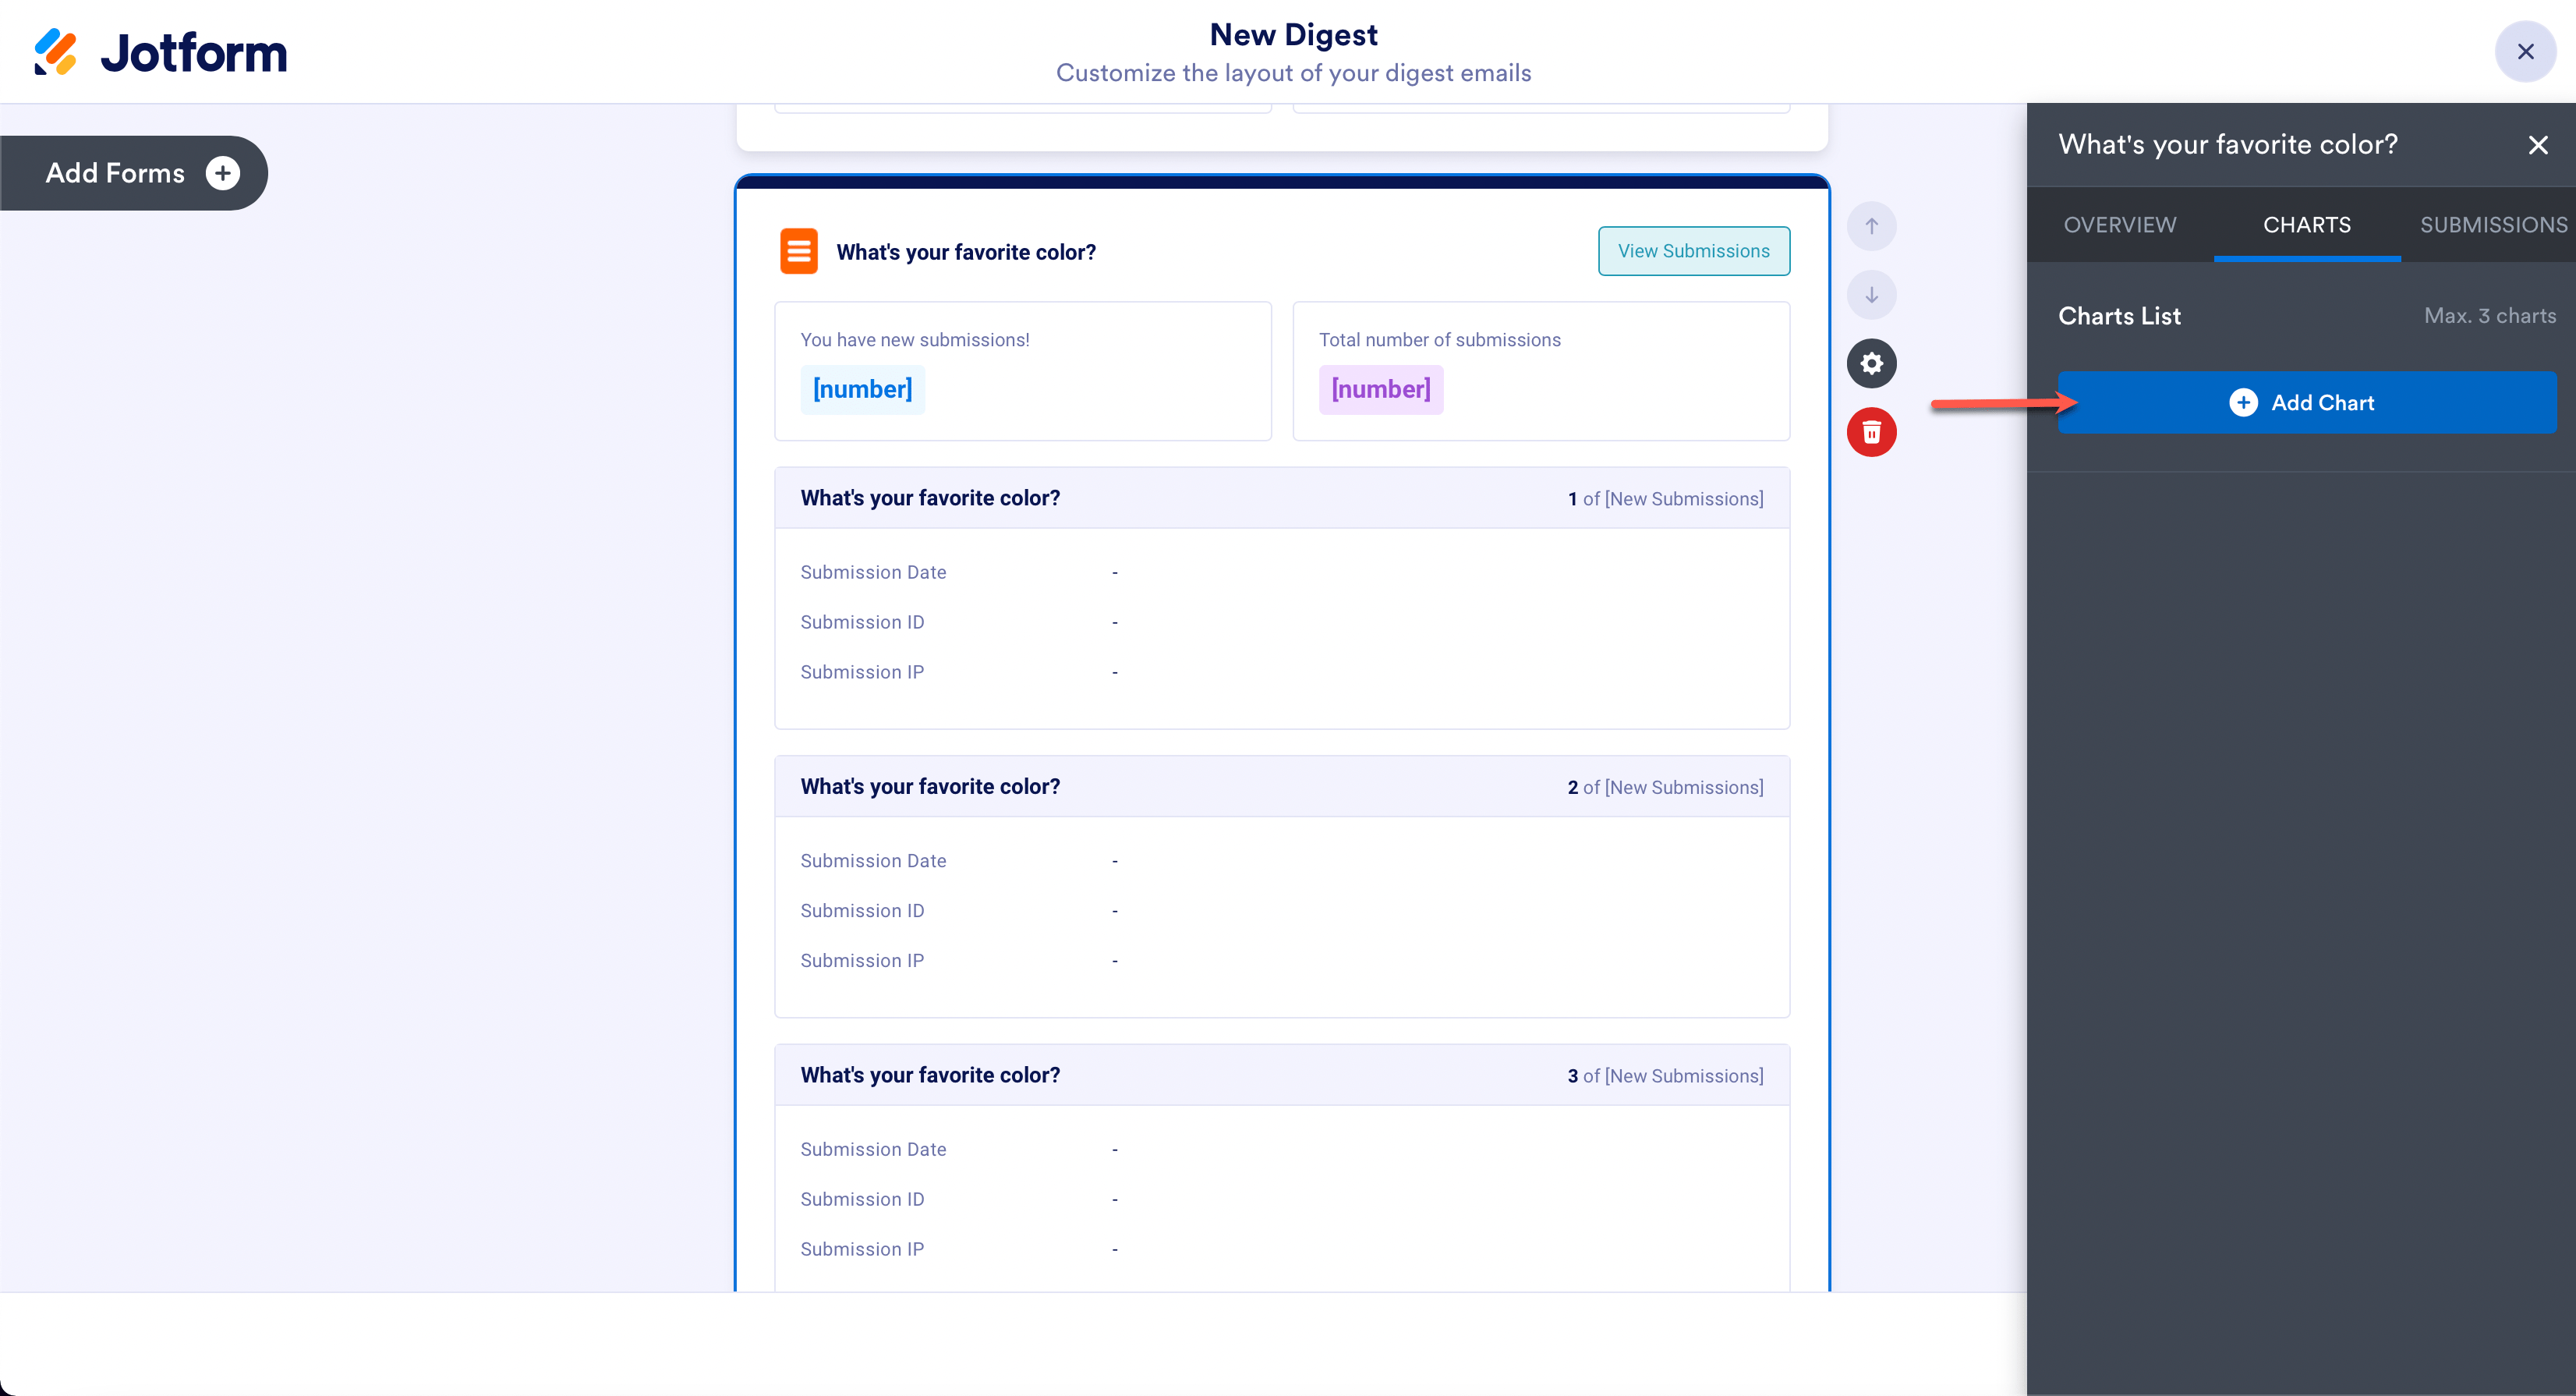
To add a chart, just click the Add Chart button. Click the questions in the charts list to further personalize them.
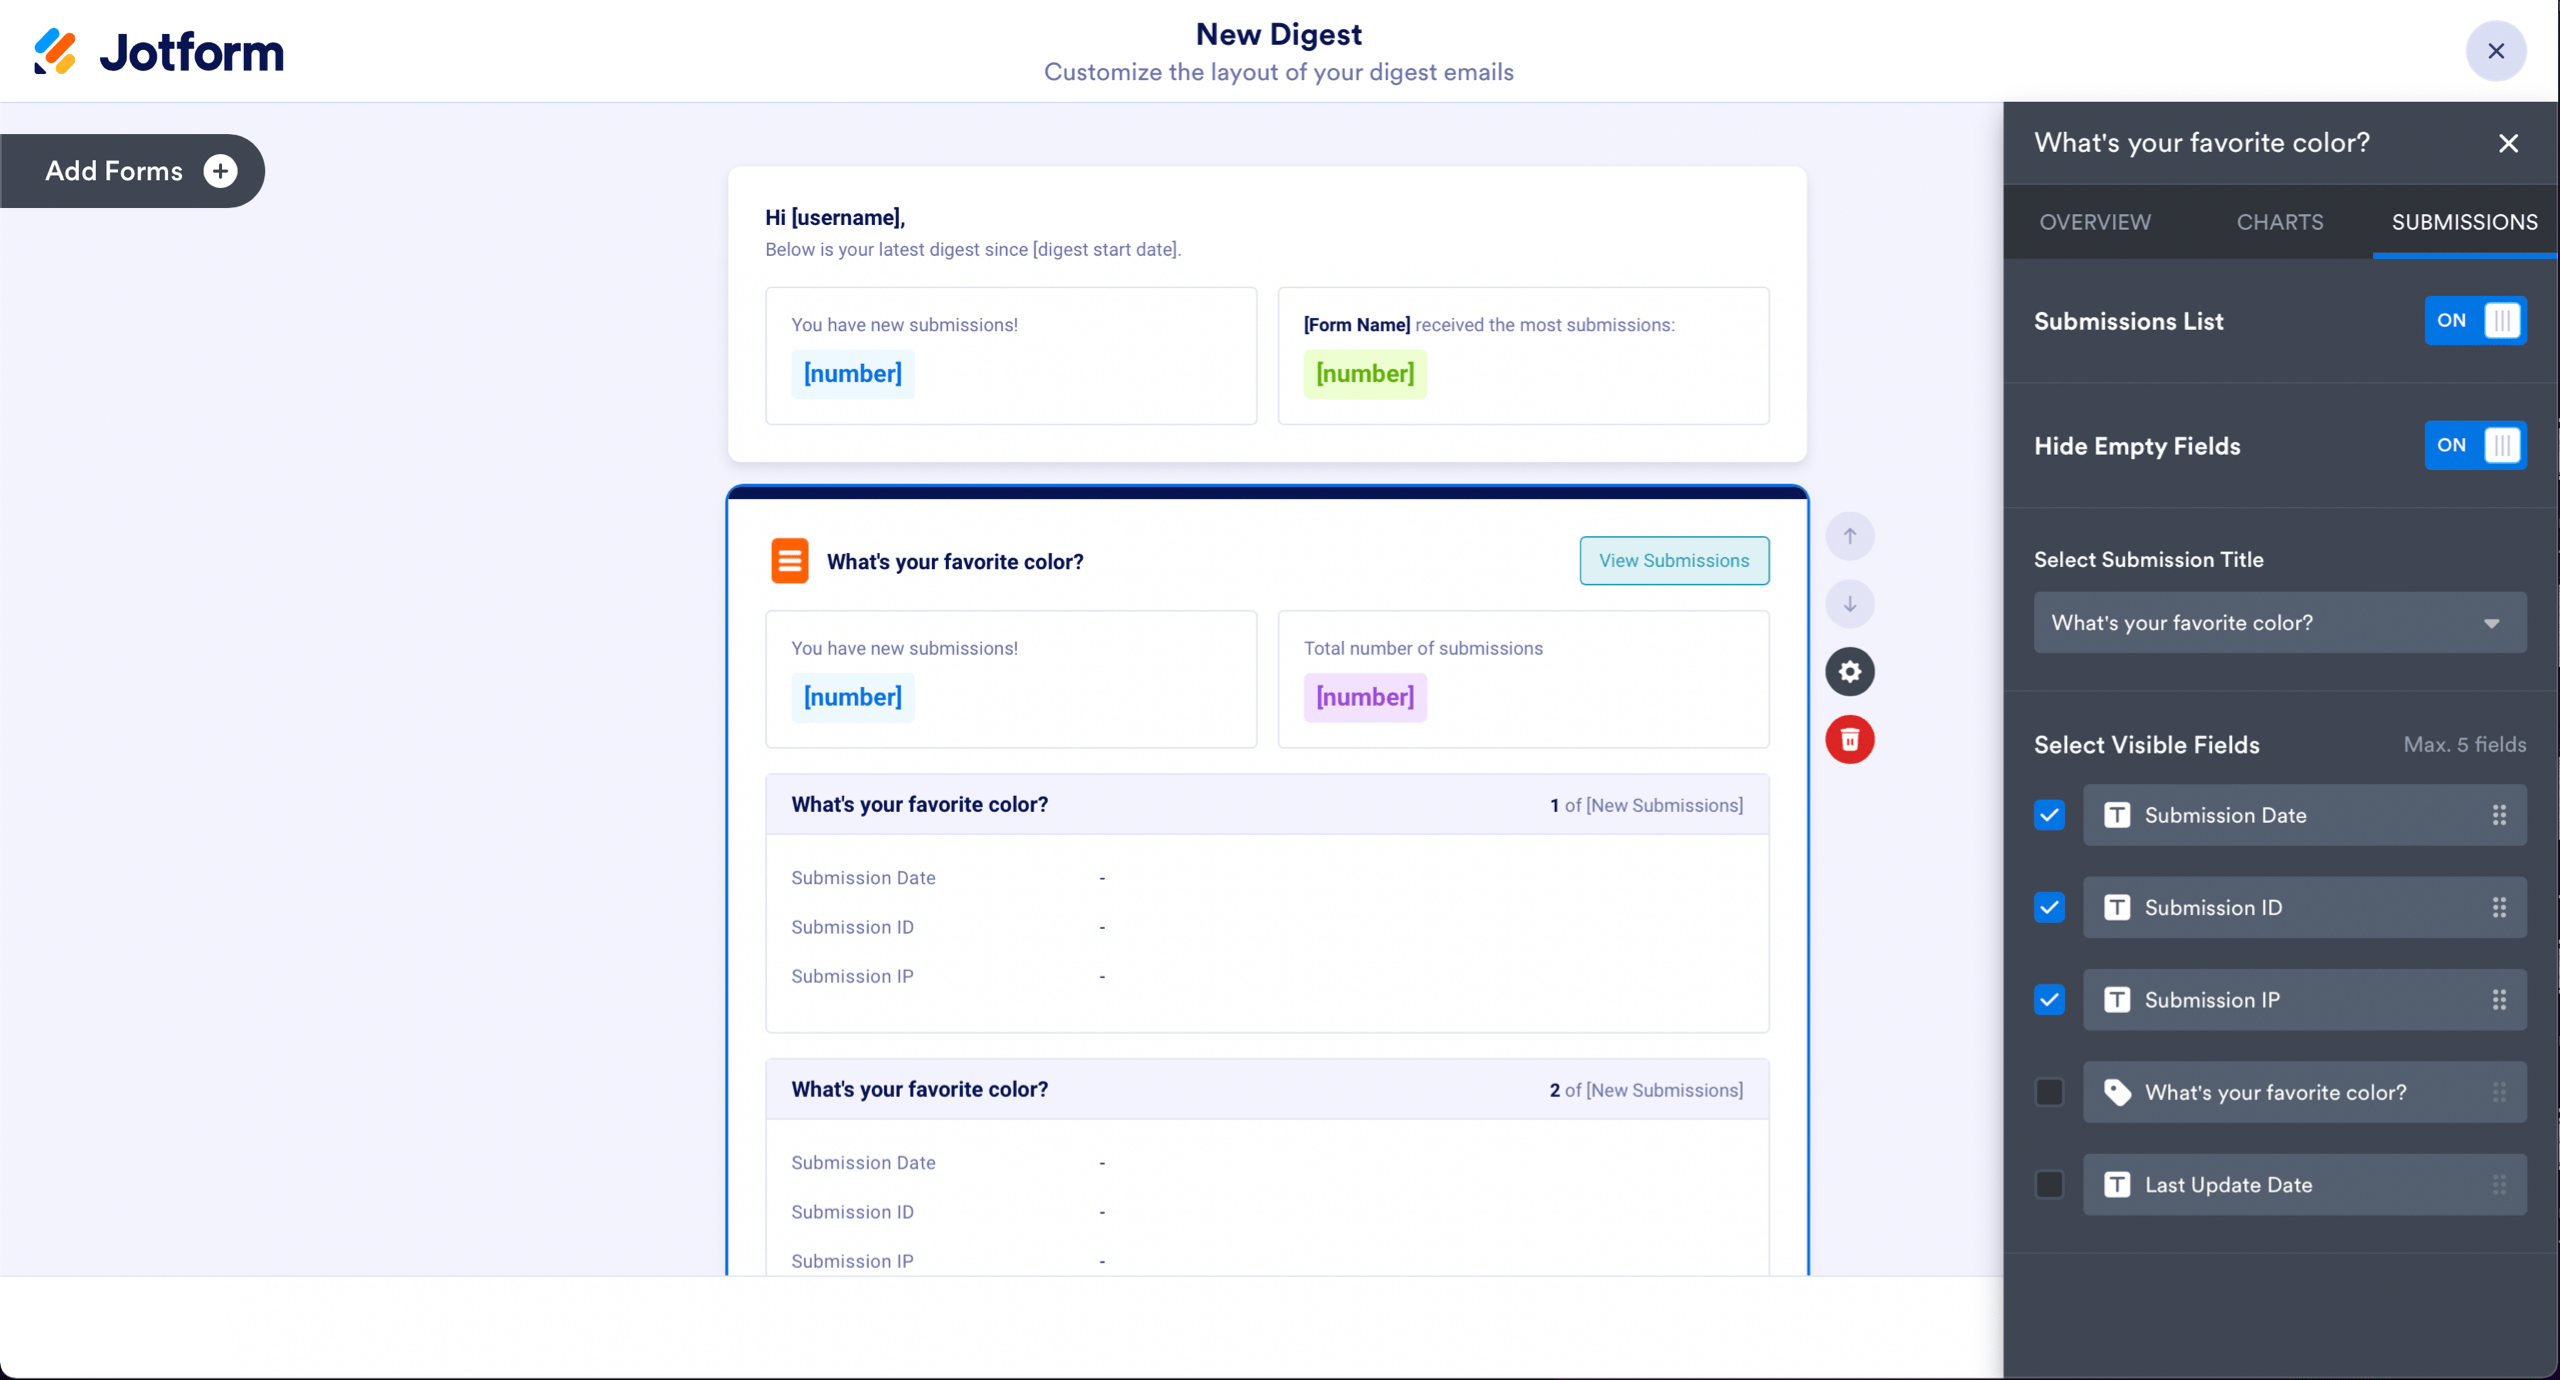
Submissions
You can personalize what you want to see from your submissions. You can choose which fields are visible in the Digest and you can choose to hide empty fields and the submissions list.
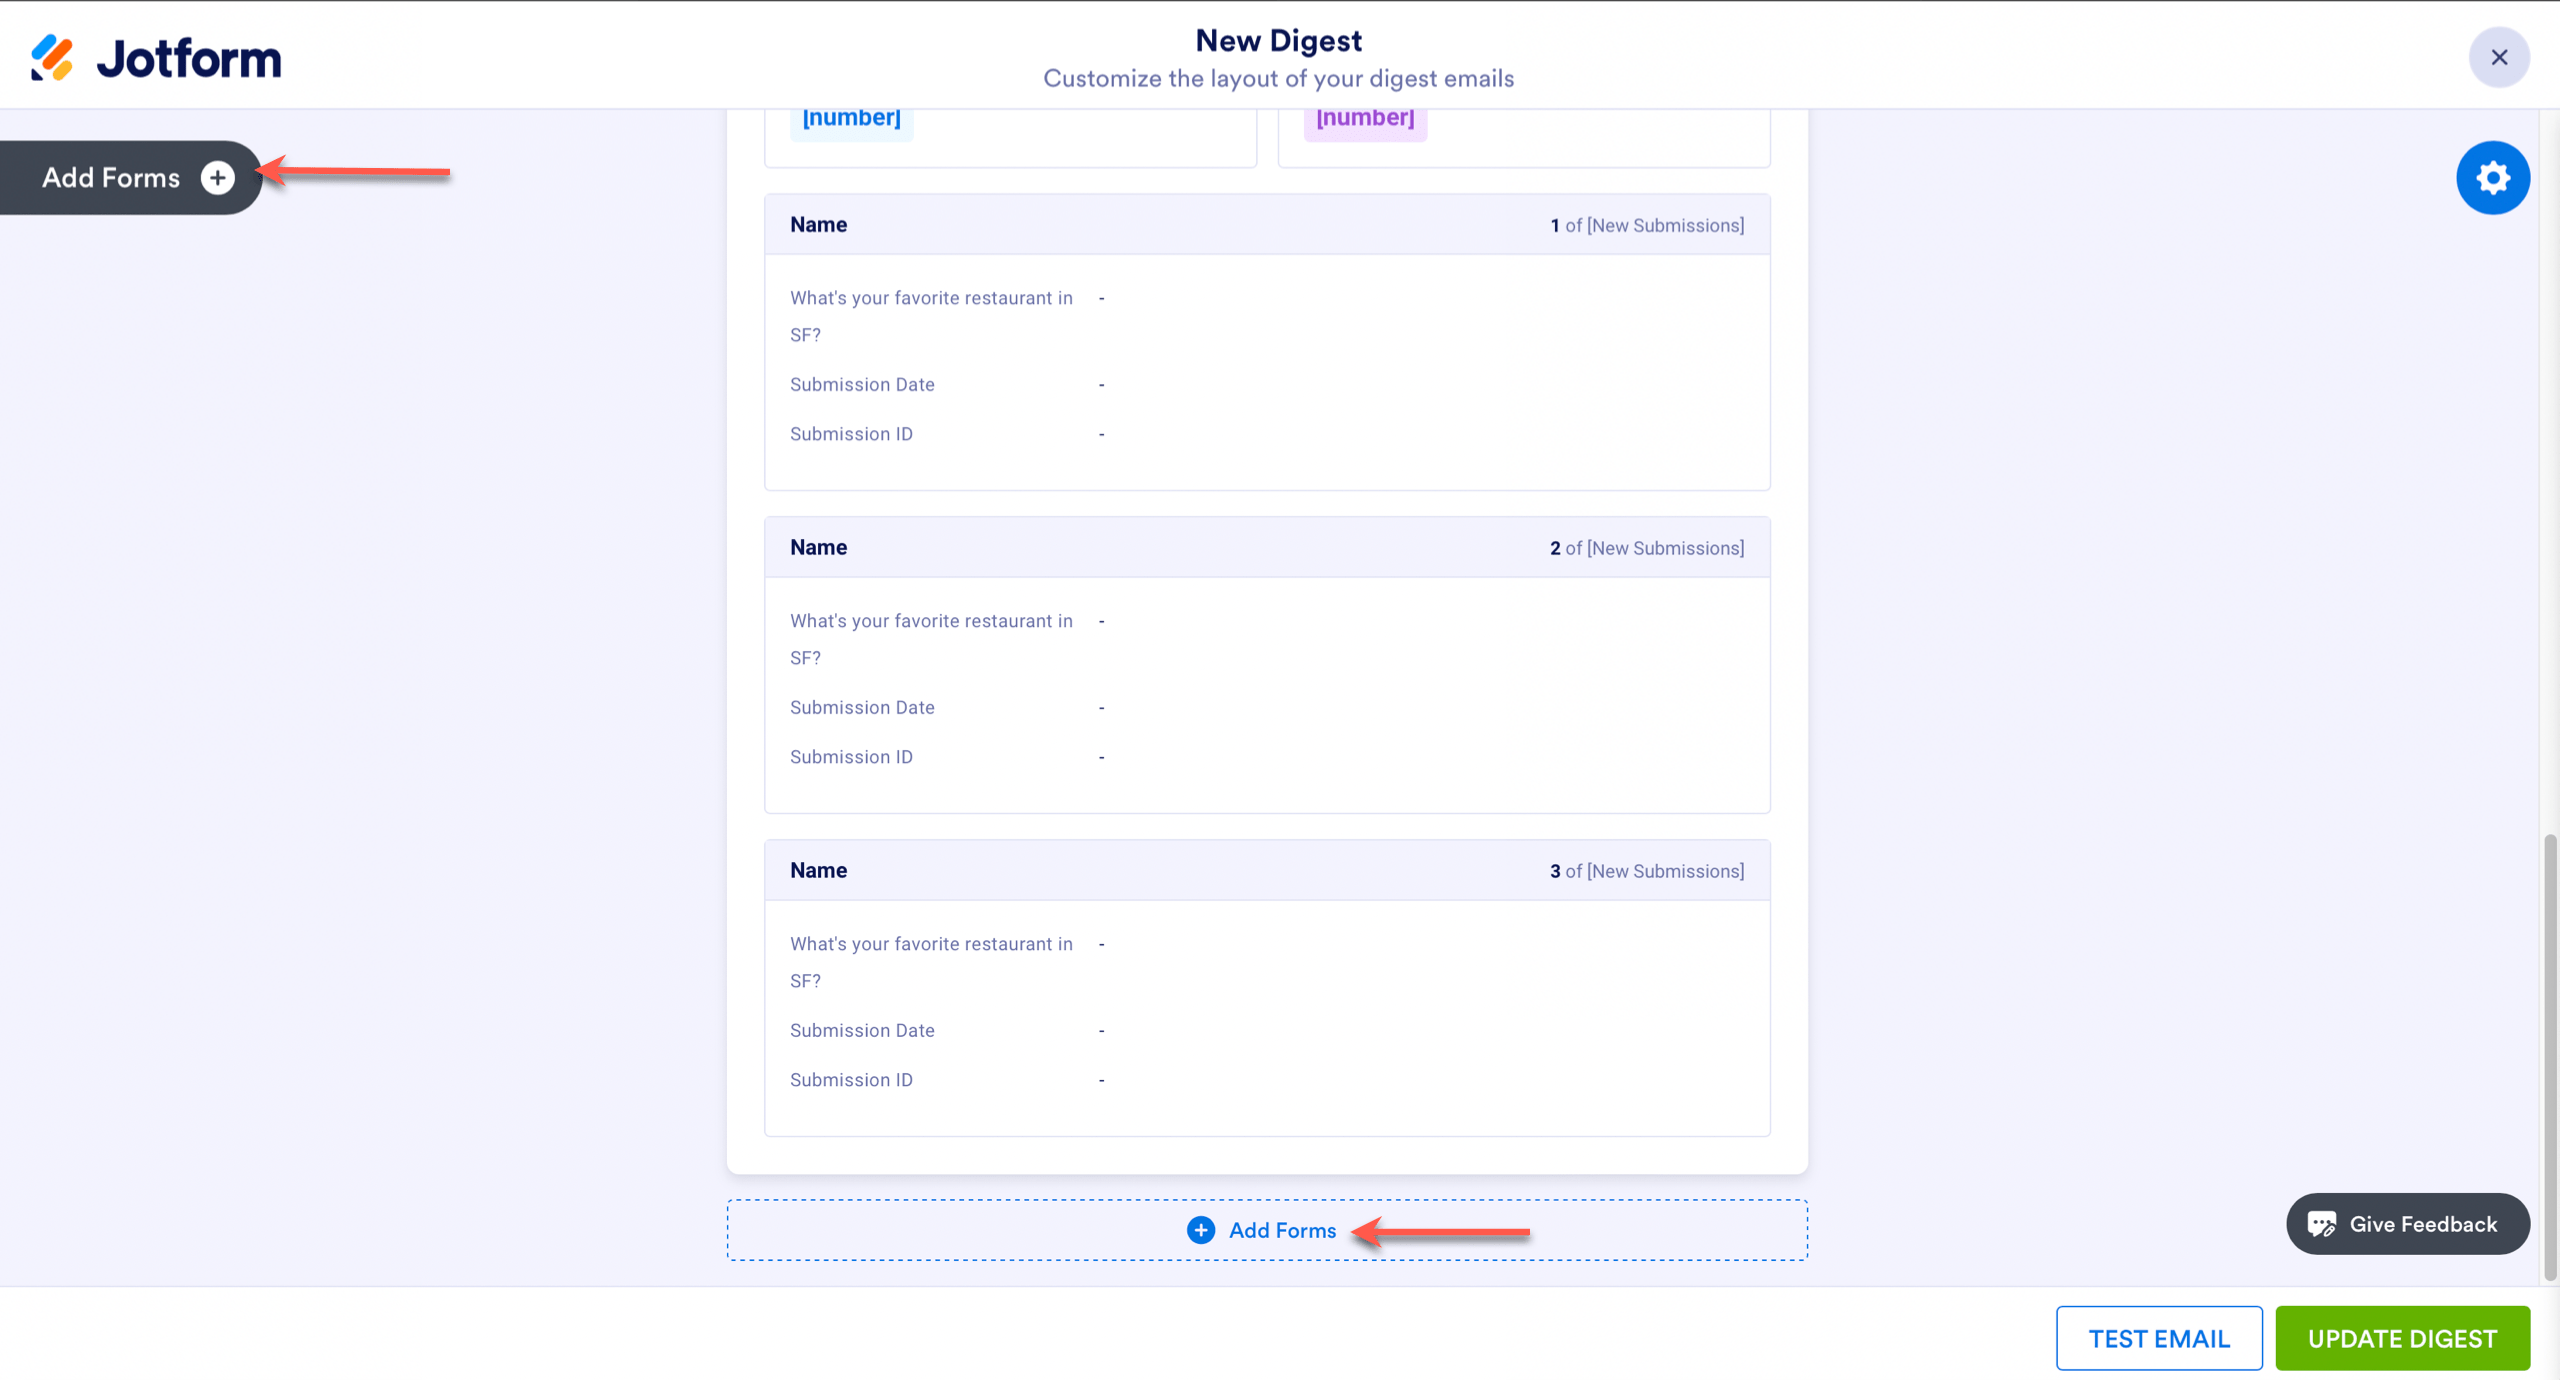
Add Forms
If you want to add another form to your Digest Email, there are two ways to do that, the first is to click the add forms button on the left side of the digest builder. The second is to scroll to the bottom of the page and click Add Form at the bottom.
Settings gear on the right
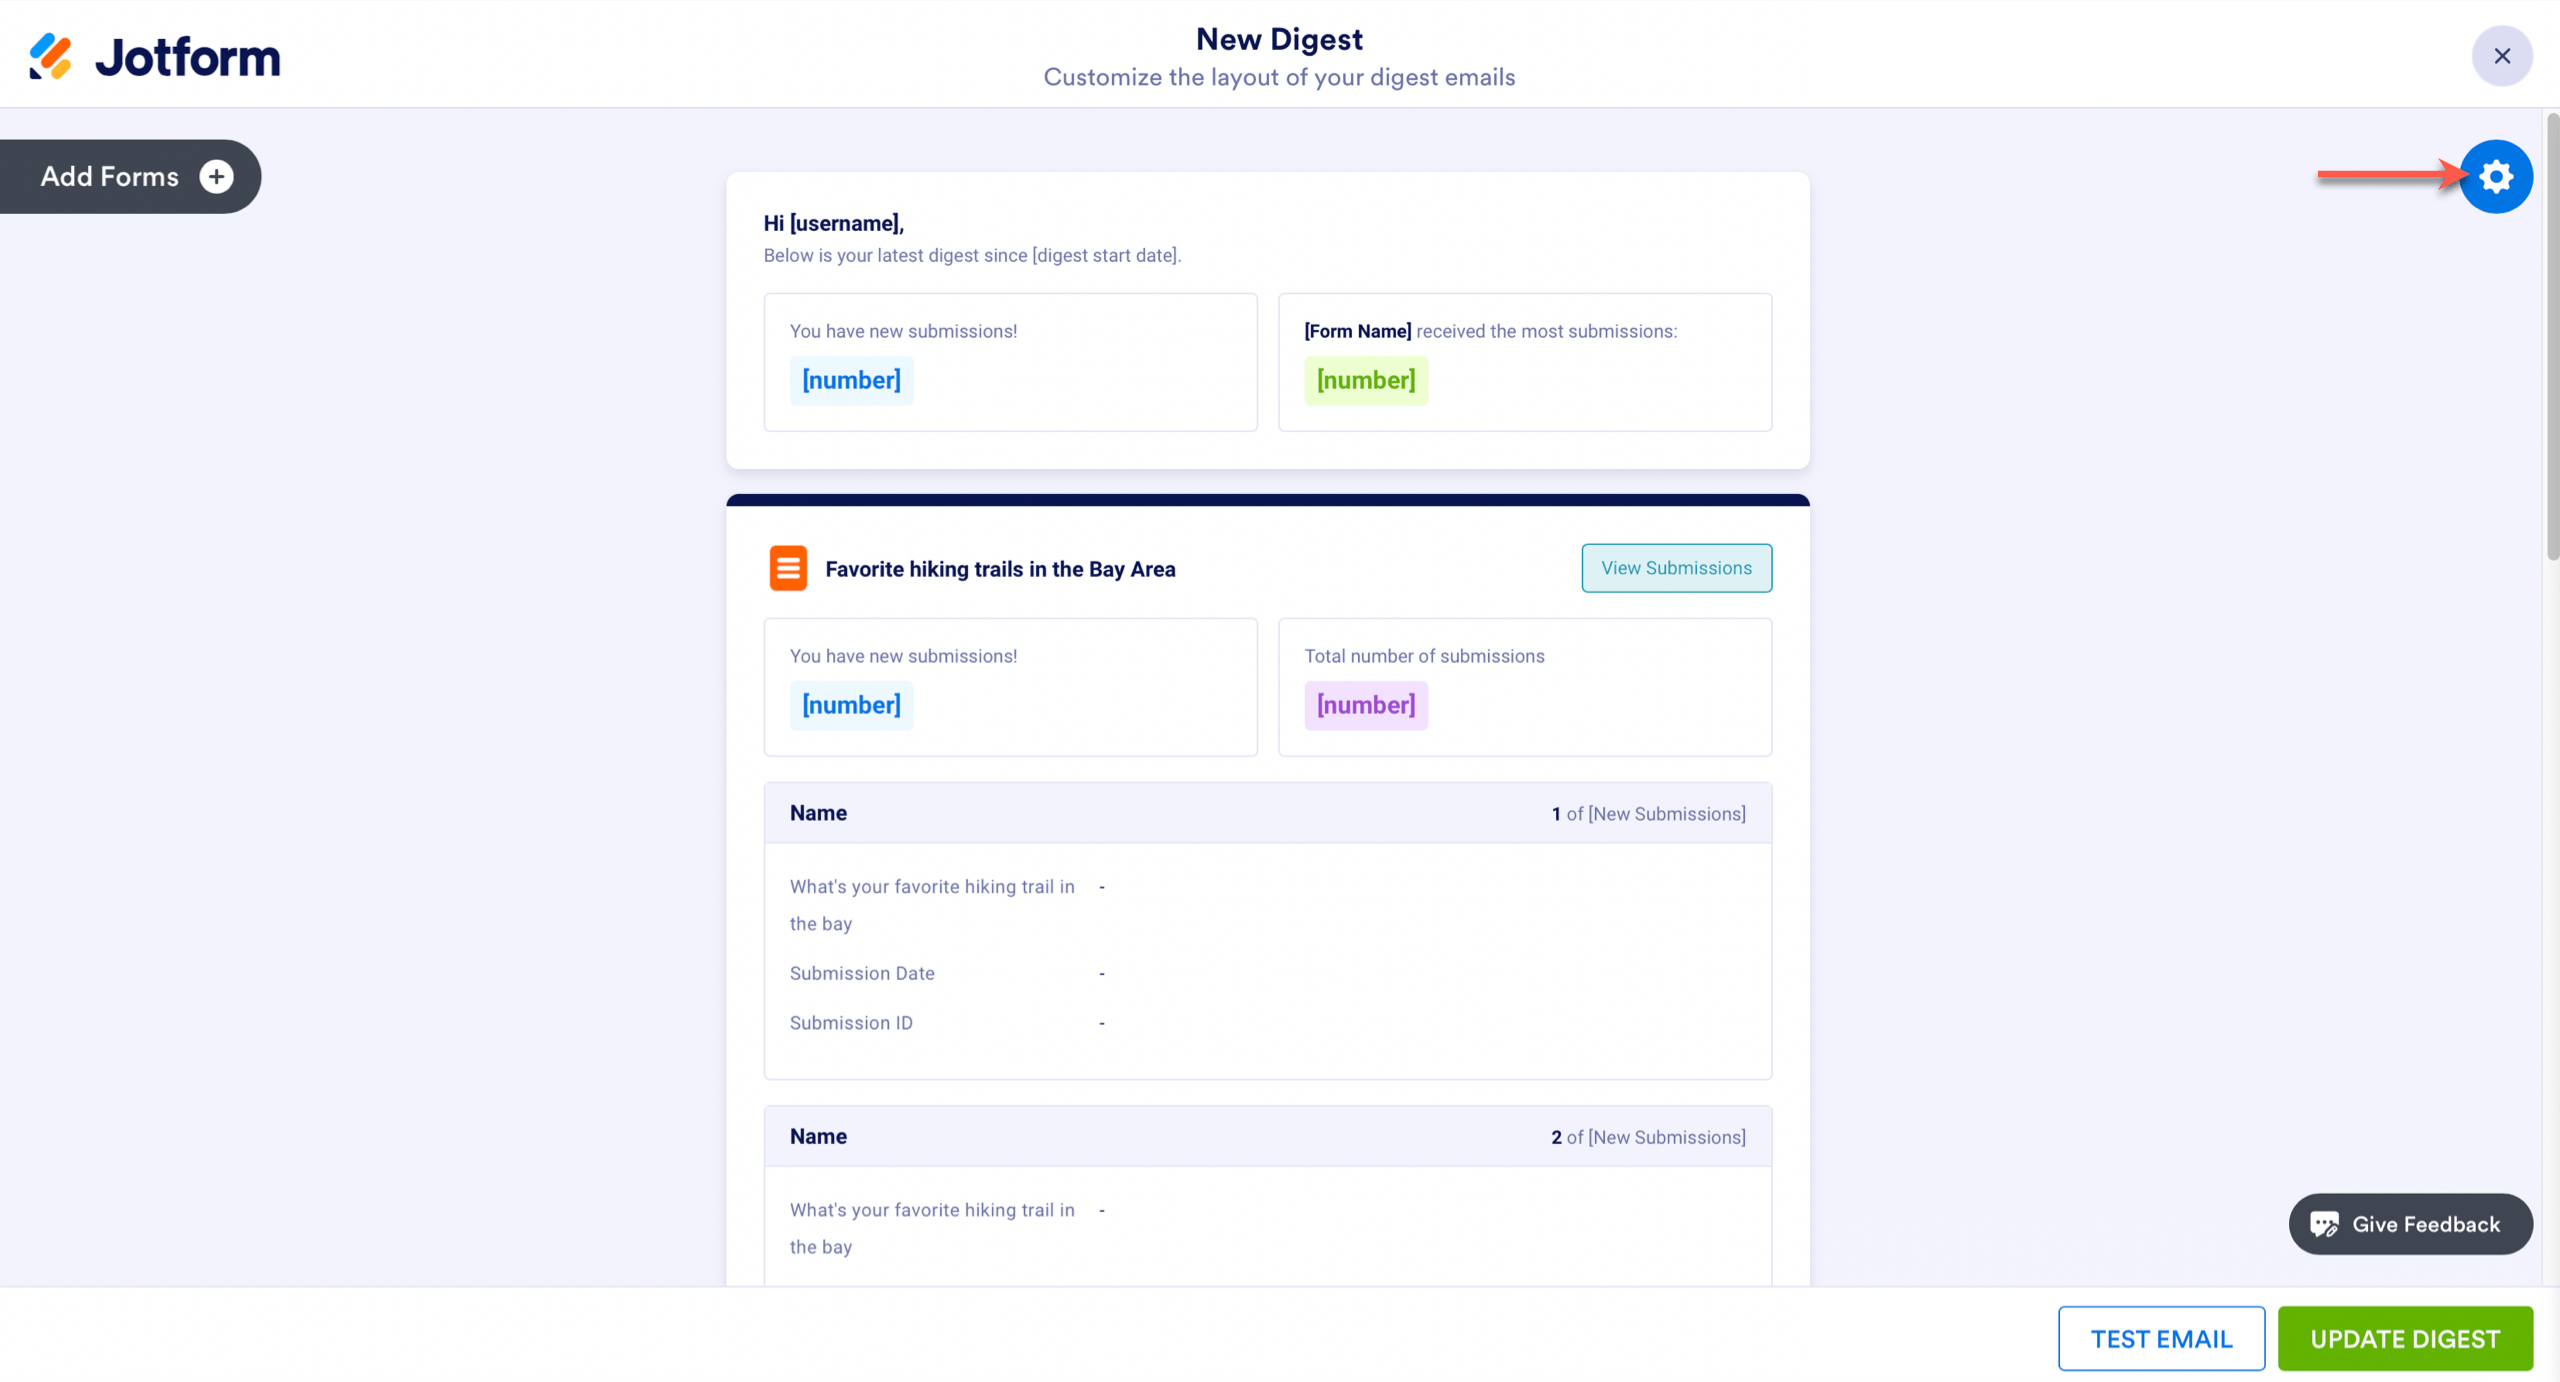
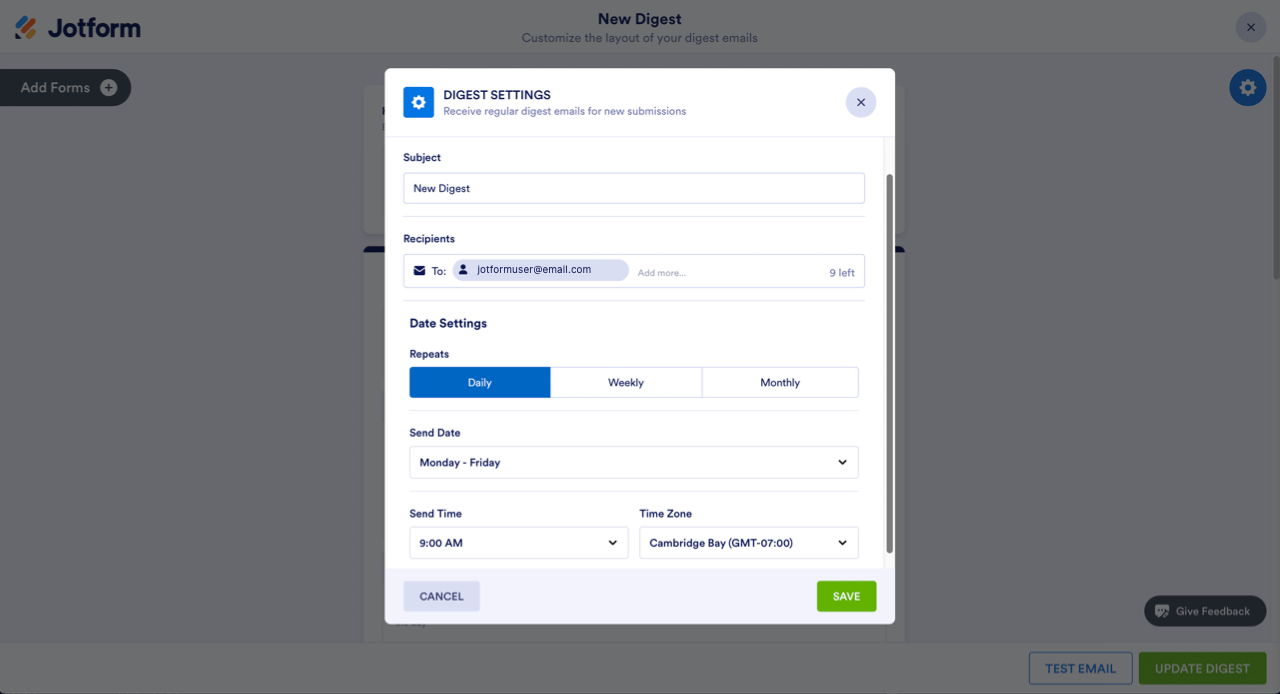
Click the gear wheel on the right to open settings for the Digest Email. The digest settings on the right are mostly to customize the email settings itself, not necessarily the elements within the email.
In Digest Settings, you can customize the subject, date, and time settings. You can also choose who receives the digest emails. But remember, you can only send digest emails to up to ten recipients, and if you’re on the starter plan, you can only send digest emails to one person.

Send Comment:
5 Comments:
More than a year ago
There are controls such as Age, ZIP Code, and Date --- it would be great if Digest reports could be generated for these kind of free-form but distinct valued variables.
More than a year ago
Hi There,
Is there a way to add a PDF Copy to my digests?
More than a year ago
Hi there,
How do I change Jotform logo on my Weekly Digests?
Thanks,
More than a year ago
How can you add a personal message or reminder to the digest email?
More than a year ago
HOW DO I CHANGE MY LOGIN EMAIL